My wife saw this mirror with a shelf in a Room and Board catalog, and asked if I could make something like that.
http://www.roomandboard.com/catalog/accessories/mirrors/loft-mirrors-with-shelf
She wanted it to roughly match the Room and Board Dimensions. The large one is 50”x30”, with the cubby 7.5” tall.
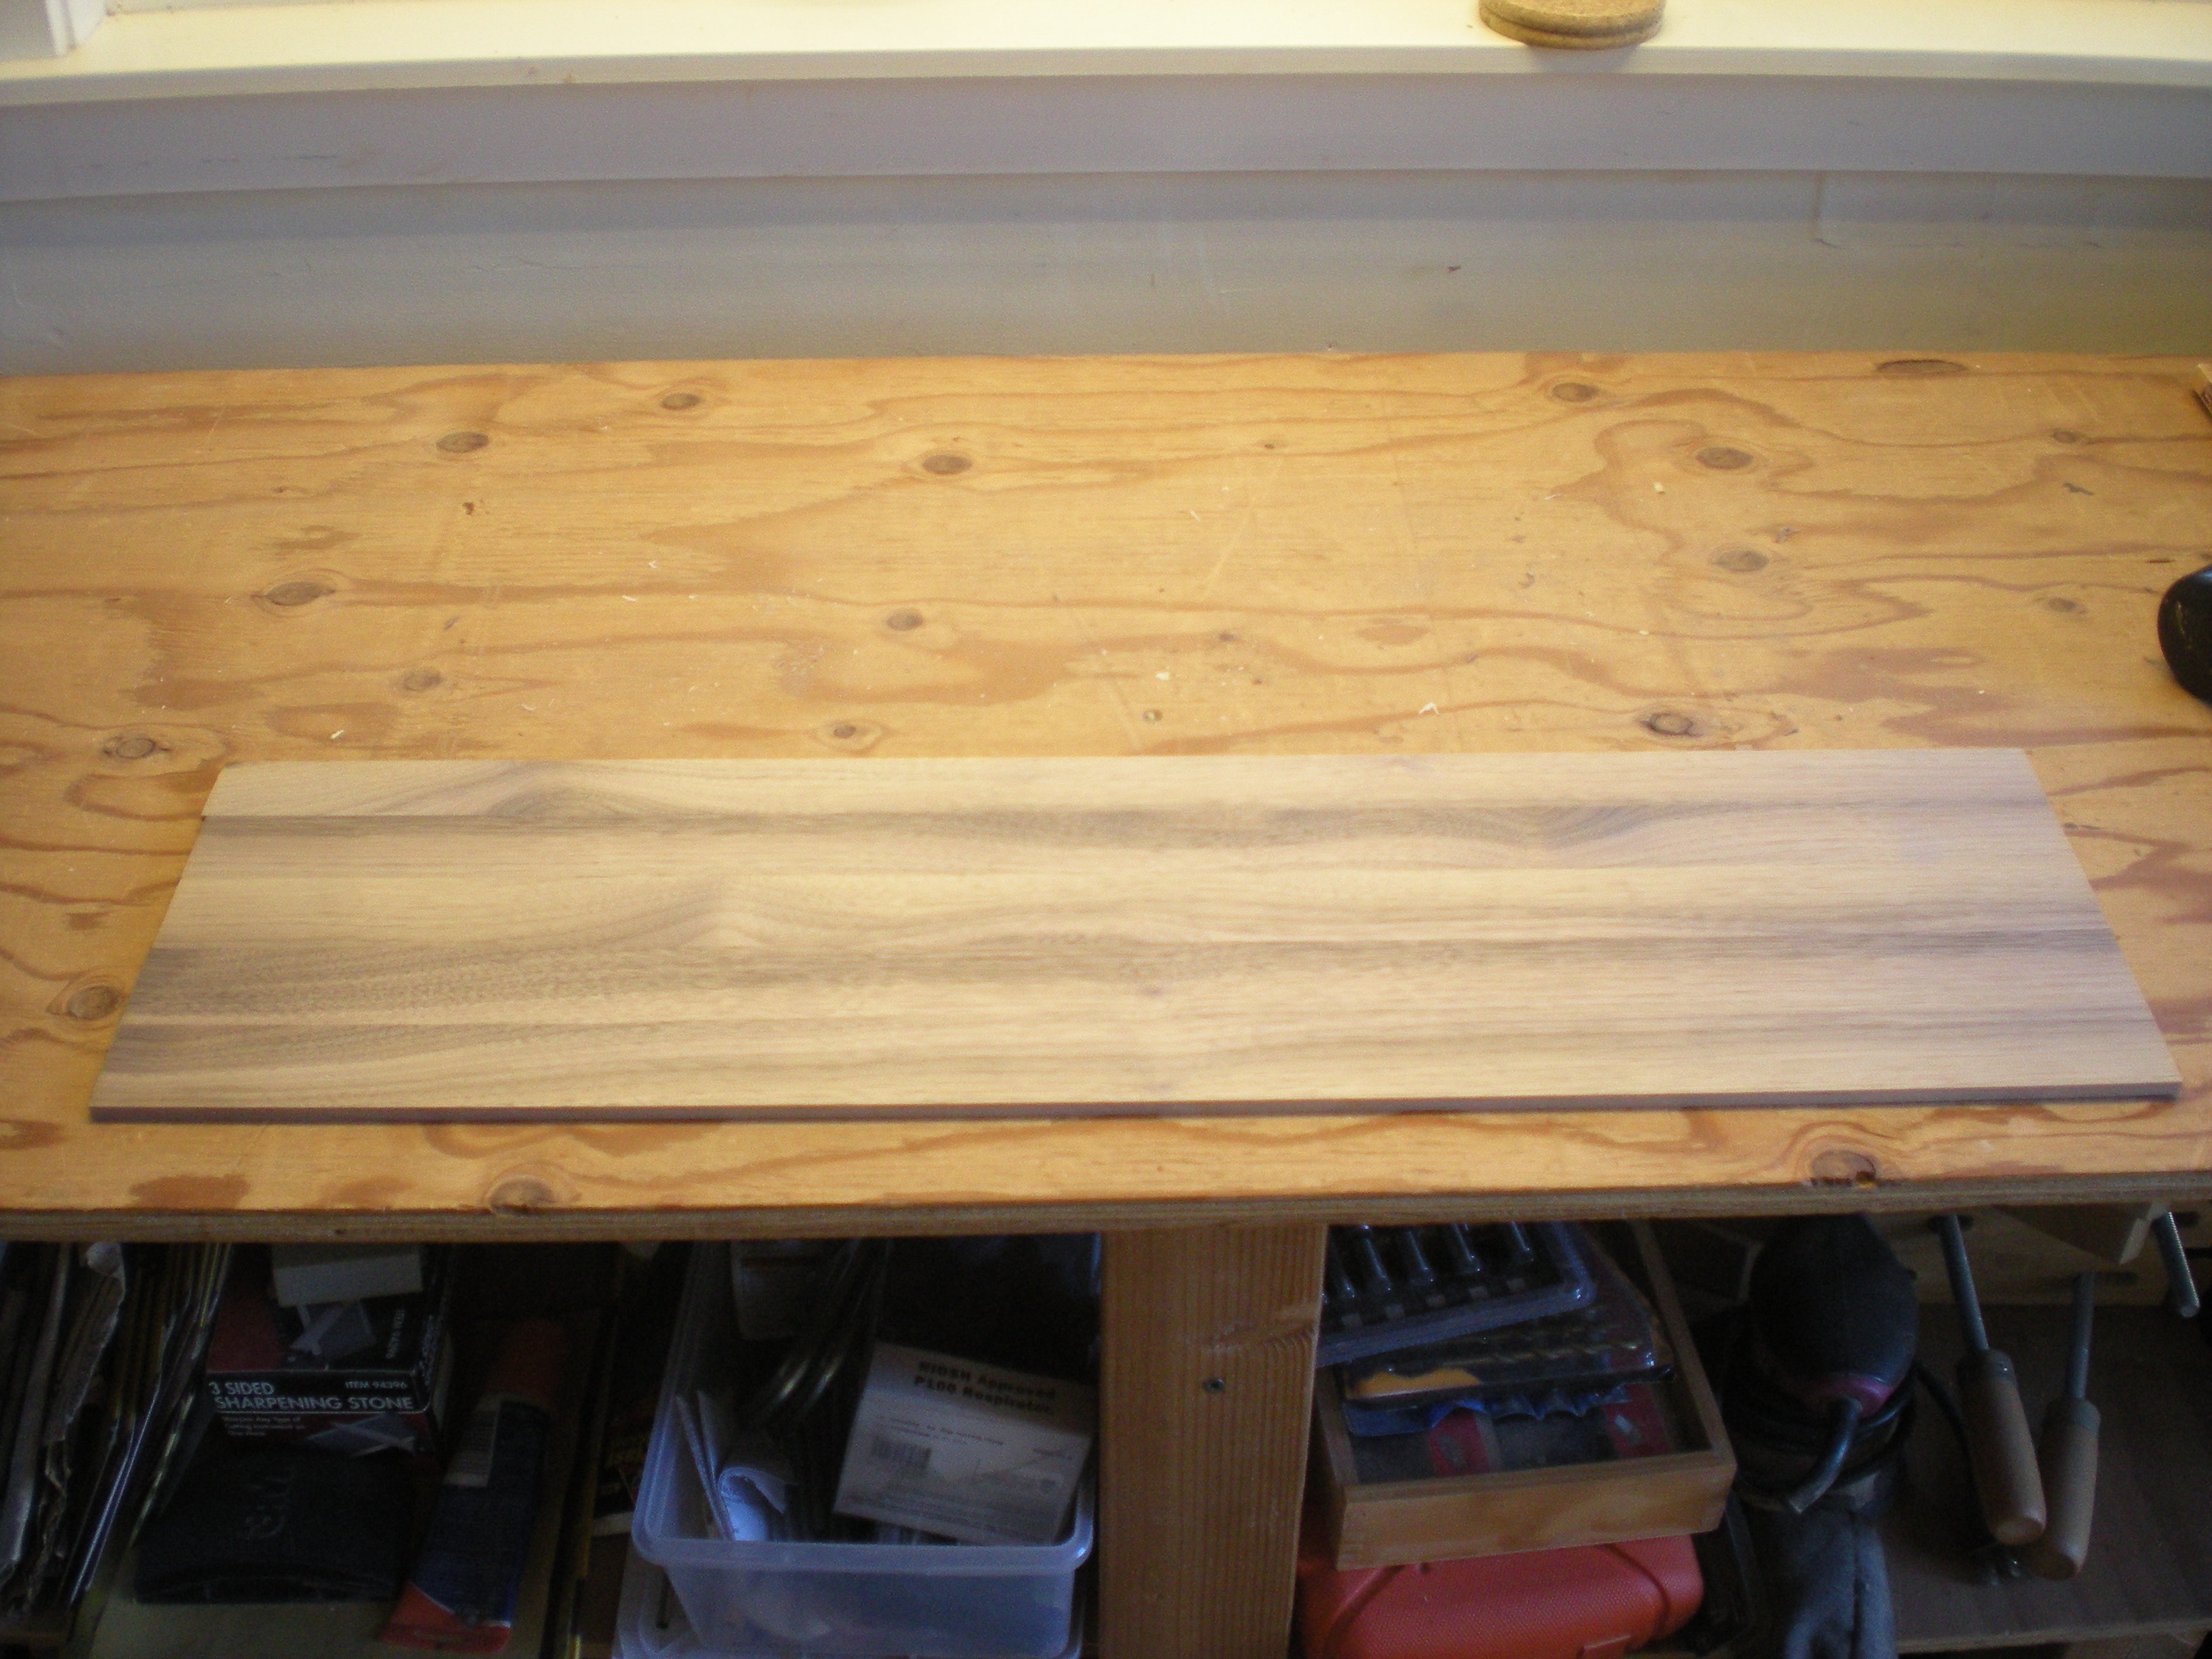
My parents were visiting when it was time to buy wood, so my dad and I went to Mt. Storm to pick up some walnut. We found two nice and fairly straight boards which should do the job – about 8 BF, roughly $100. It’s all 0.75” thick, which should work.
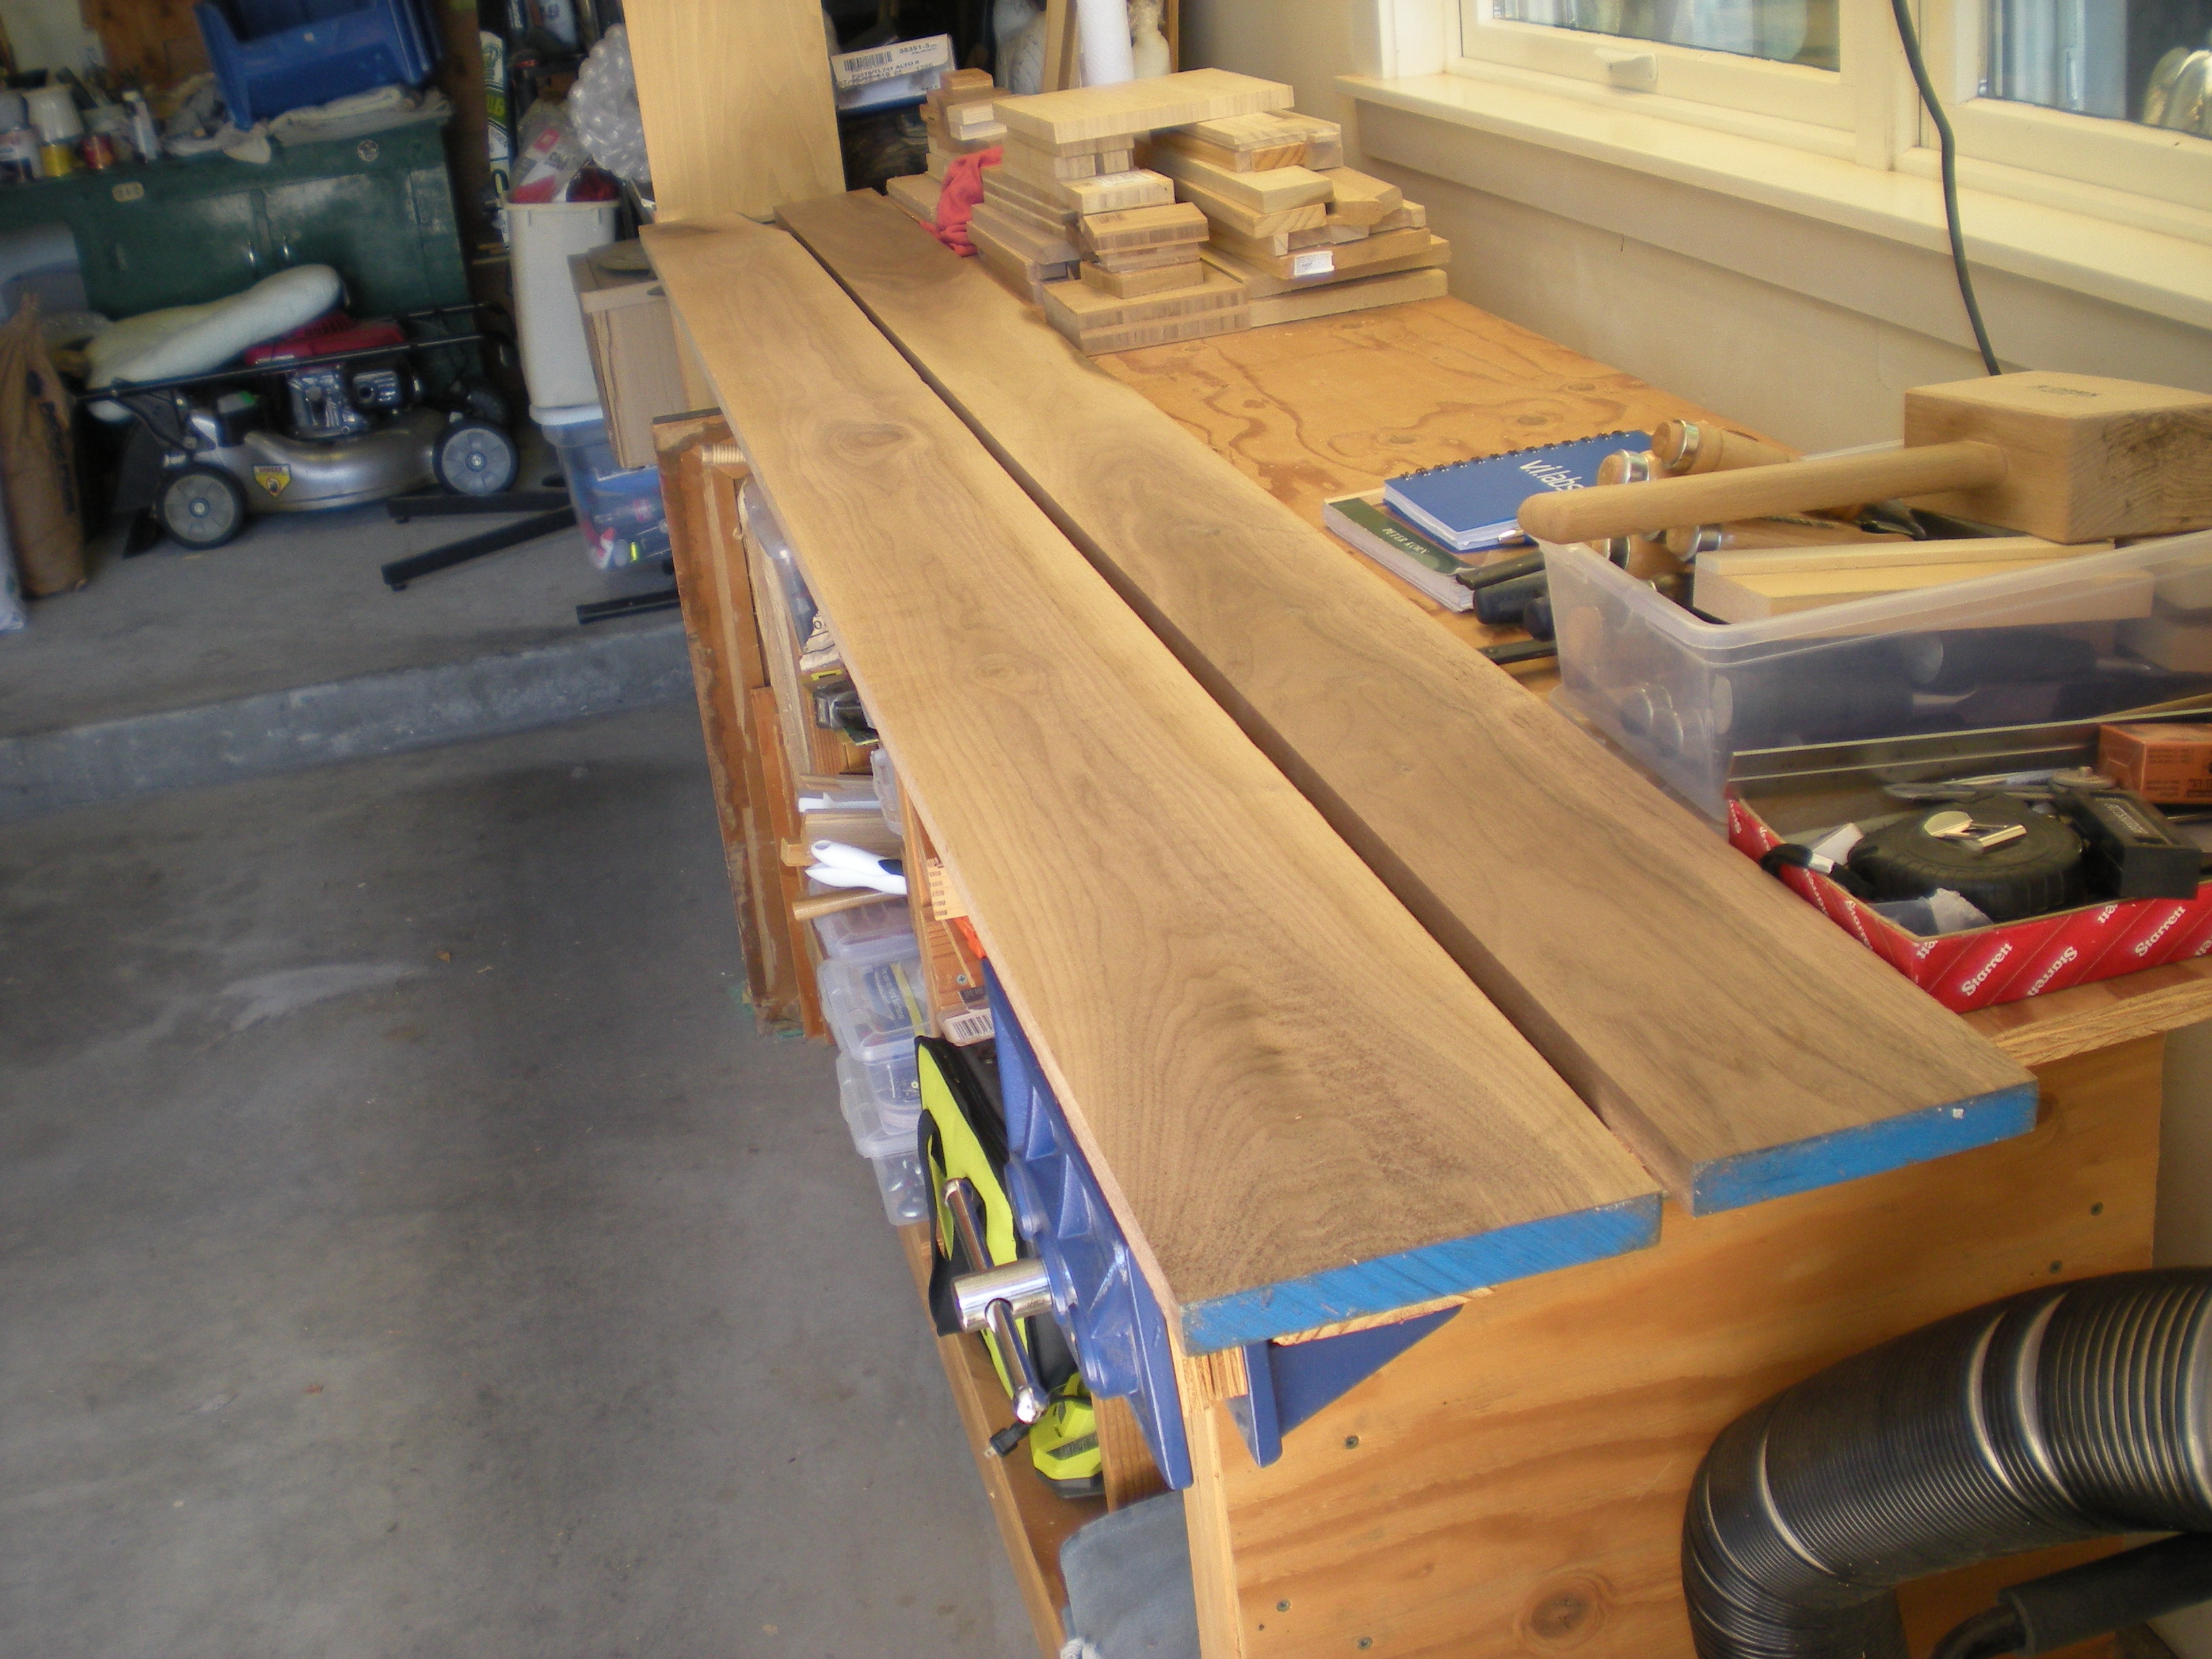
The wider board was ripped to width. The cutoff was saved and will be re-sawn and edge-glued later to form the shelf backing. Next, one board was cross-cut into two pieces (left/right side) and another board was cross-cut into three pieces (top/shelf/bottom).
 Problem: The boards are not four square. They are close – but not close enough.
I bought a thickness planer, a DeWalt 735X. A jointer would have been nice also, but I didn’t buy that.
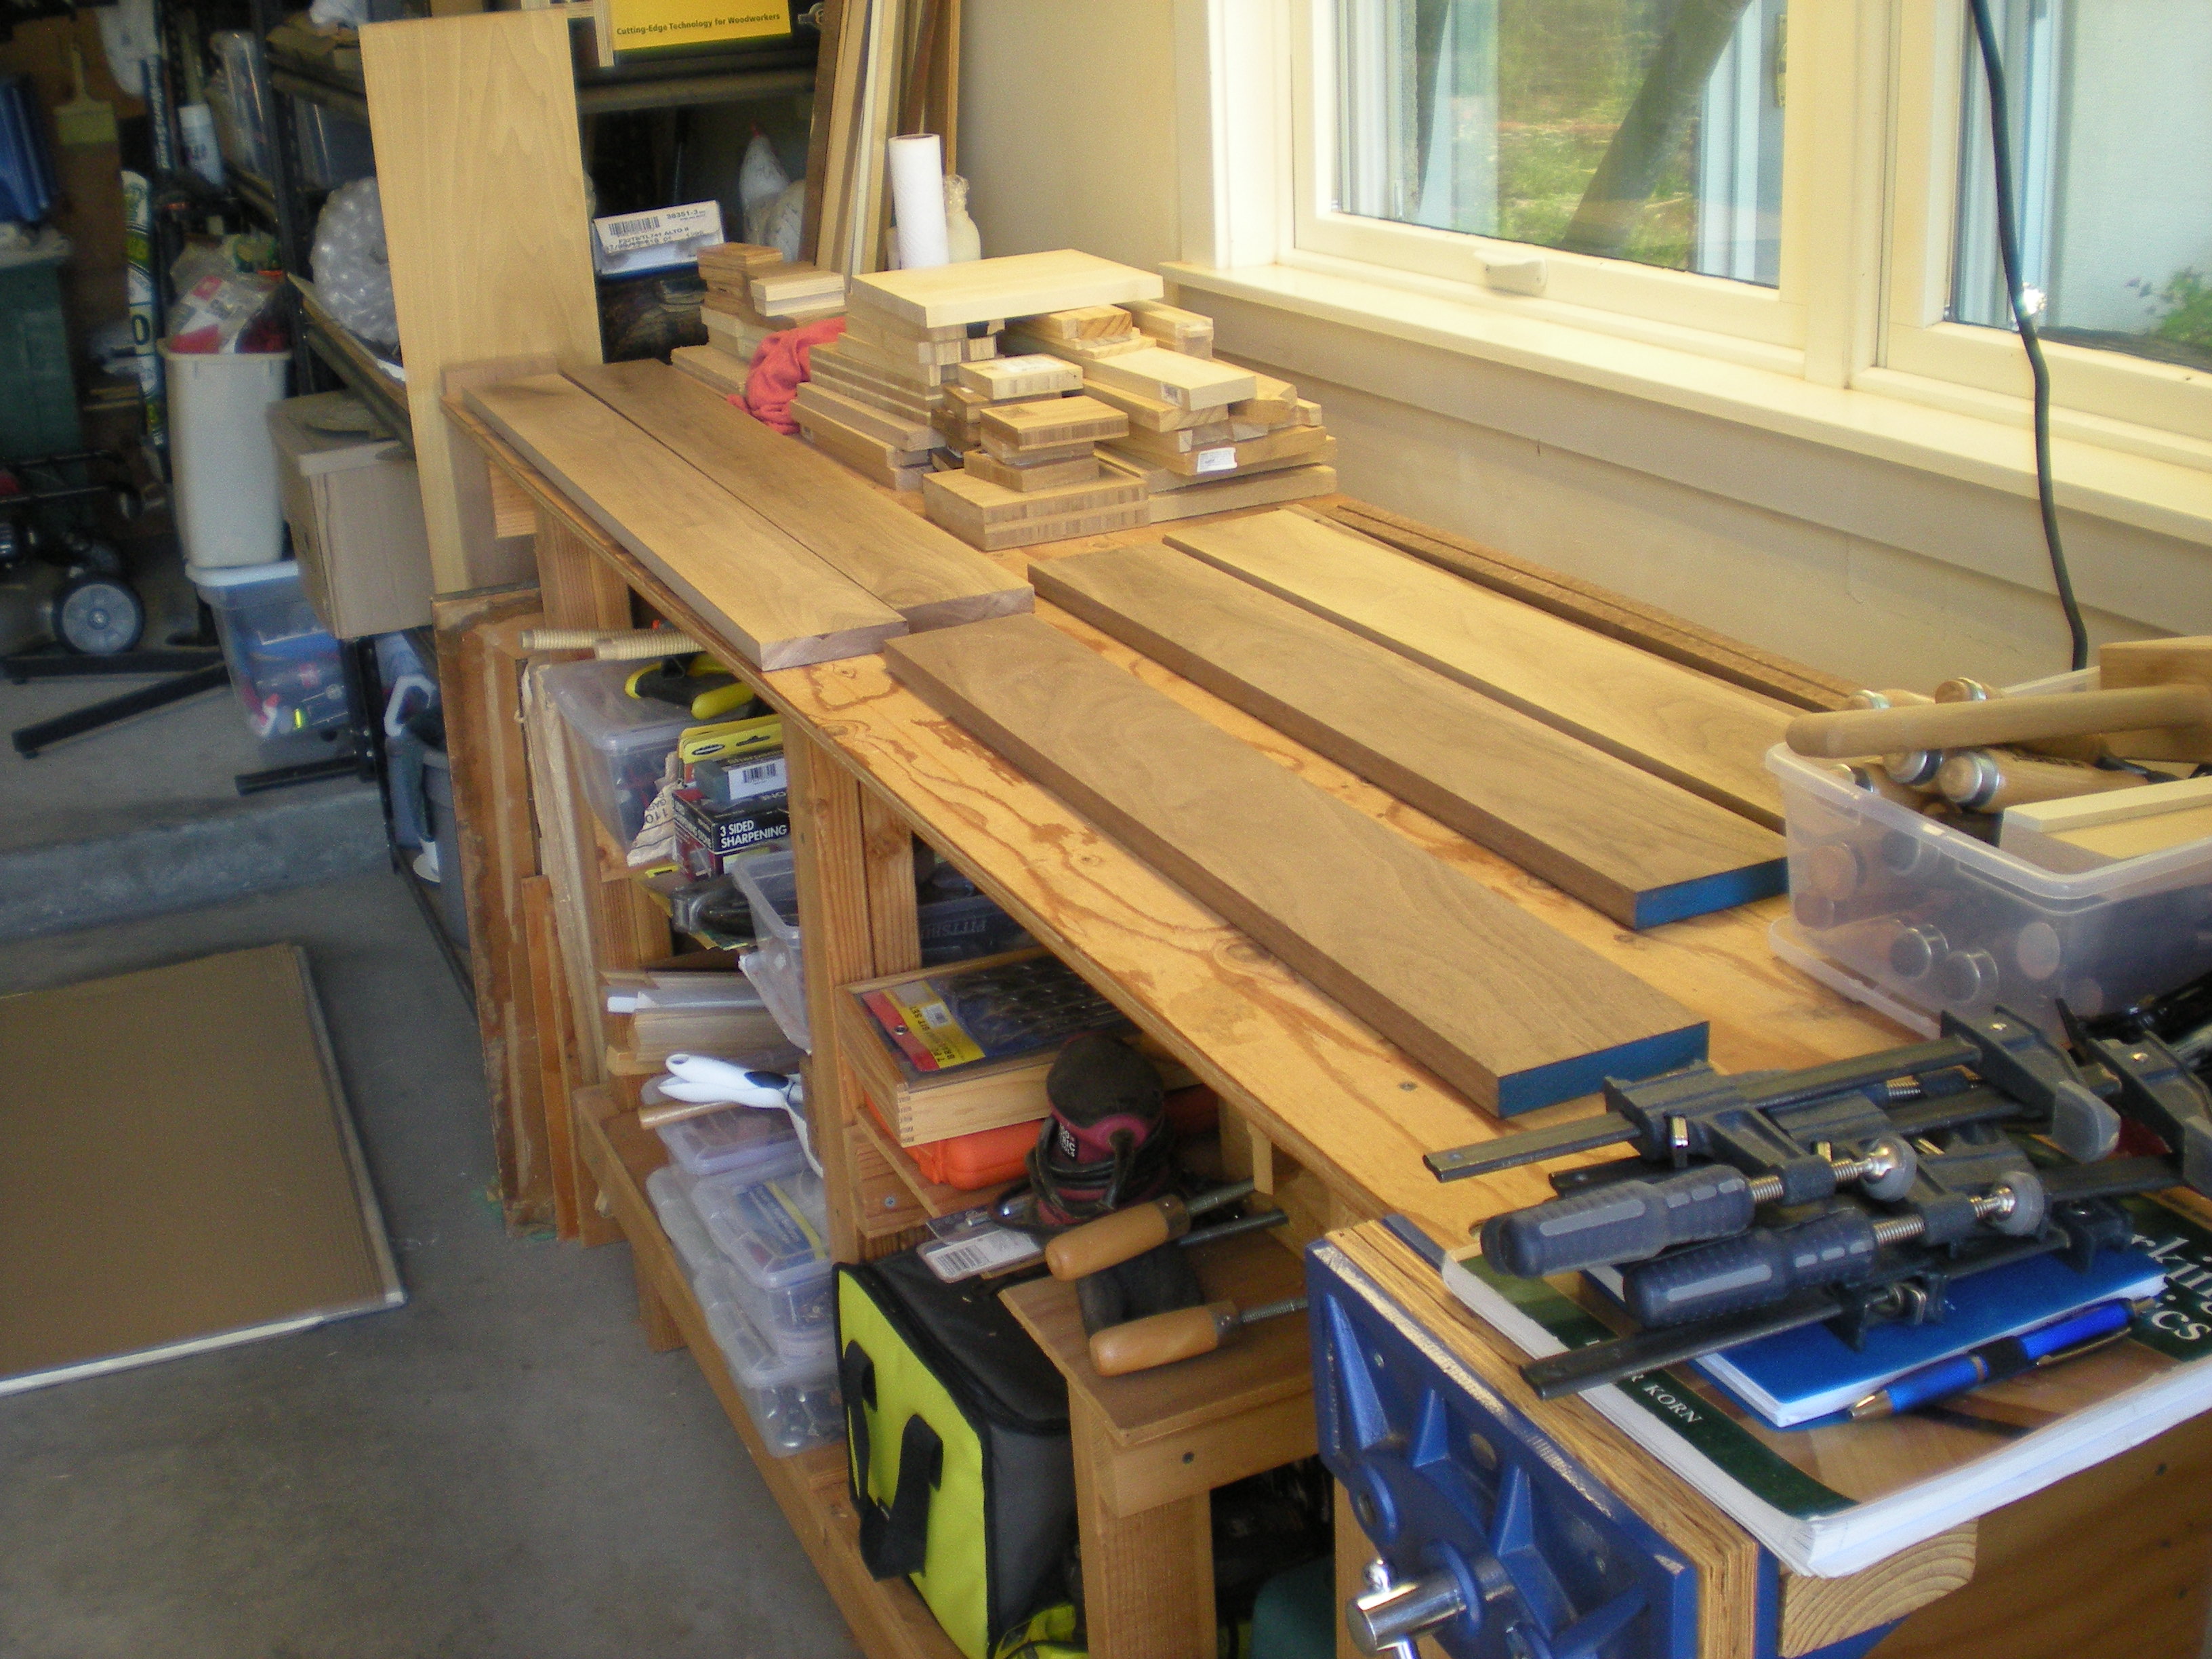
Two longer boards were fairly straight, and a couple of runs thru the planer on each side made them four square and a 3/4” thick.
The three shorter boards all had a bit of a twist to them. What I ended up doing was taking a hand place to two opposite corners, and then I turned the board. It still wasn’t four square, but it wobbled less. Now I could send it thru the planer, and get the top side pretty much flat. After that, I turned it, and flattened the other side. At the end, I had a ~5/8” four square board. I repeated that for the other two.
Next, joinery…
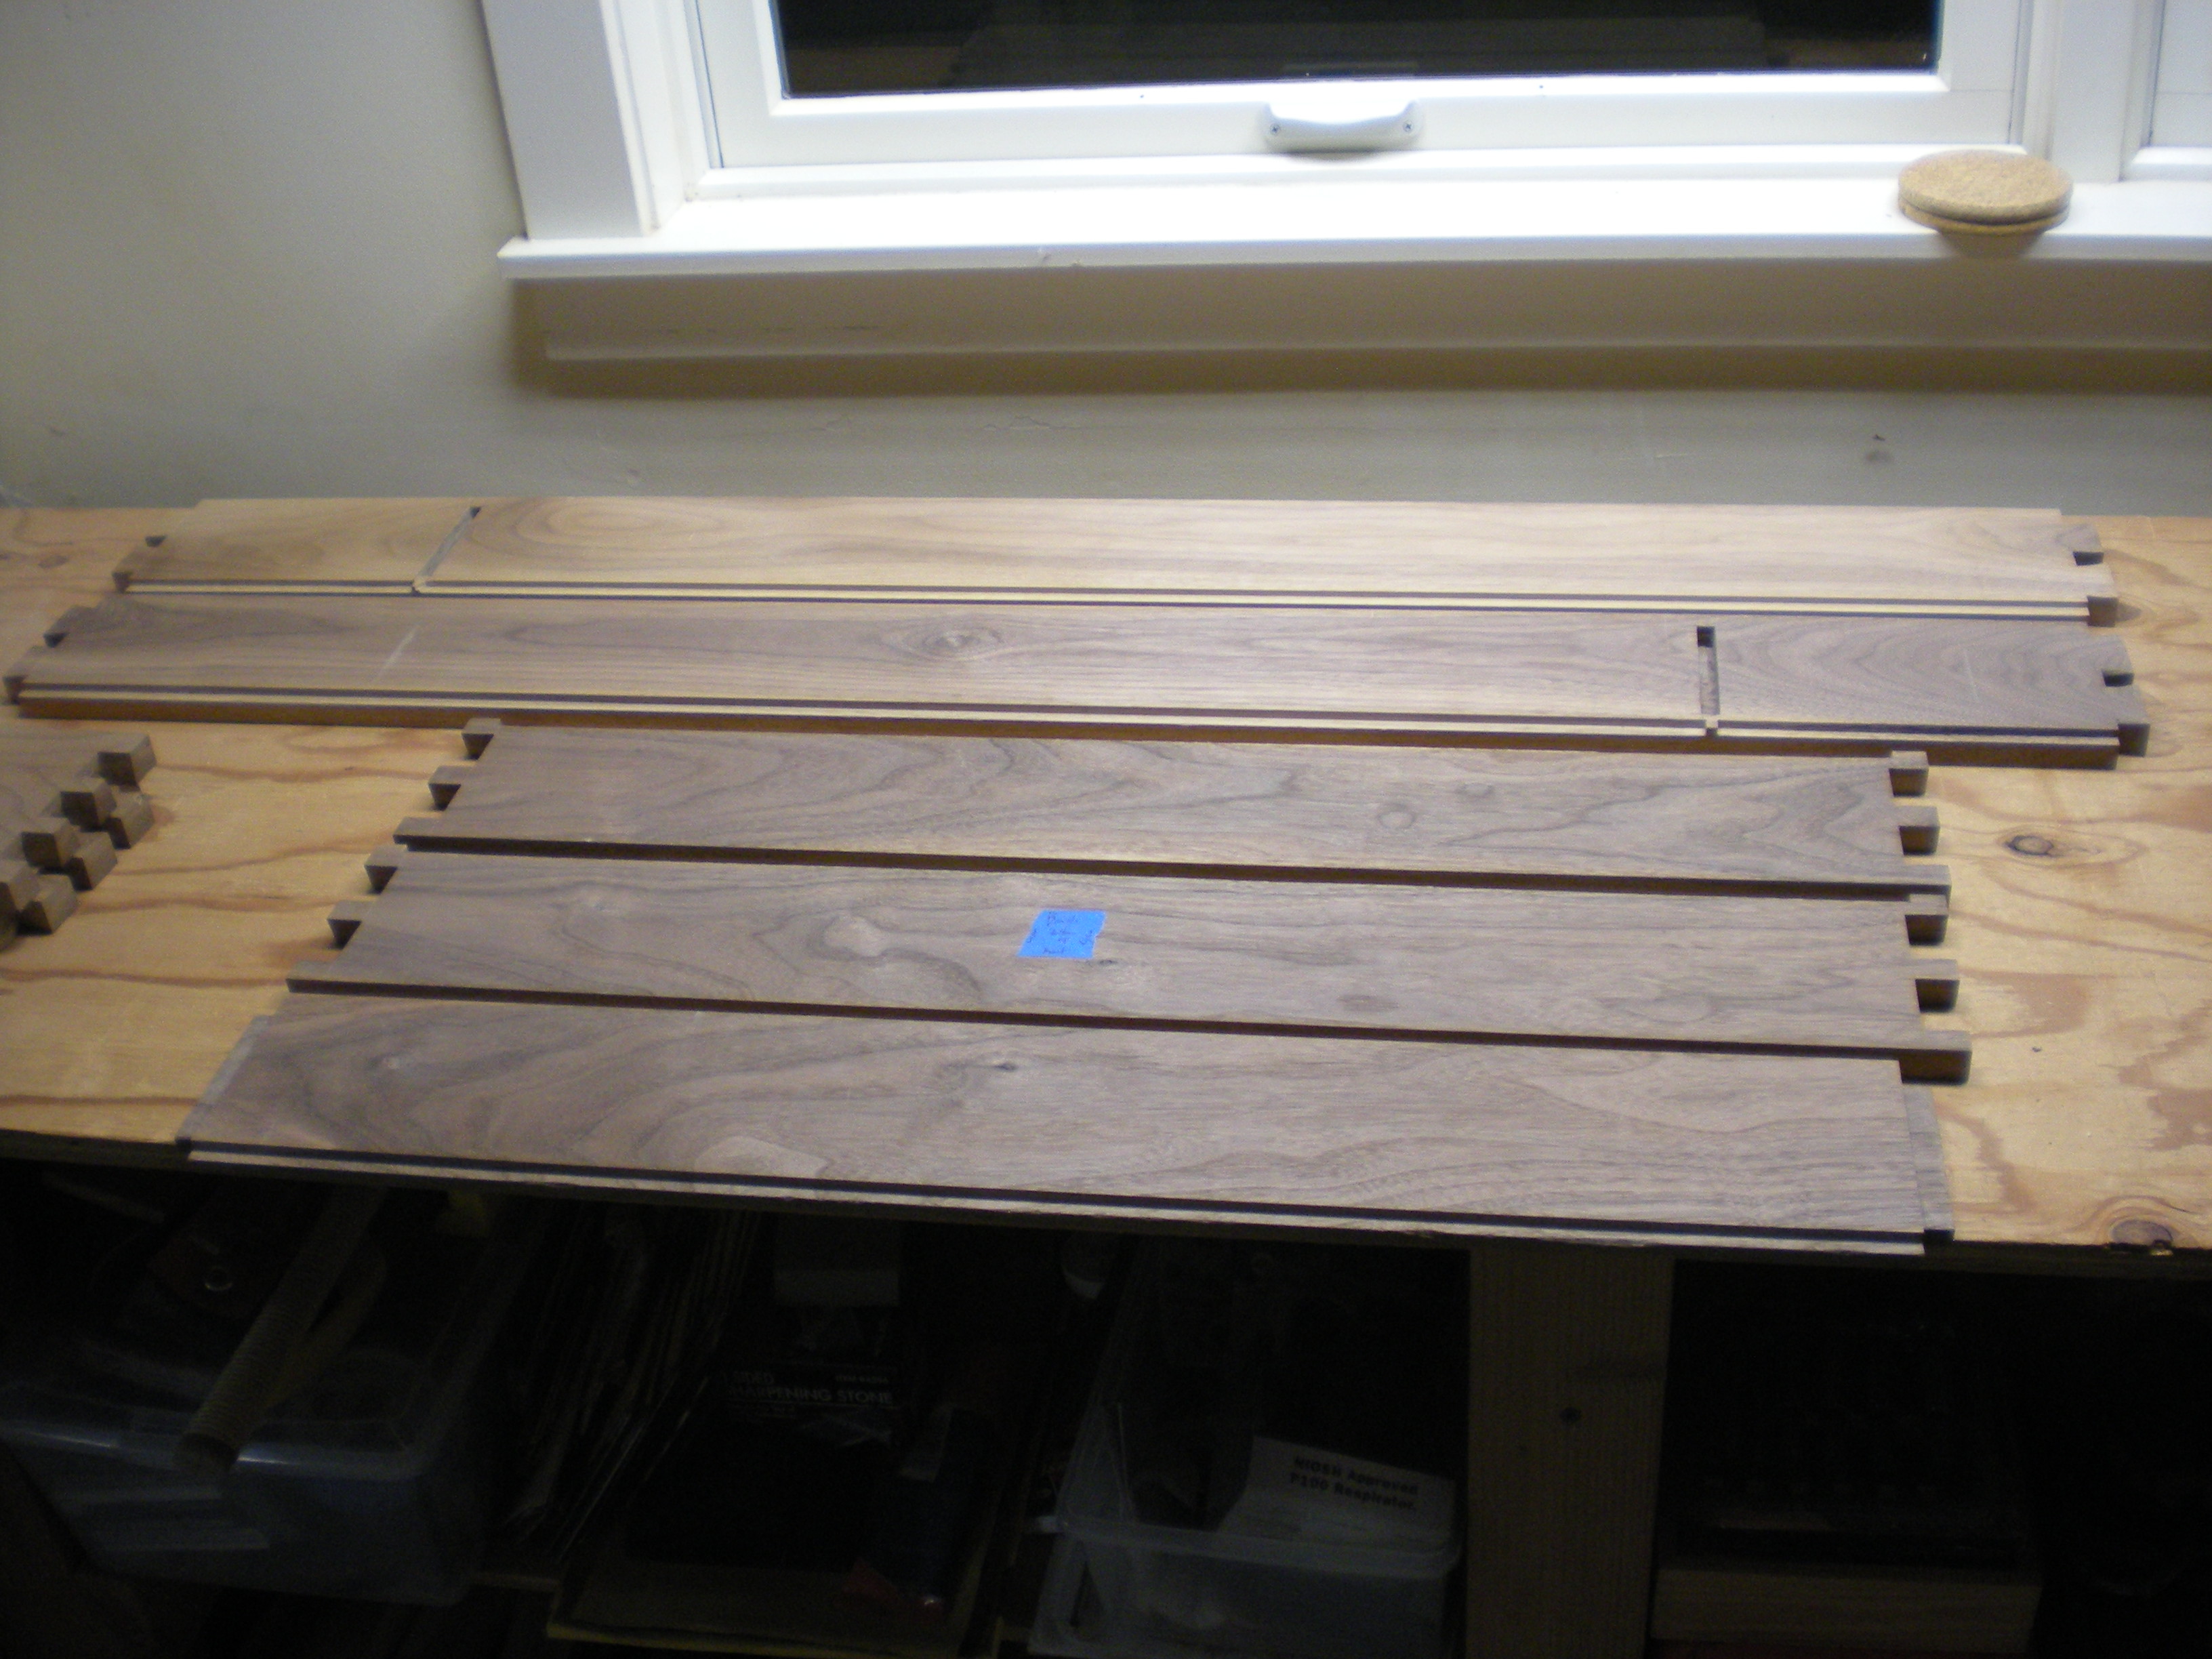
I cut four sets of dovetails for the corners with my new technique, and they all came out clean.
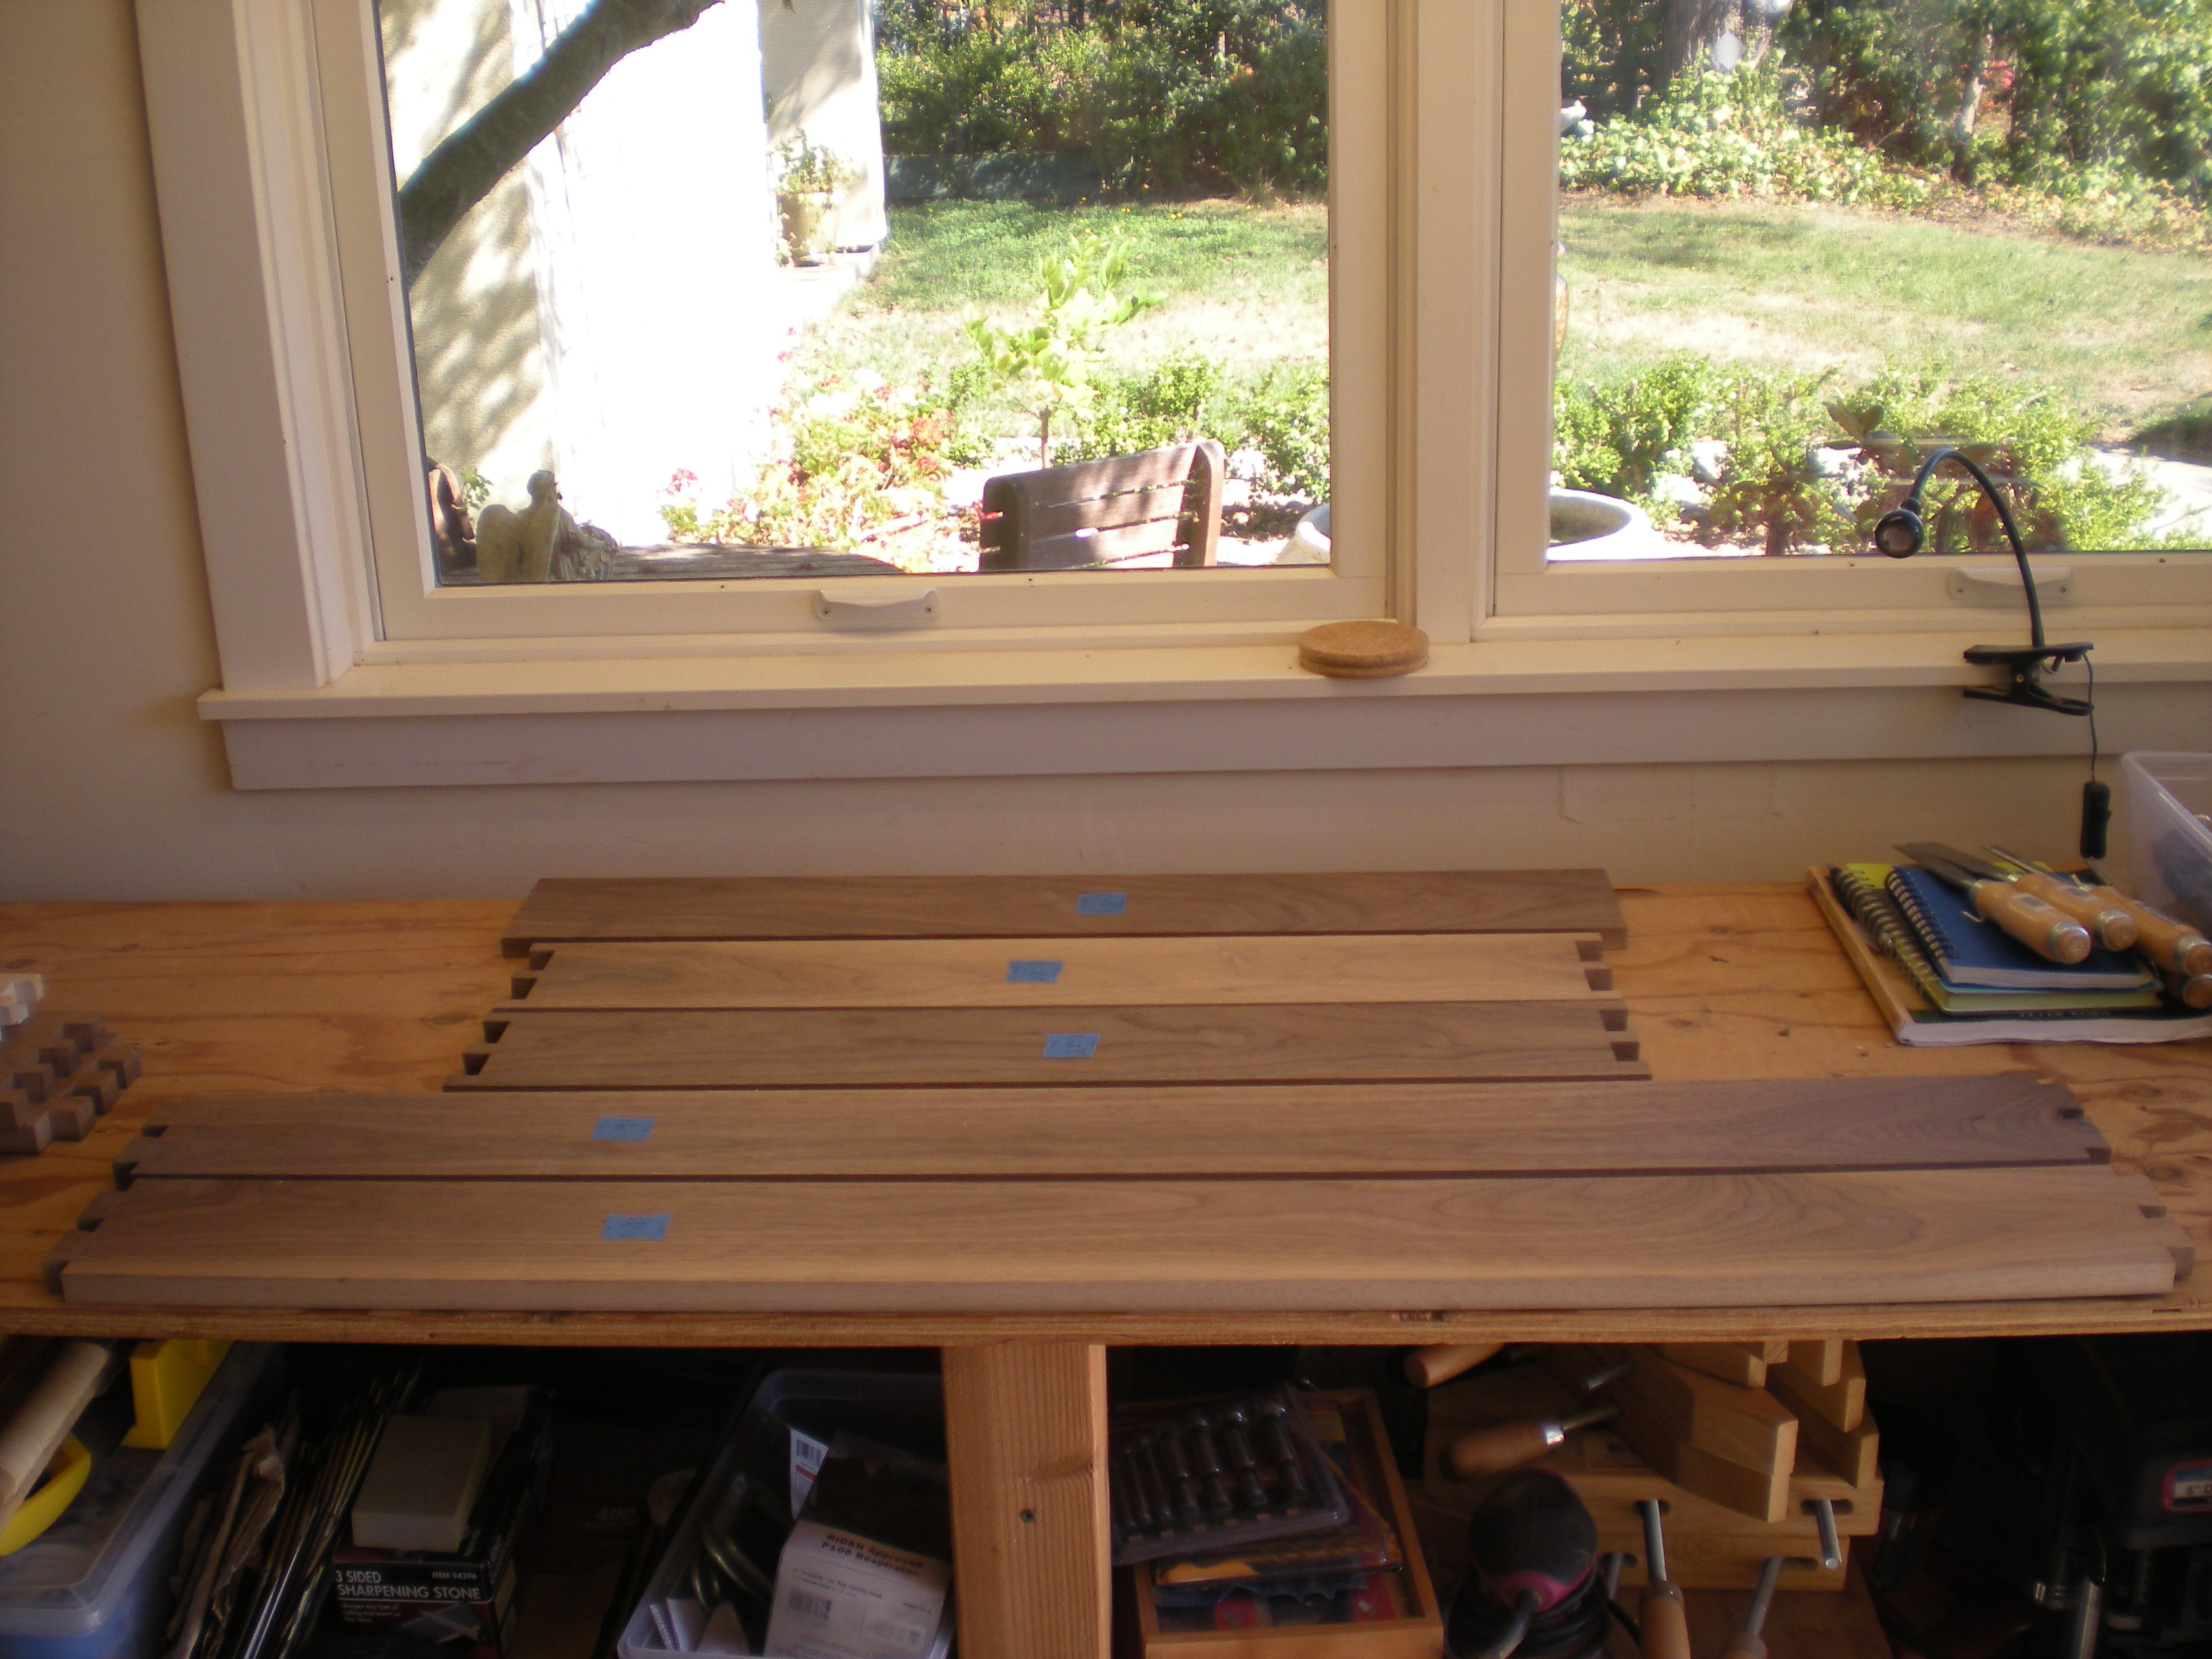 Then two mortises and tenons for the shelf.
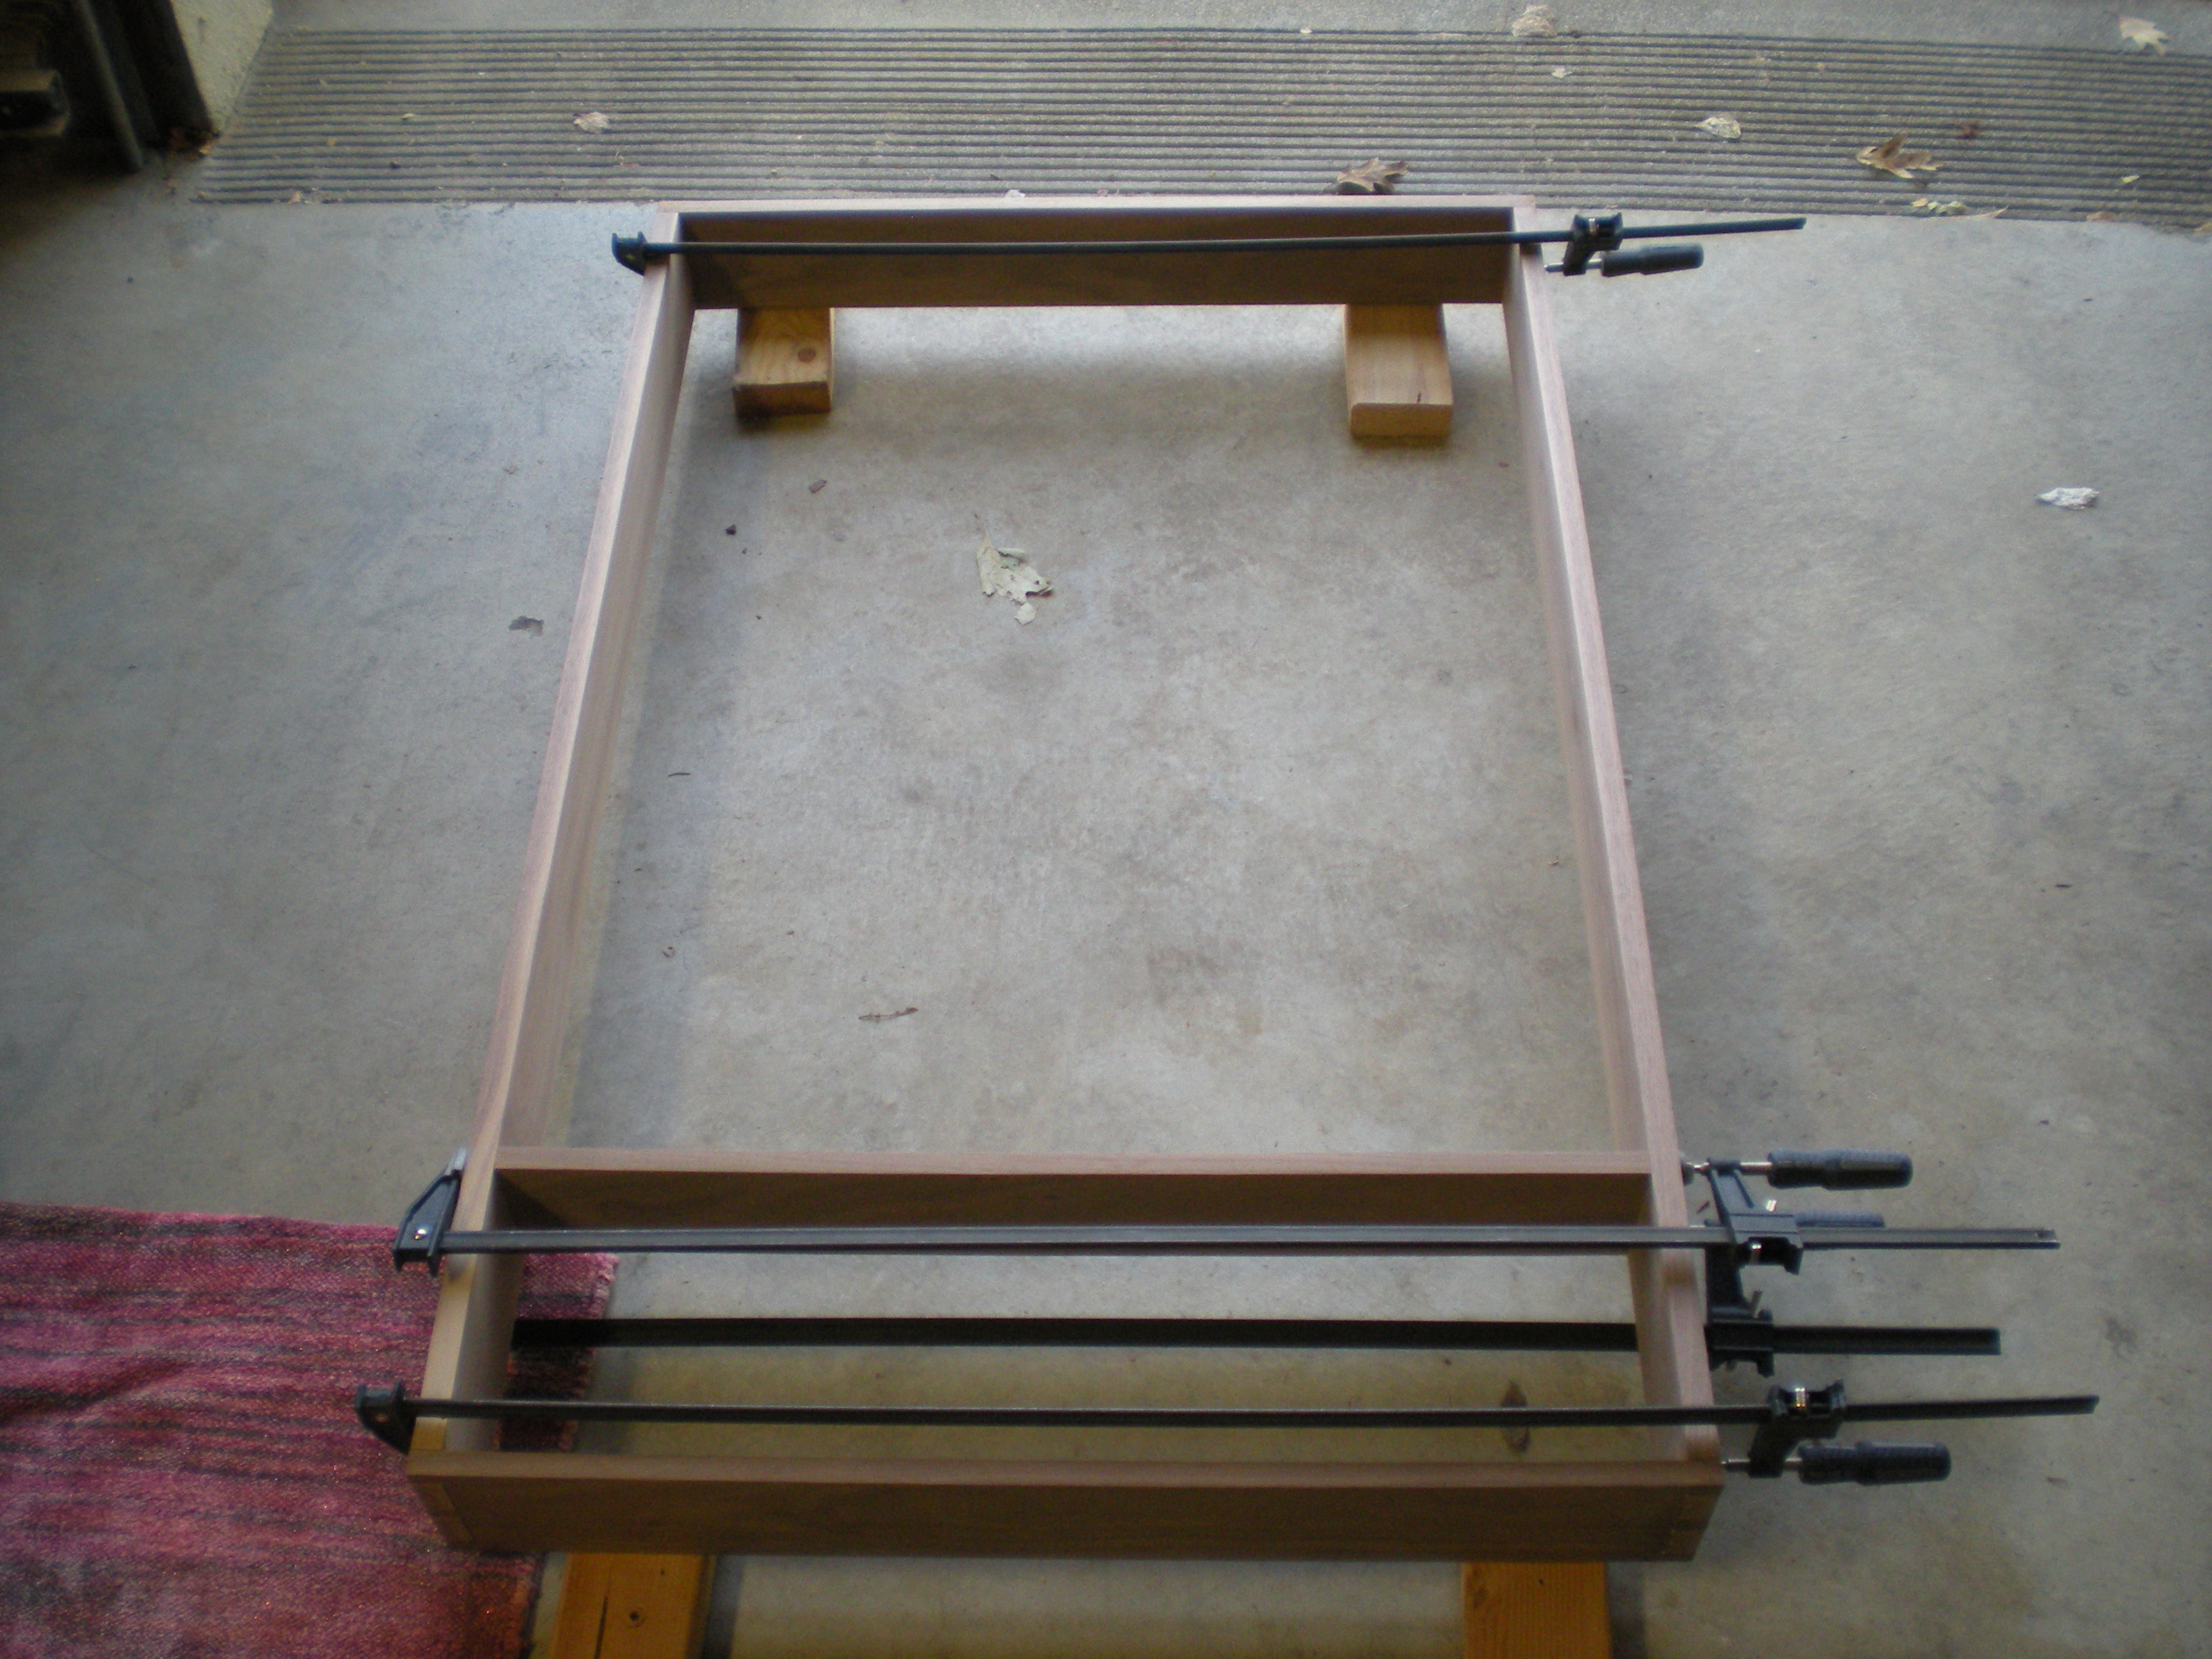
 The initial dryfit came together very well.
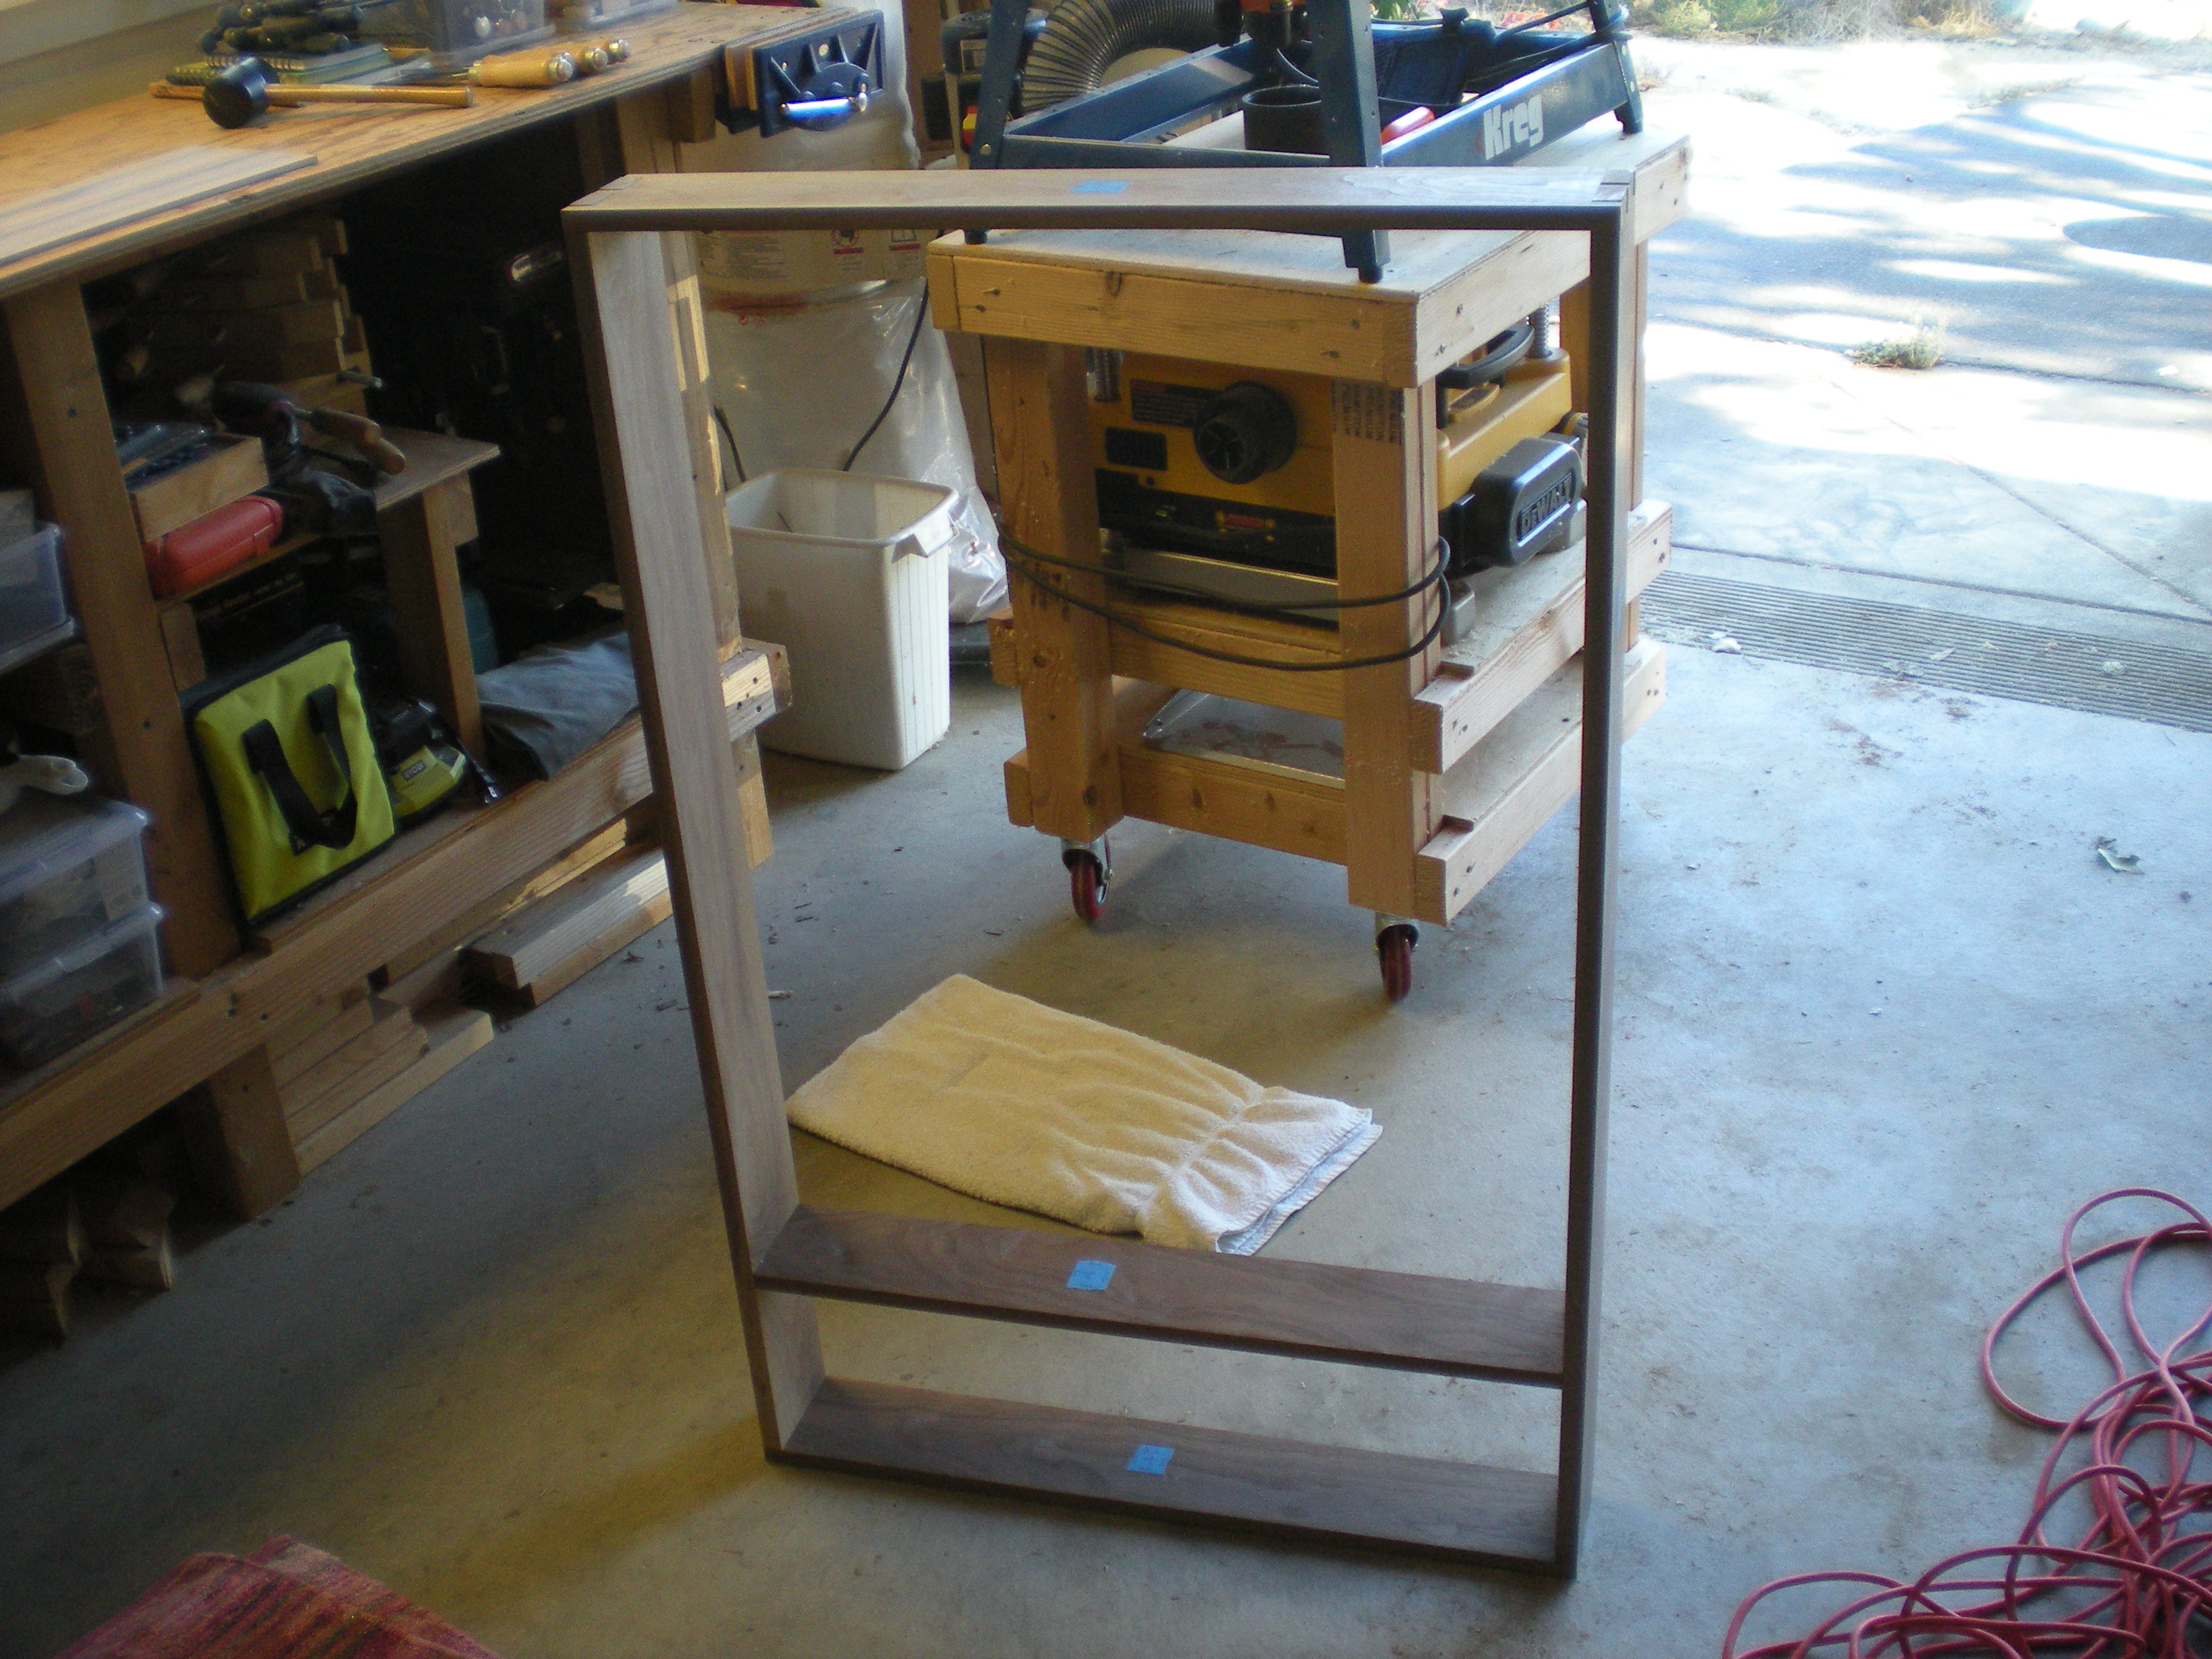 Next, the back panel. I ripped a narrow strip off one board, and this will be cross-cut, re-sawed, cleaned up and edge-glued.
Here are the pieces:
 Now they have been cross-cut and re-sawed:
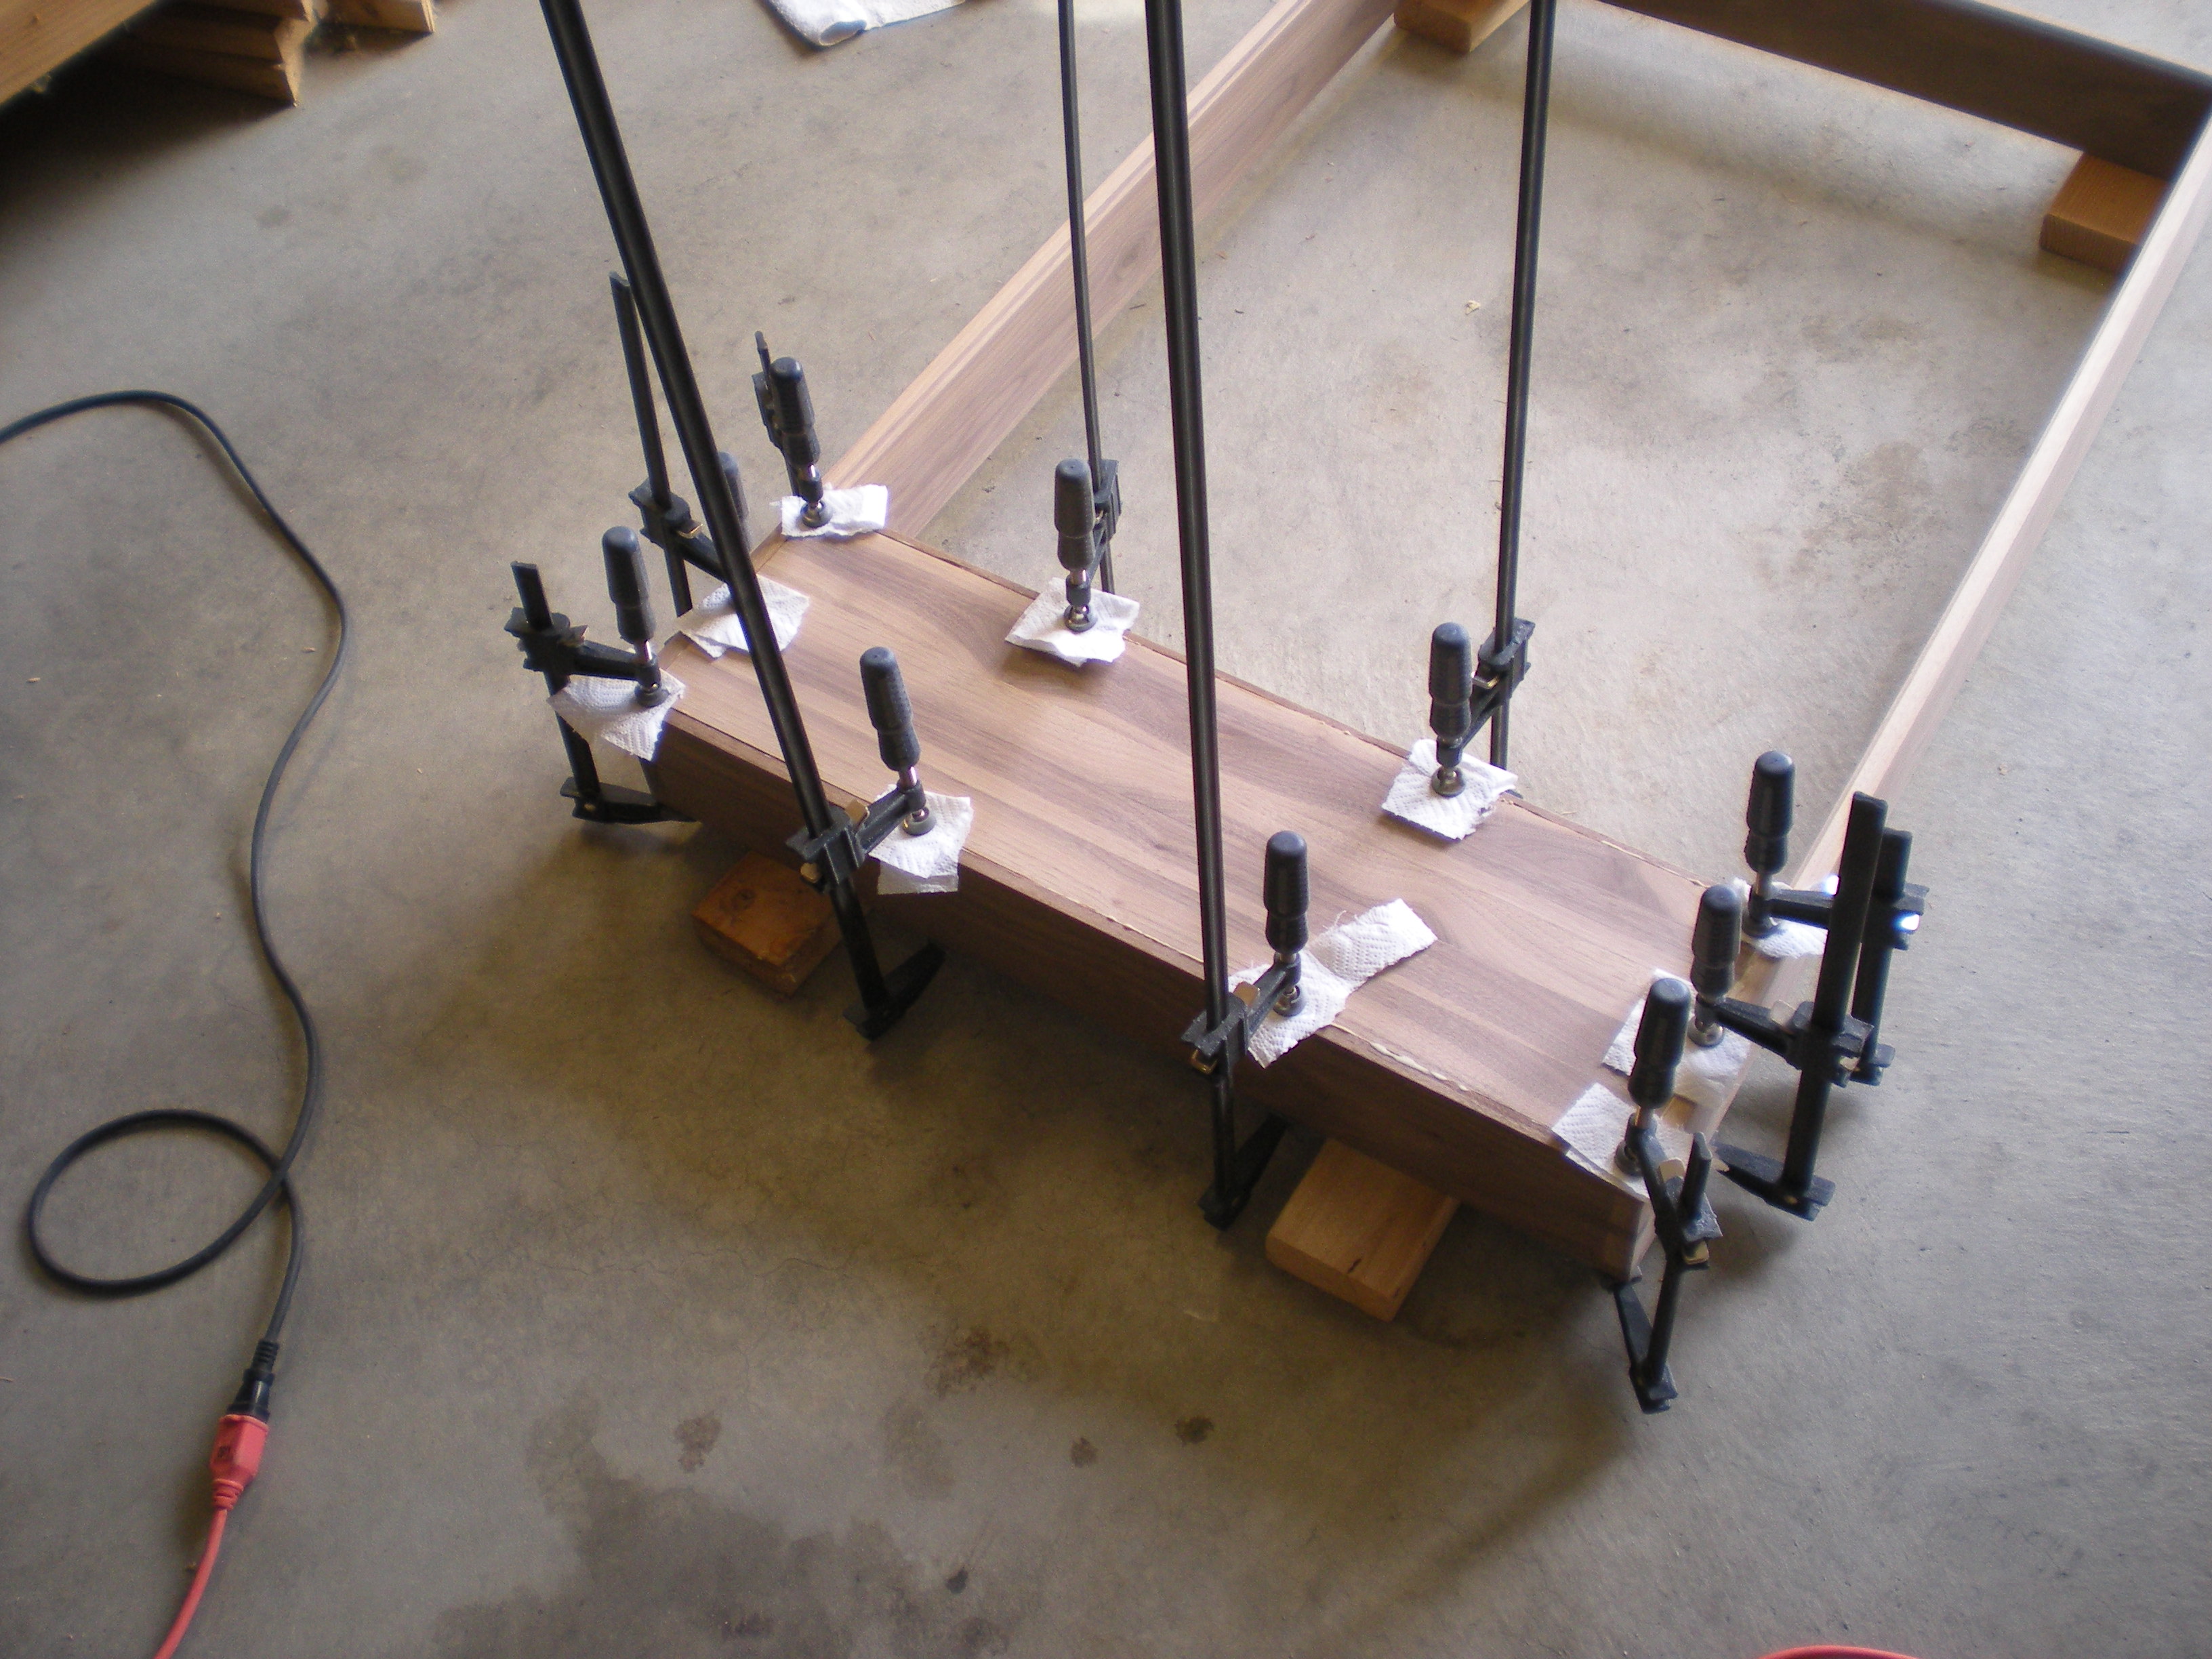
 I cleaned them up, and then edge-glued. I decided to glue four times, instead of trying to do them all at once. Here’s the first glue-up:
 This is the near-final panel, after smoothing it thru the thinkness planer. All I need is to cut it to final size.
 Next, the two sets of rabbets for the mirror and back panel to be recessed in. I can either make those now, or with a trim router after glue-up. I choose to make them now. I mostly used a router, but some chisel work also.
Next, I sanded each piece with 100-, 150- and 220-grit sandpaper, and lightly broke the edges.
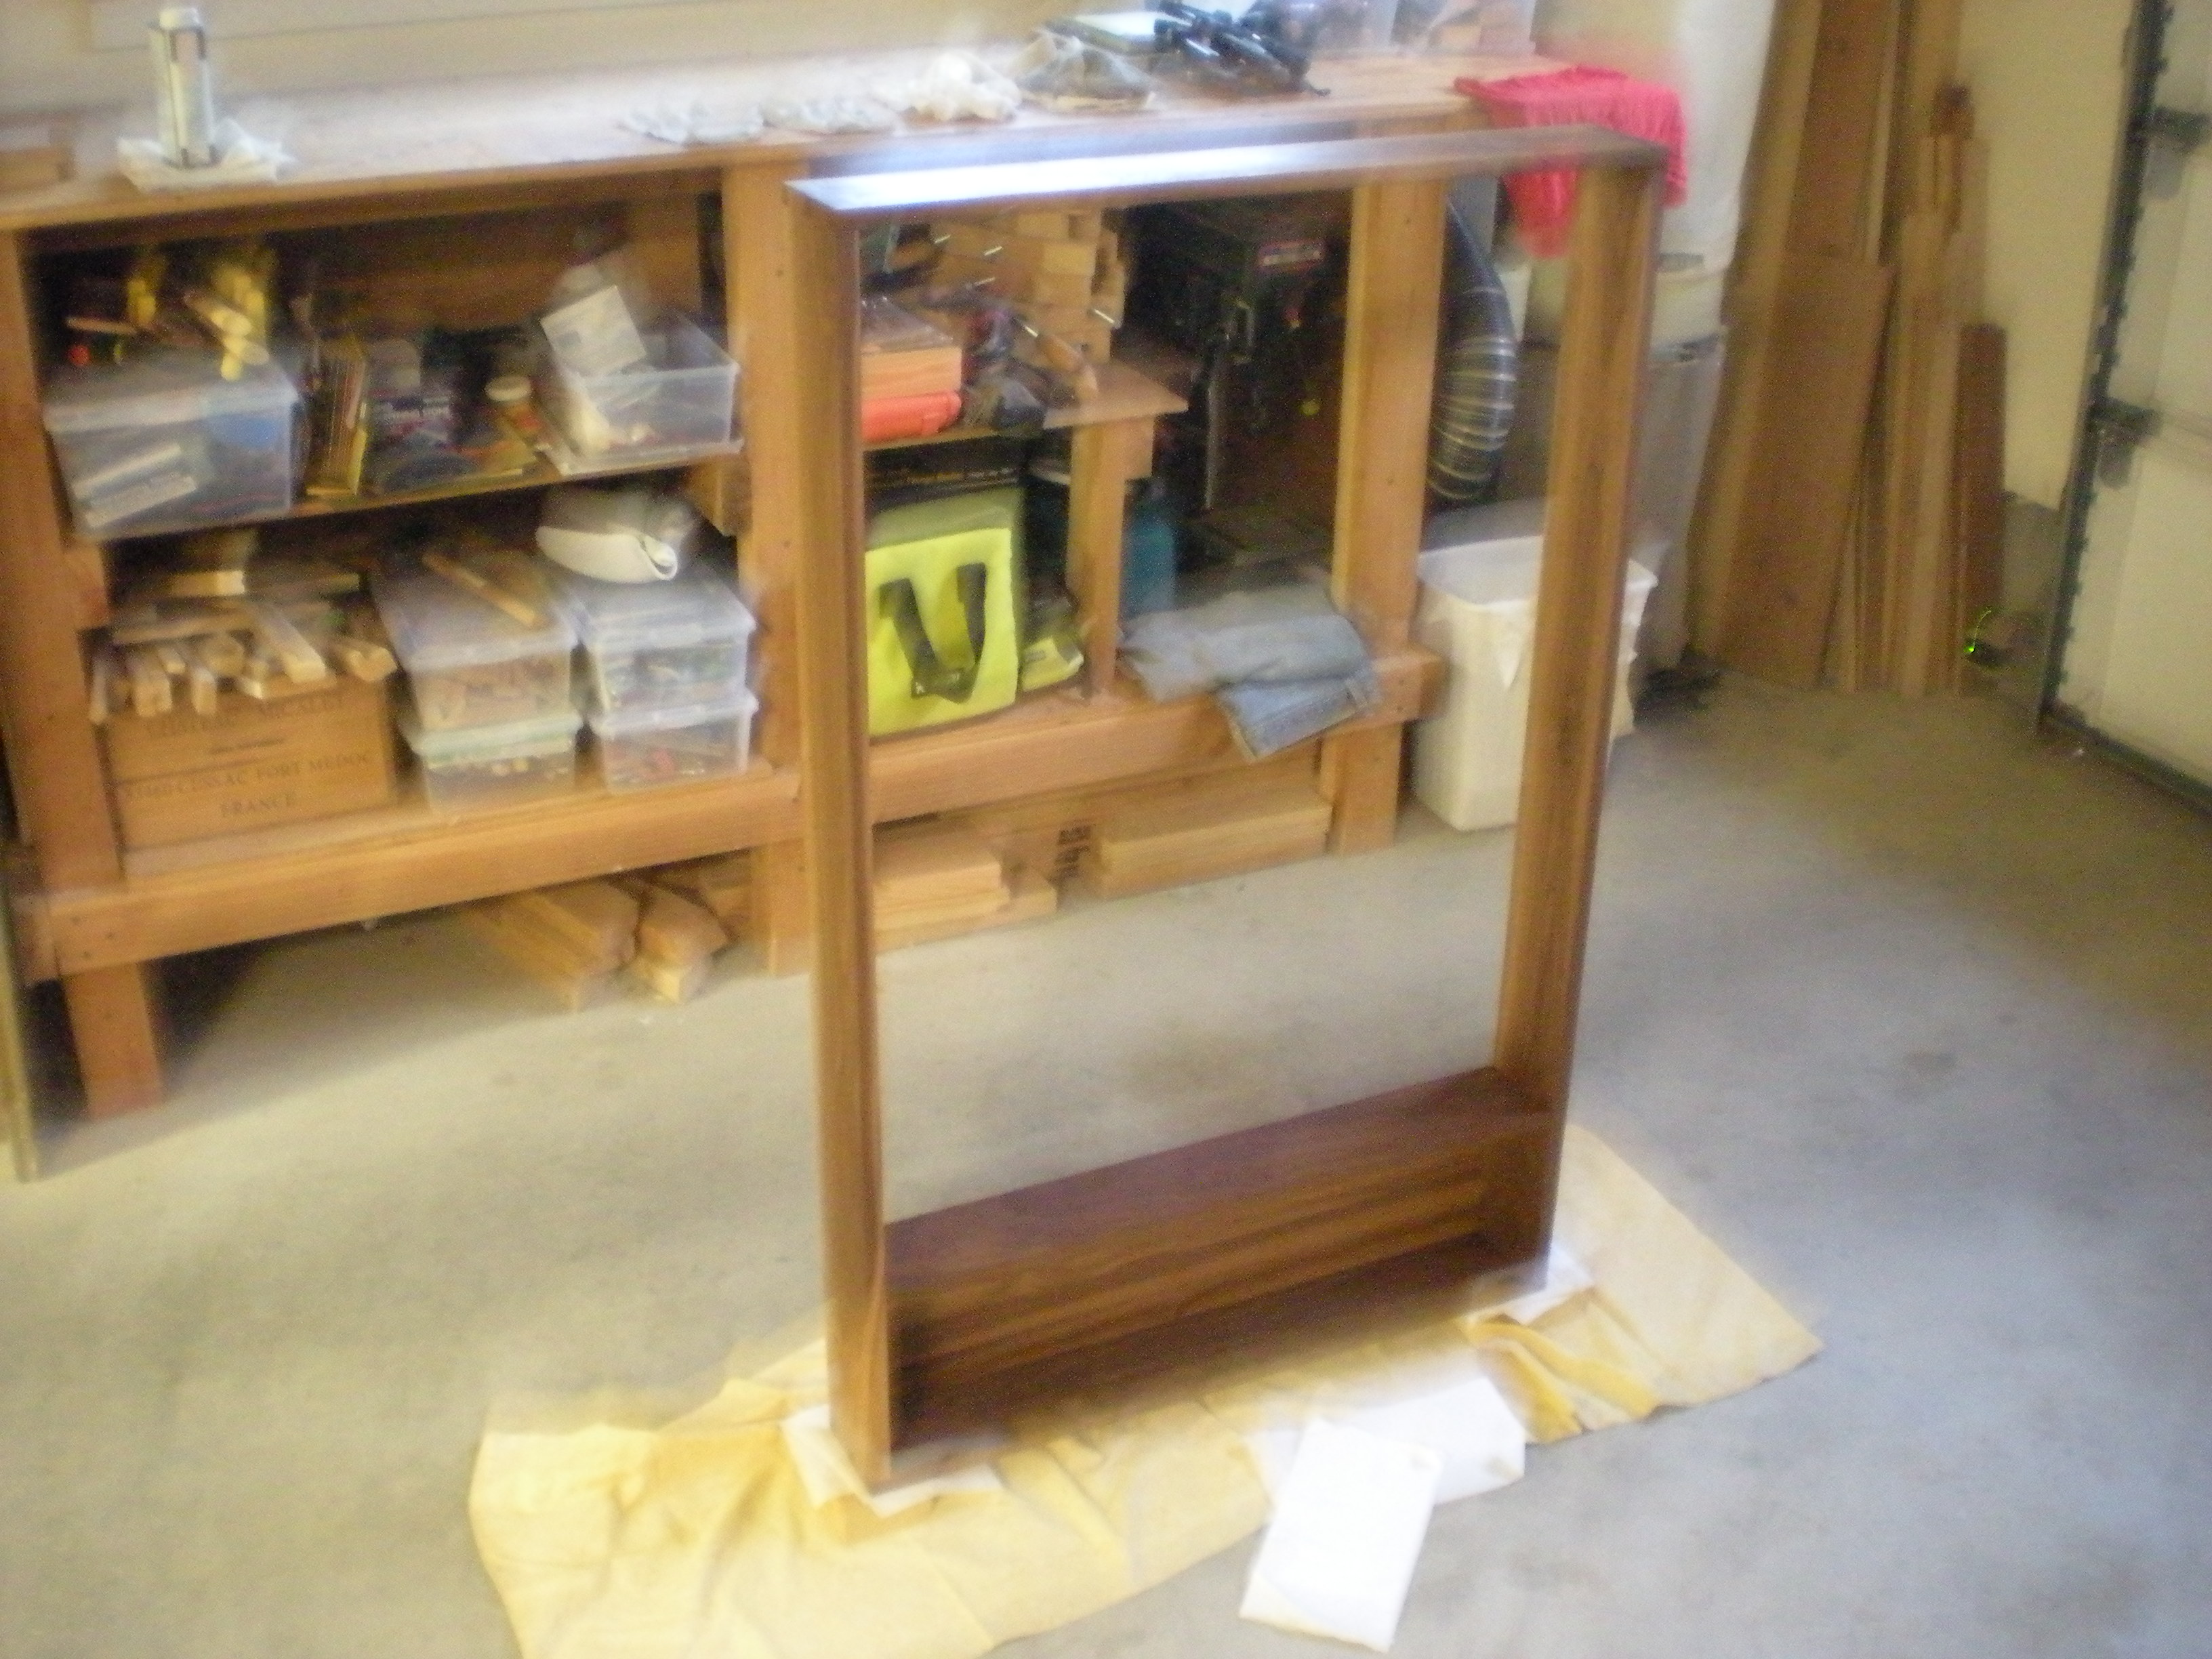
The final dryfit was smooth.
Glue-up was two stages. First, the frame:
 Next, I cleaned up a bit of leftover glue – not much, I have been using less glue lately, and I think it’s a good change – and smoothed all exterior corners.
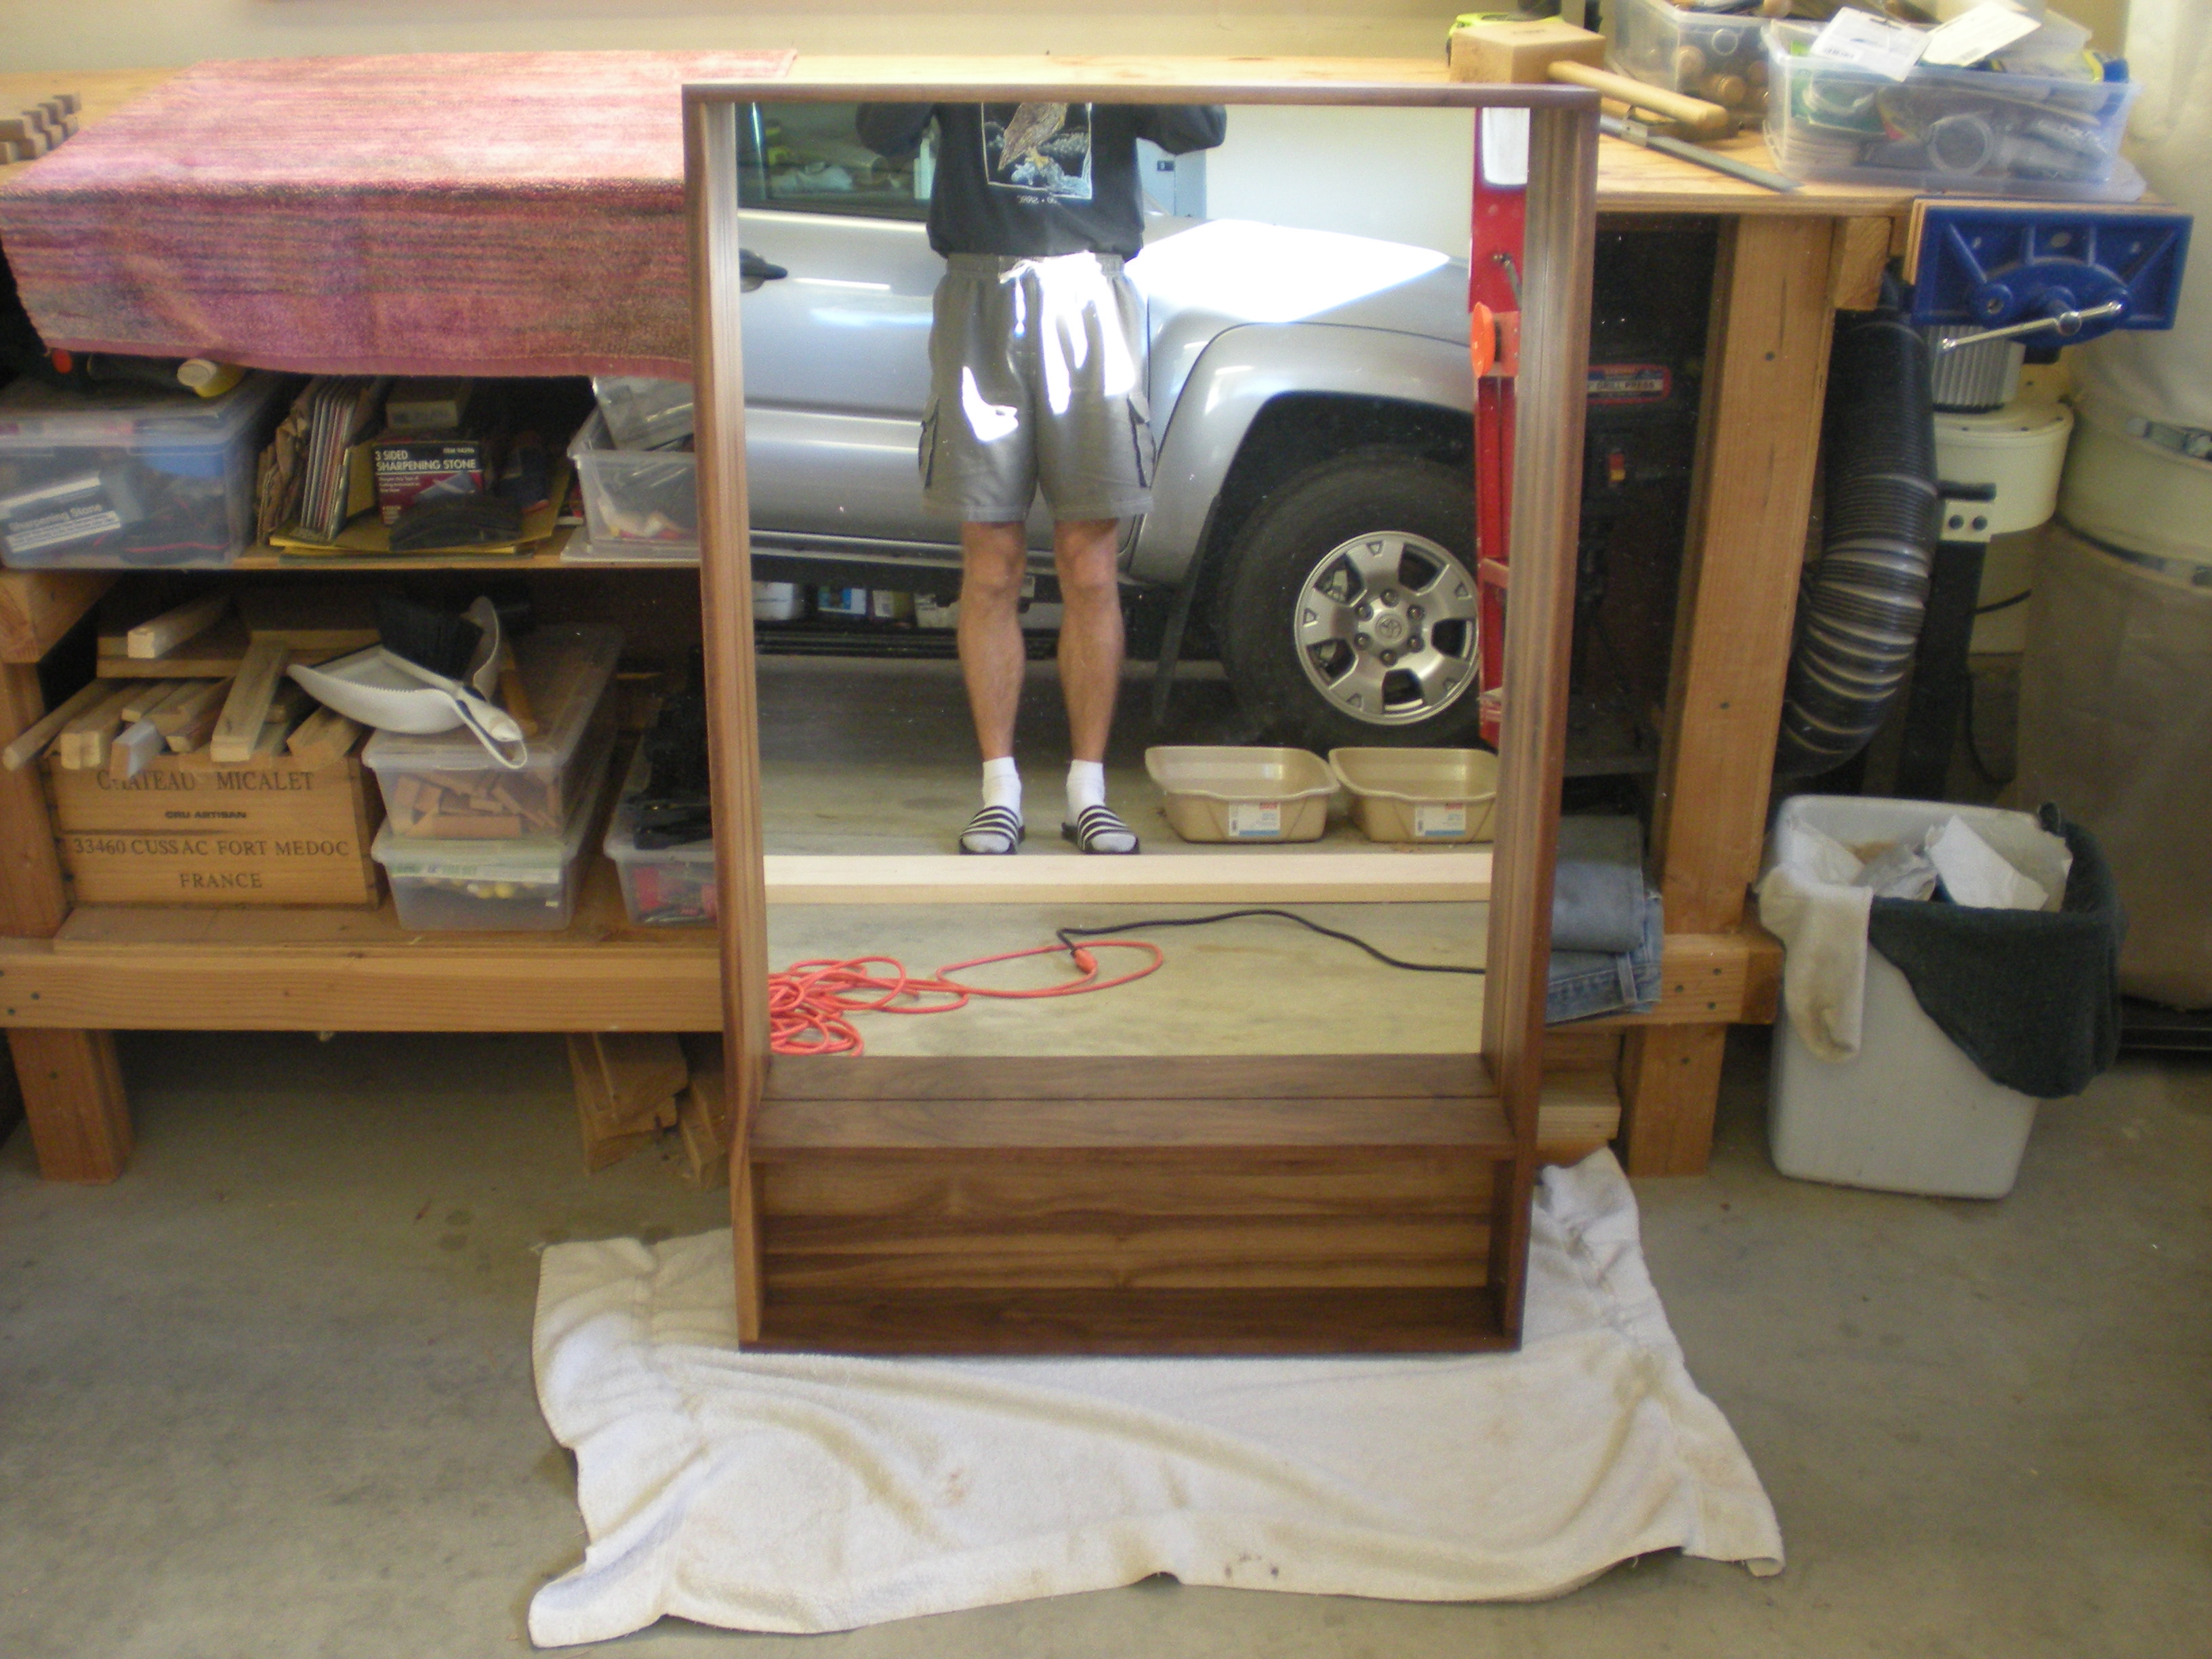
Then I cut the back panel for the cubby to final size, and glued it in:
 After cleaning up glue and gently sanding and wiping it again, it was time to finish. I did two coats of Watco Danish Oil.
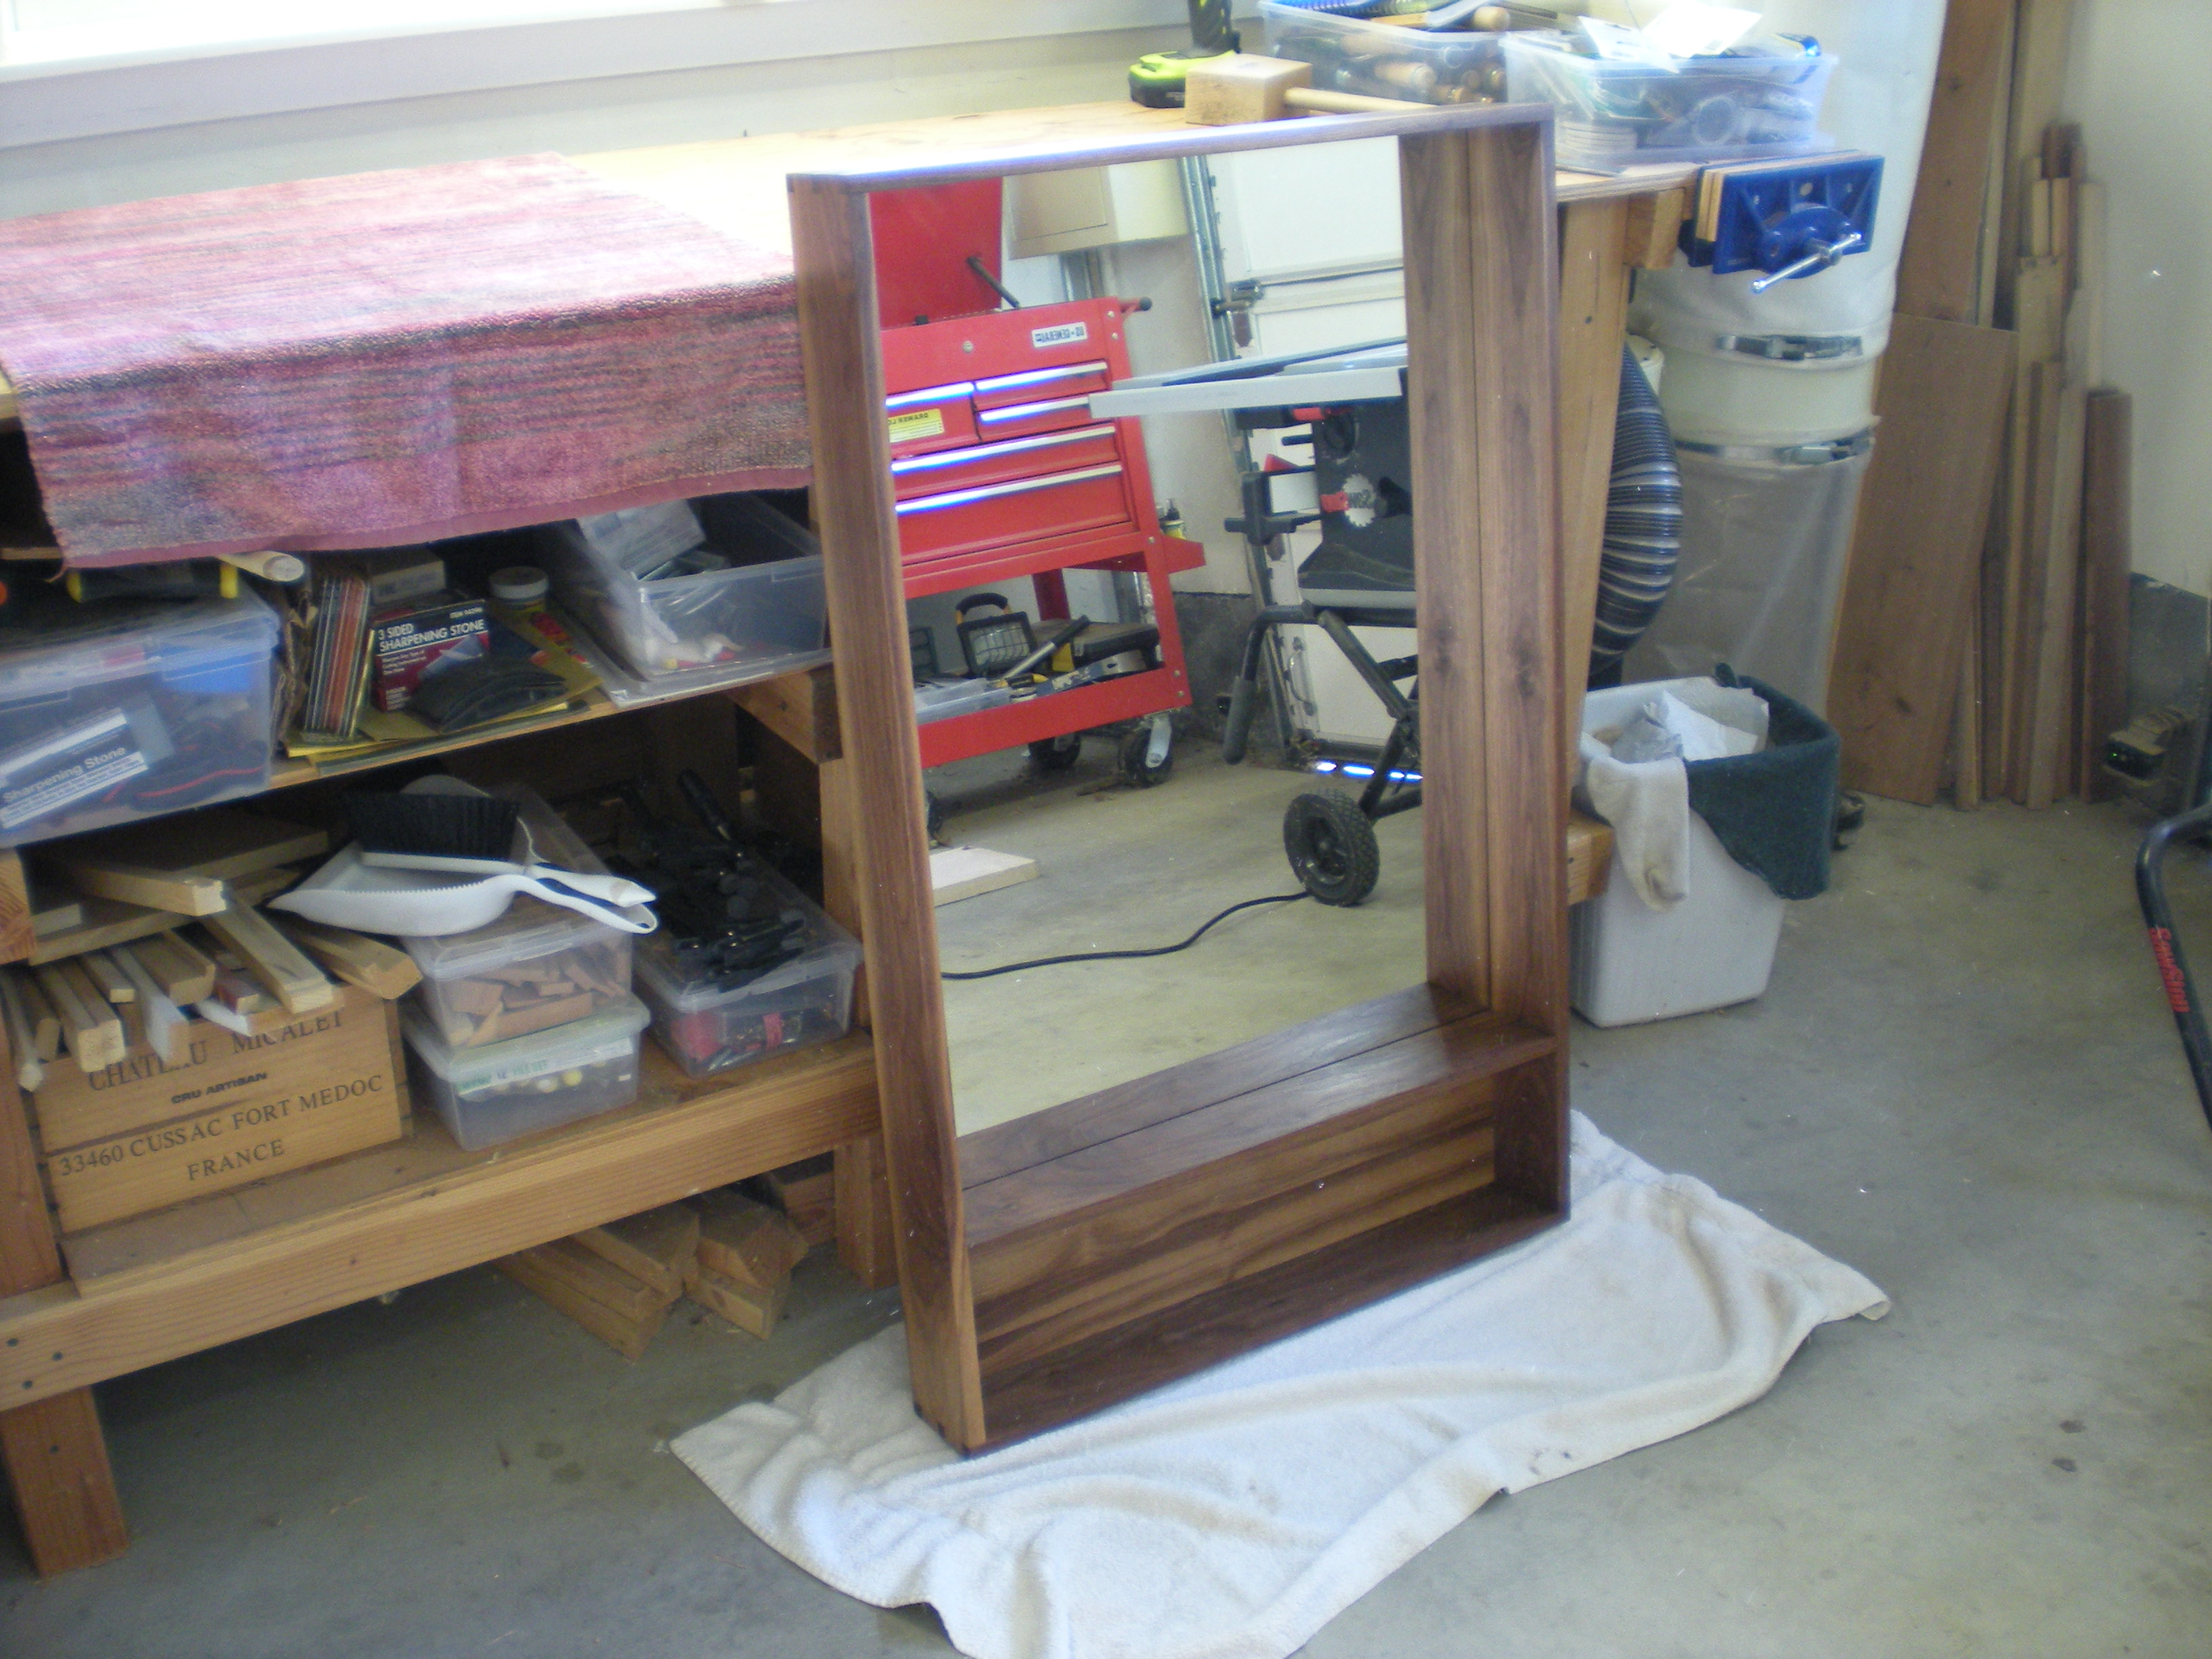
 Next, I bought a mirror with backing, and attached it with a clear silicone adhesive. Also, I attached the hardware to hang it. I didn’t “sign” it with a brass metal name plate yet.
Here, the finished product:
 More/better pictures will be added.
Sounds and looks lovely. Next time your dad visits ….would love to see photos of you and him together…perhaps shopping for wood…or in the workshop.