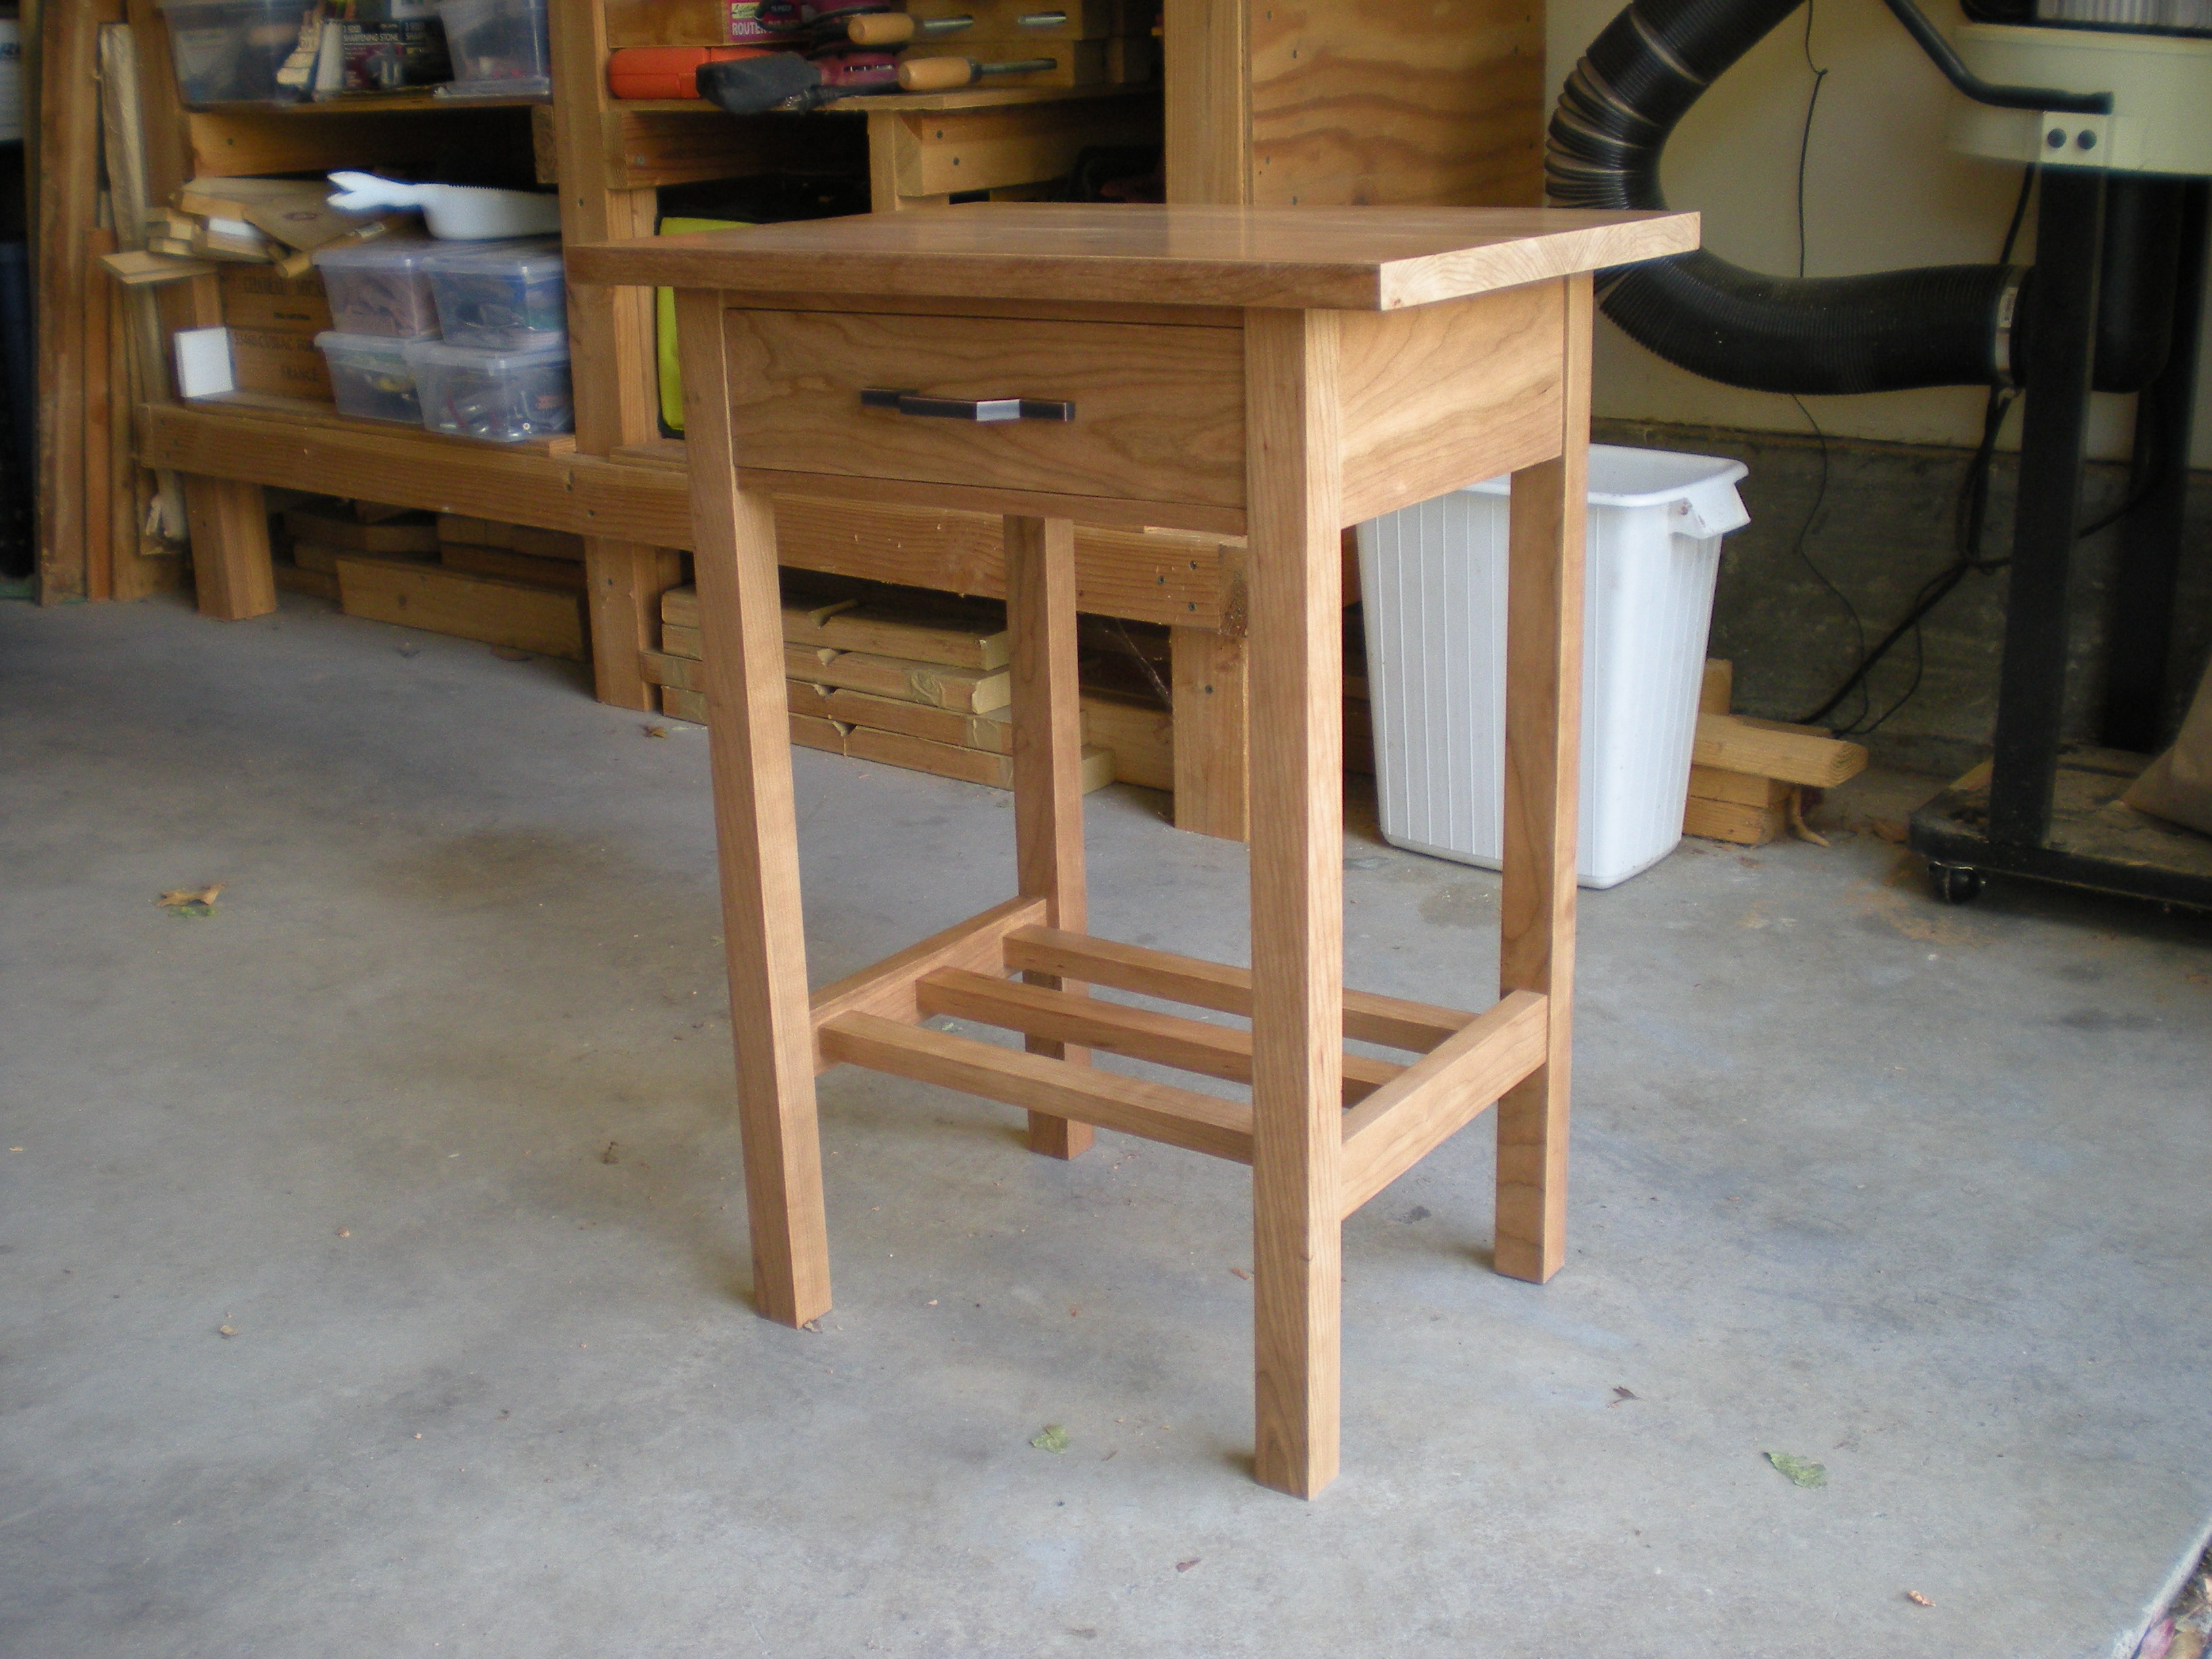
As my next project, I wanted to challenge myself with something a bit more complicated – but still doable. I settled on a basics Shaker table with a narrow drawer (Christian Becksvoort, Fine Woodworking January/February 2010) , and added a Craftsman-style lower shelf to turn it into a nightstand.
My parents were visiting when it was time to buy raw stock, so my dad went with me to Mt. Storm. We had a good time looking at all the various wood choices. I settled on cherry, since this is a classic material I had not yet worked with – and since they had the perfect little 2”x8”x3′ cherry scrap which simply seemed perfect for the legs.
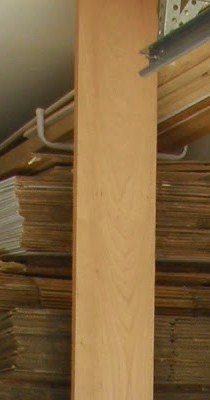
This is part of the 1”x8”x9′ board. I don’t have a photo of the 2”x8”x3′ board.
 Rough boards were milled with power tools, all joinery was cut by hand.
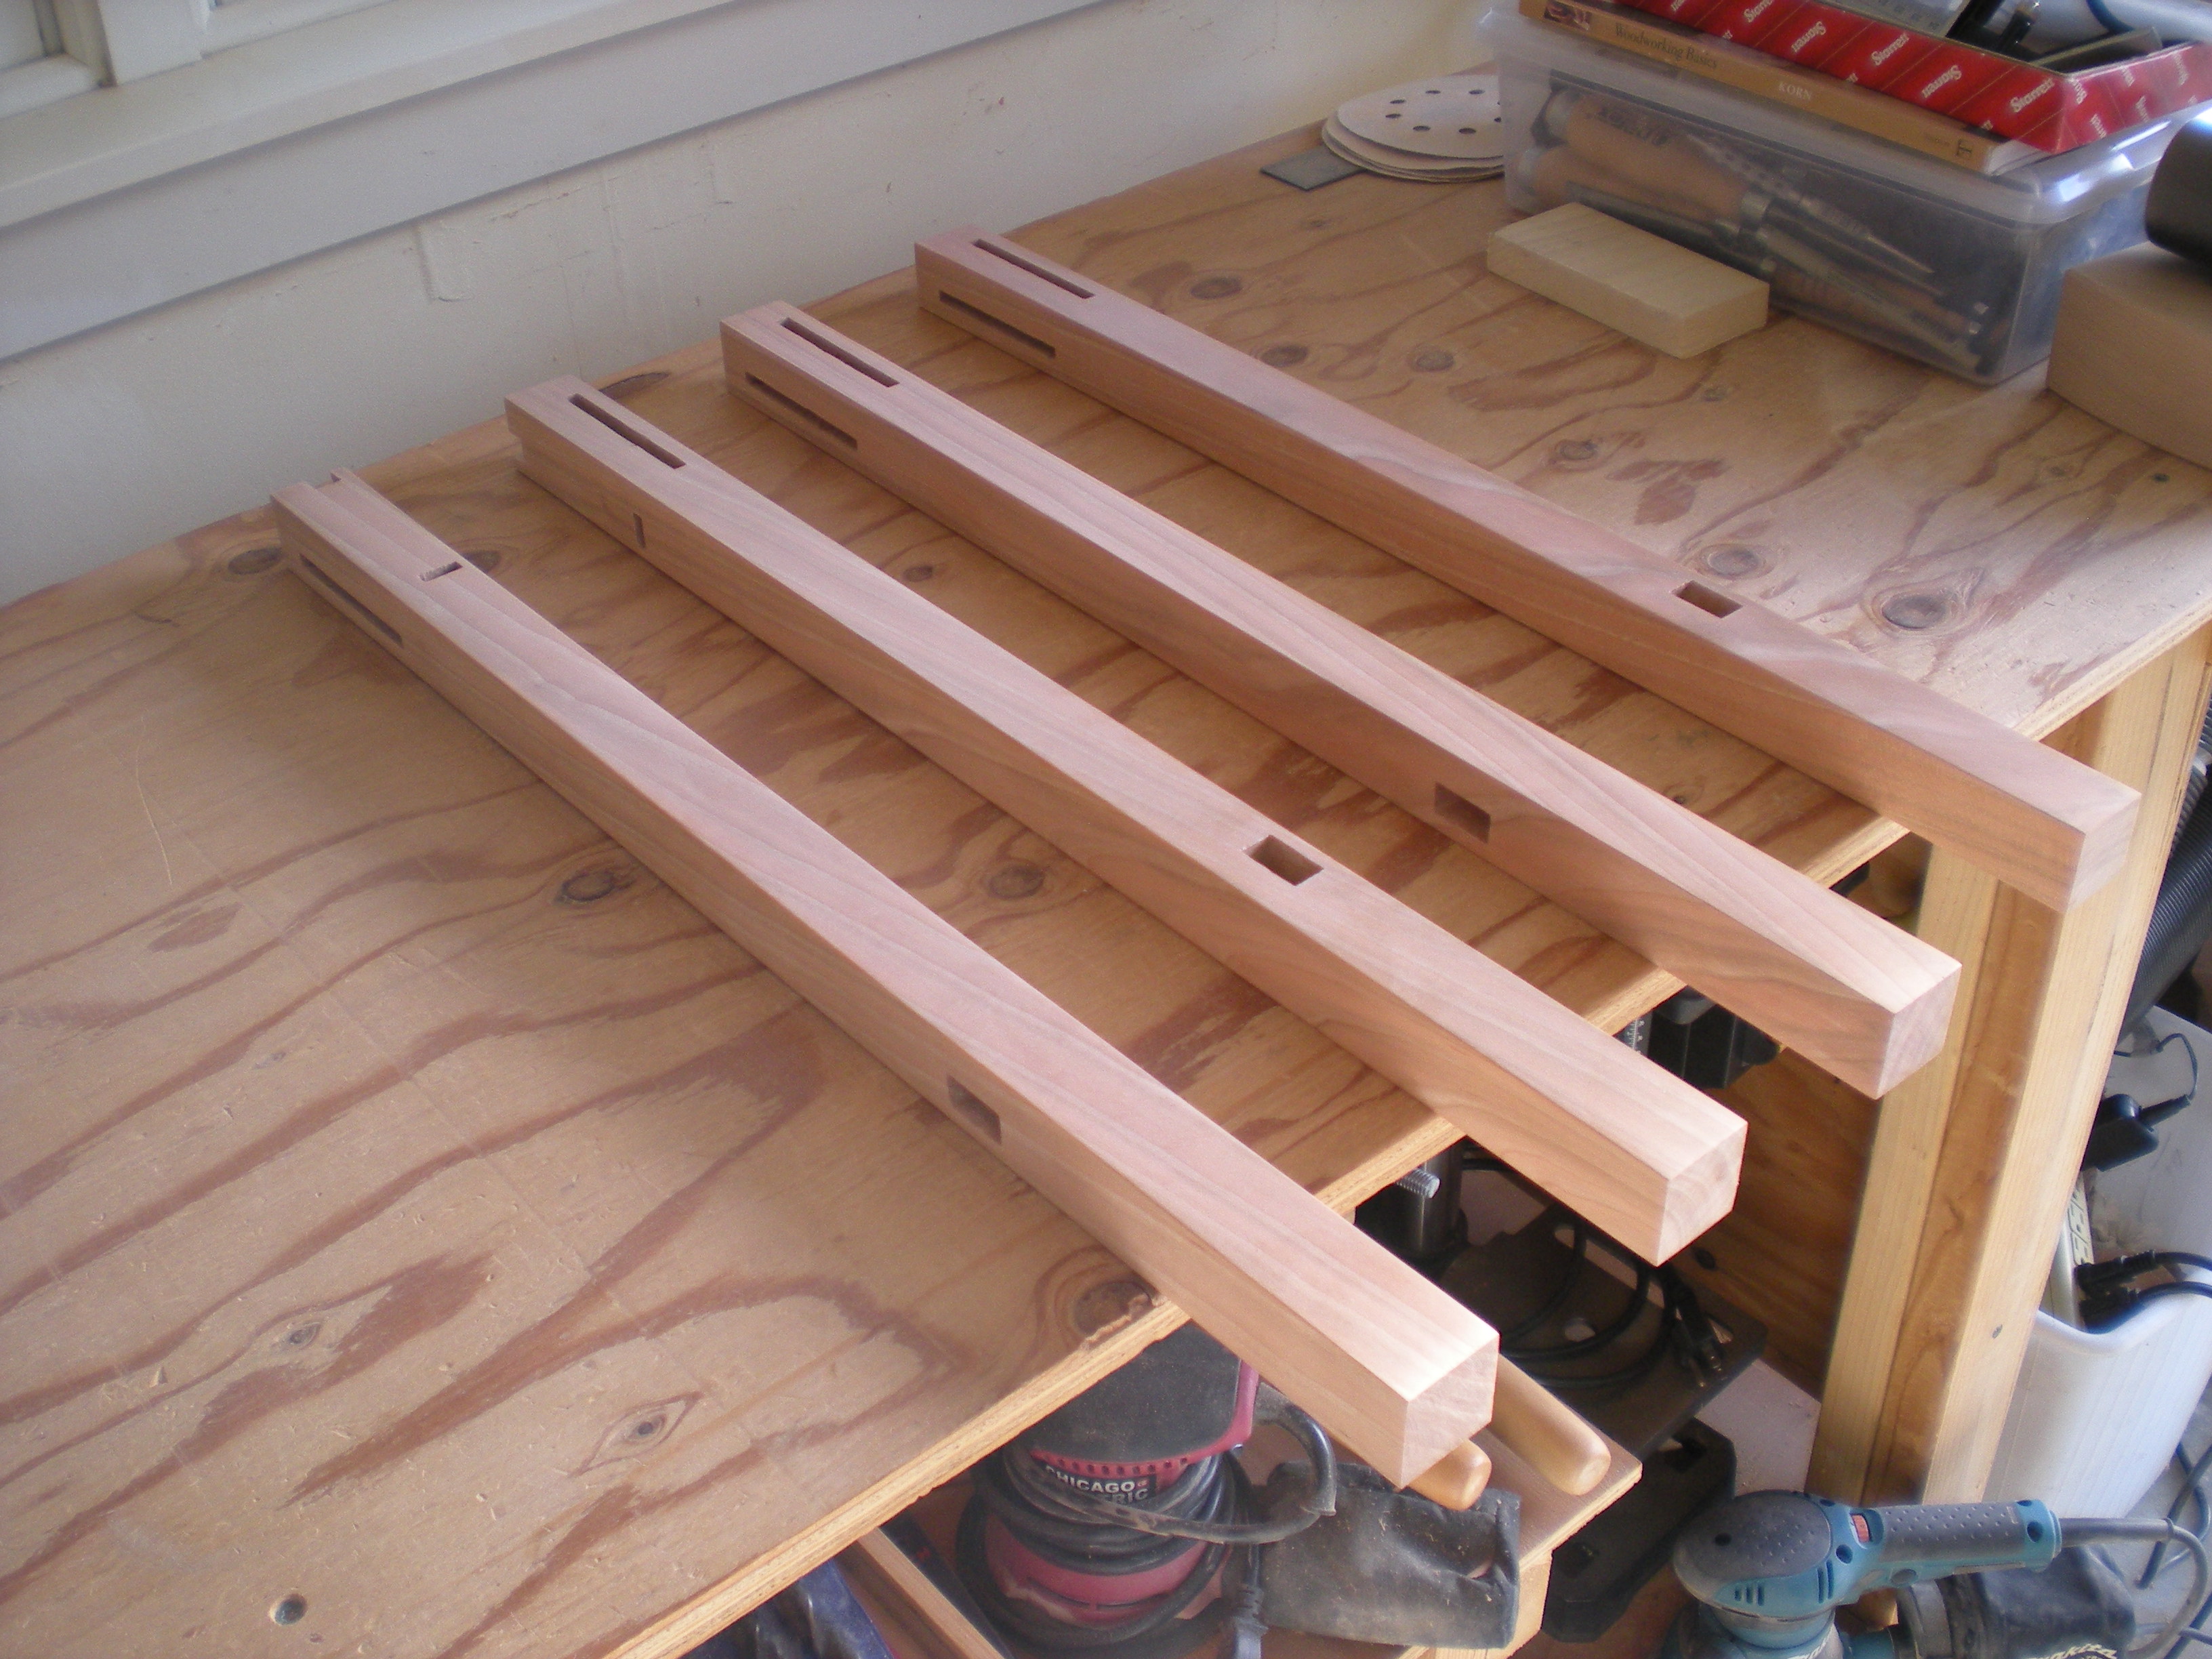
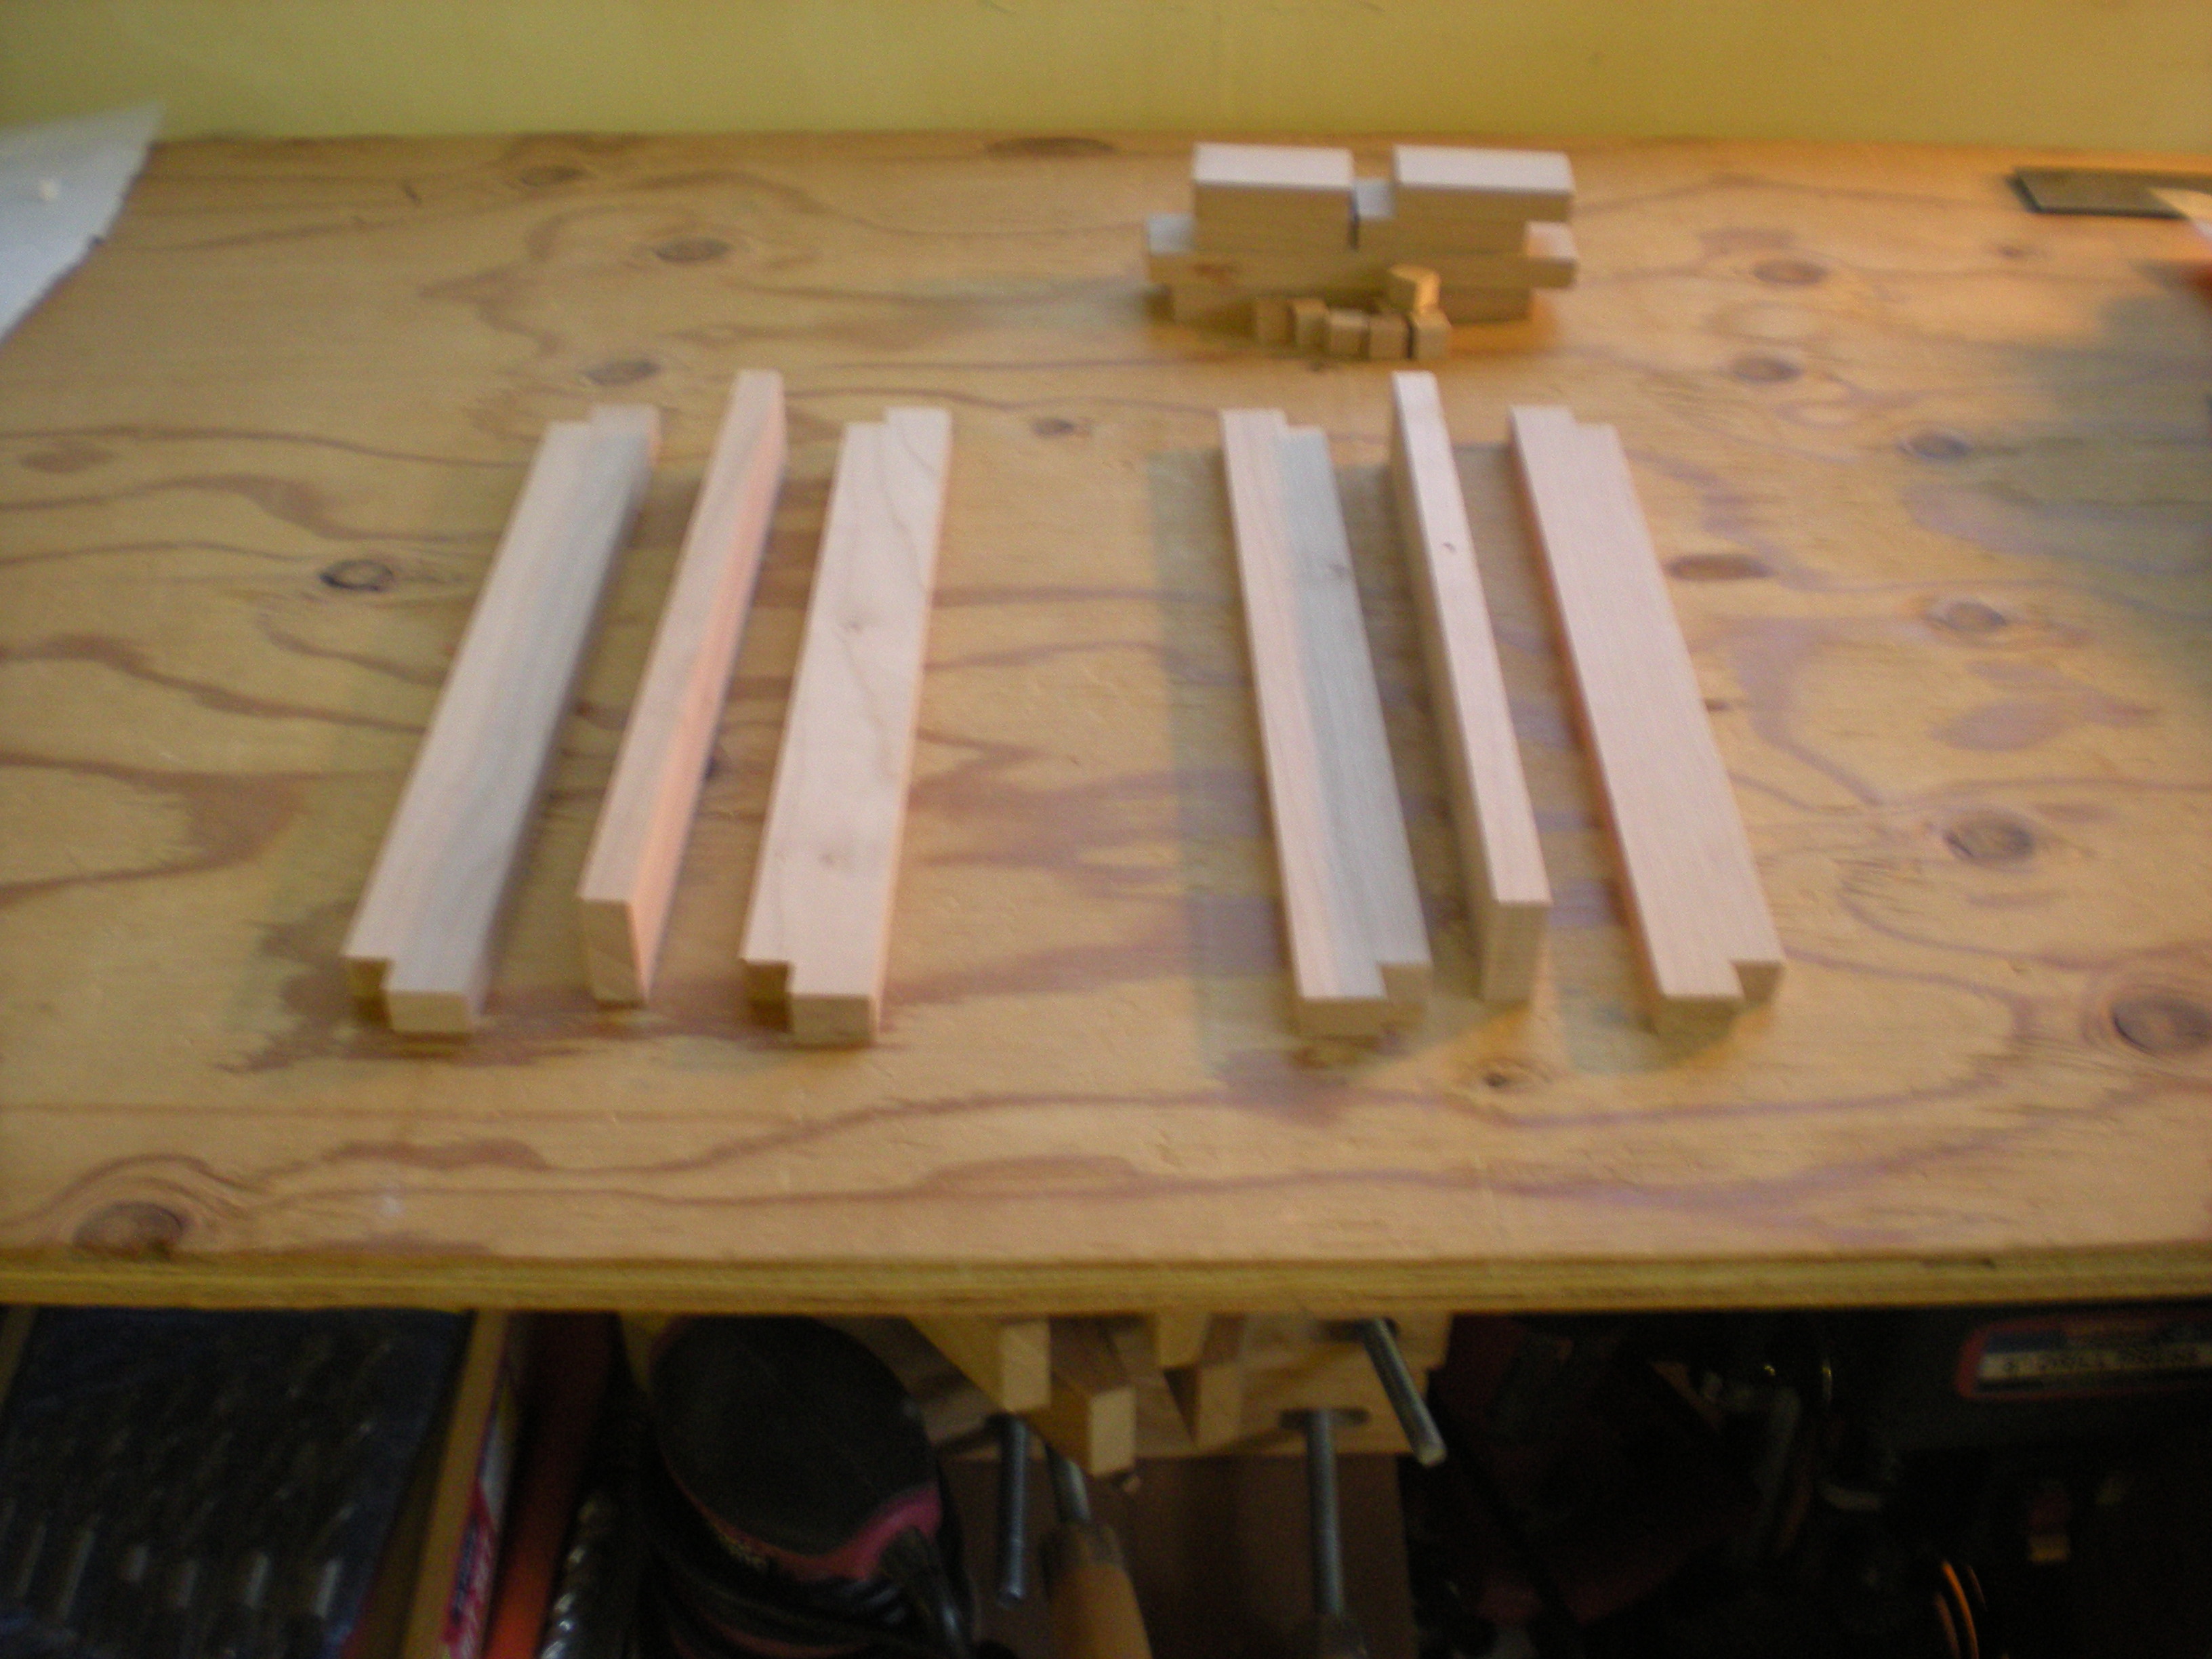
These are the legs. At the back/top, two narrow/long mortises. At the front/top, a narrow/long mortise, a small/deep mortise and a dovetail. At the bottom, a mortise for the lower shelf.
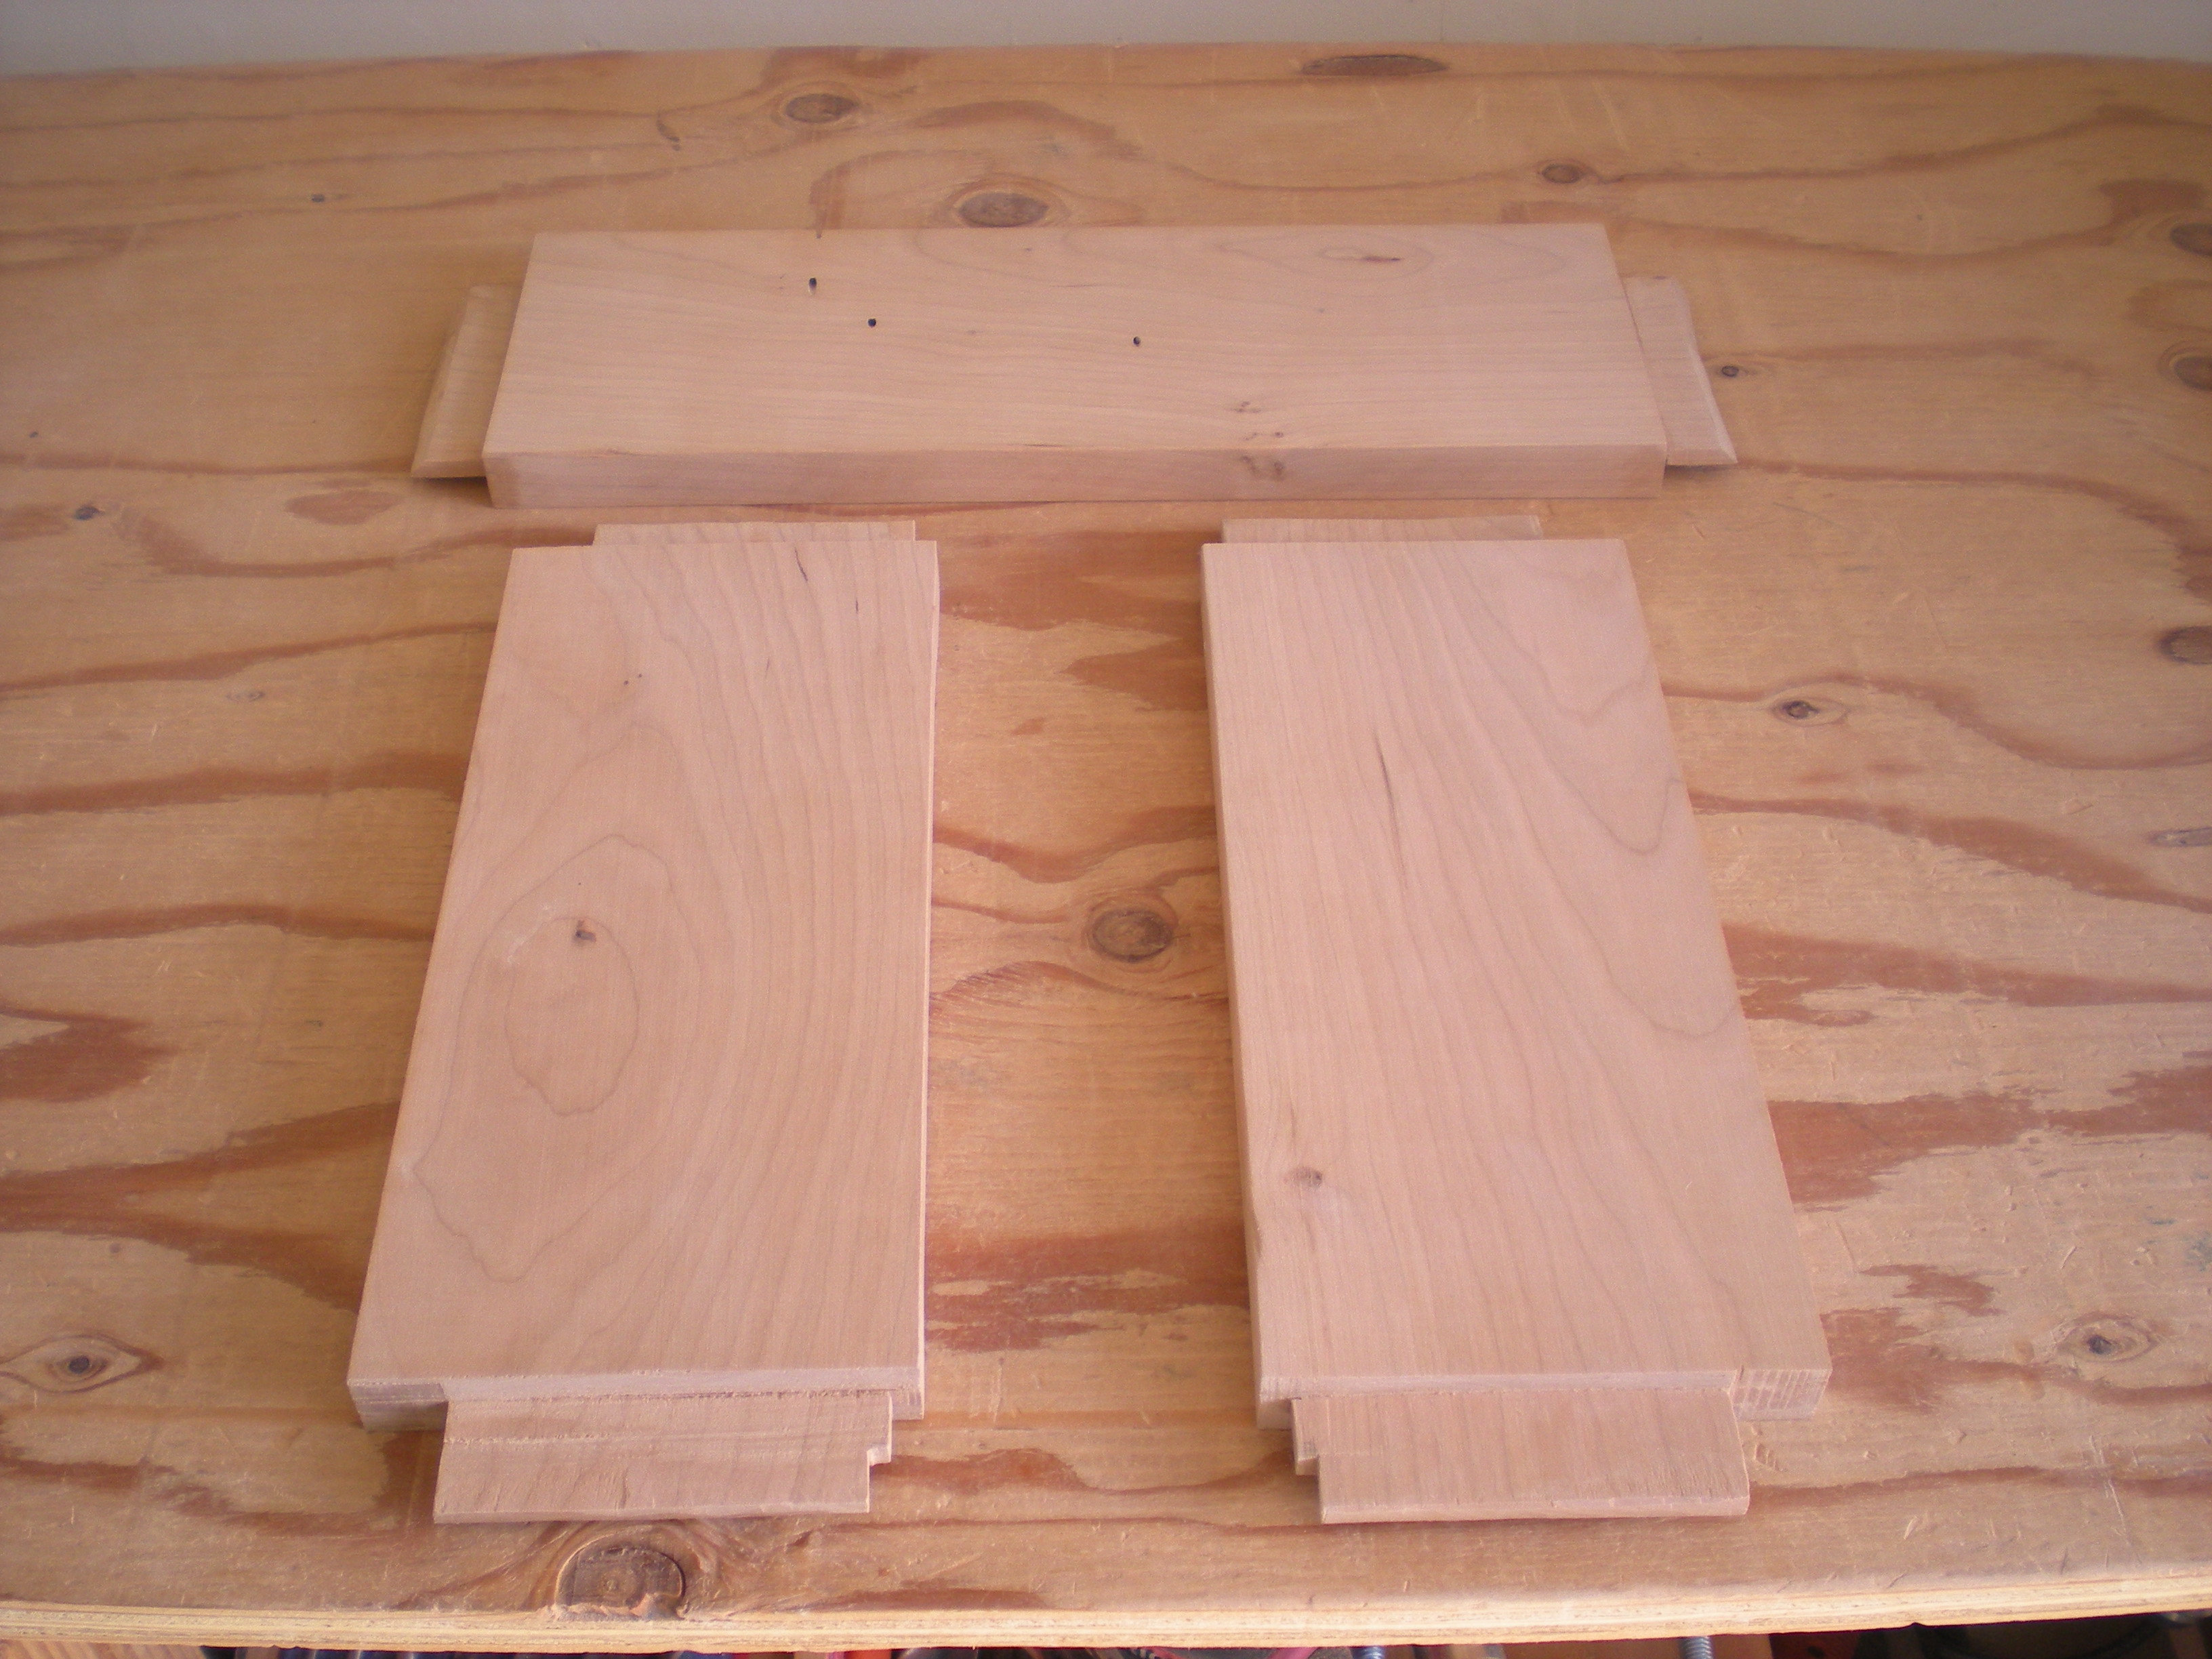
These is the aprons – one for the back, and two for the sides. All have long/narrow tenons. The back ones are mitered to maximize tenon length. The front ones are not mitered, but instead have a cut-out for the front rails.
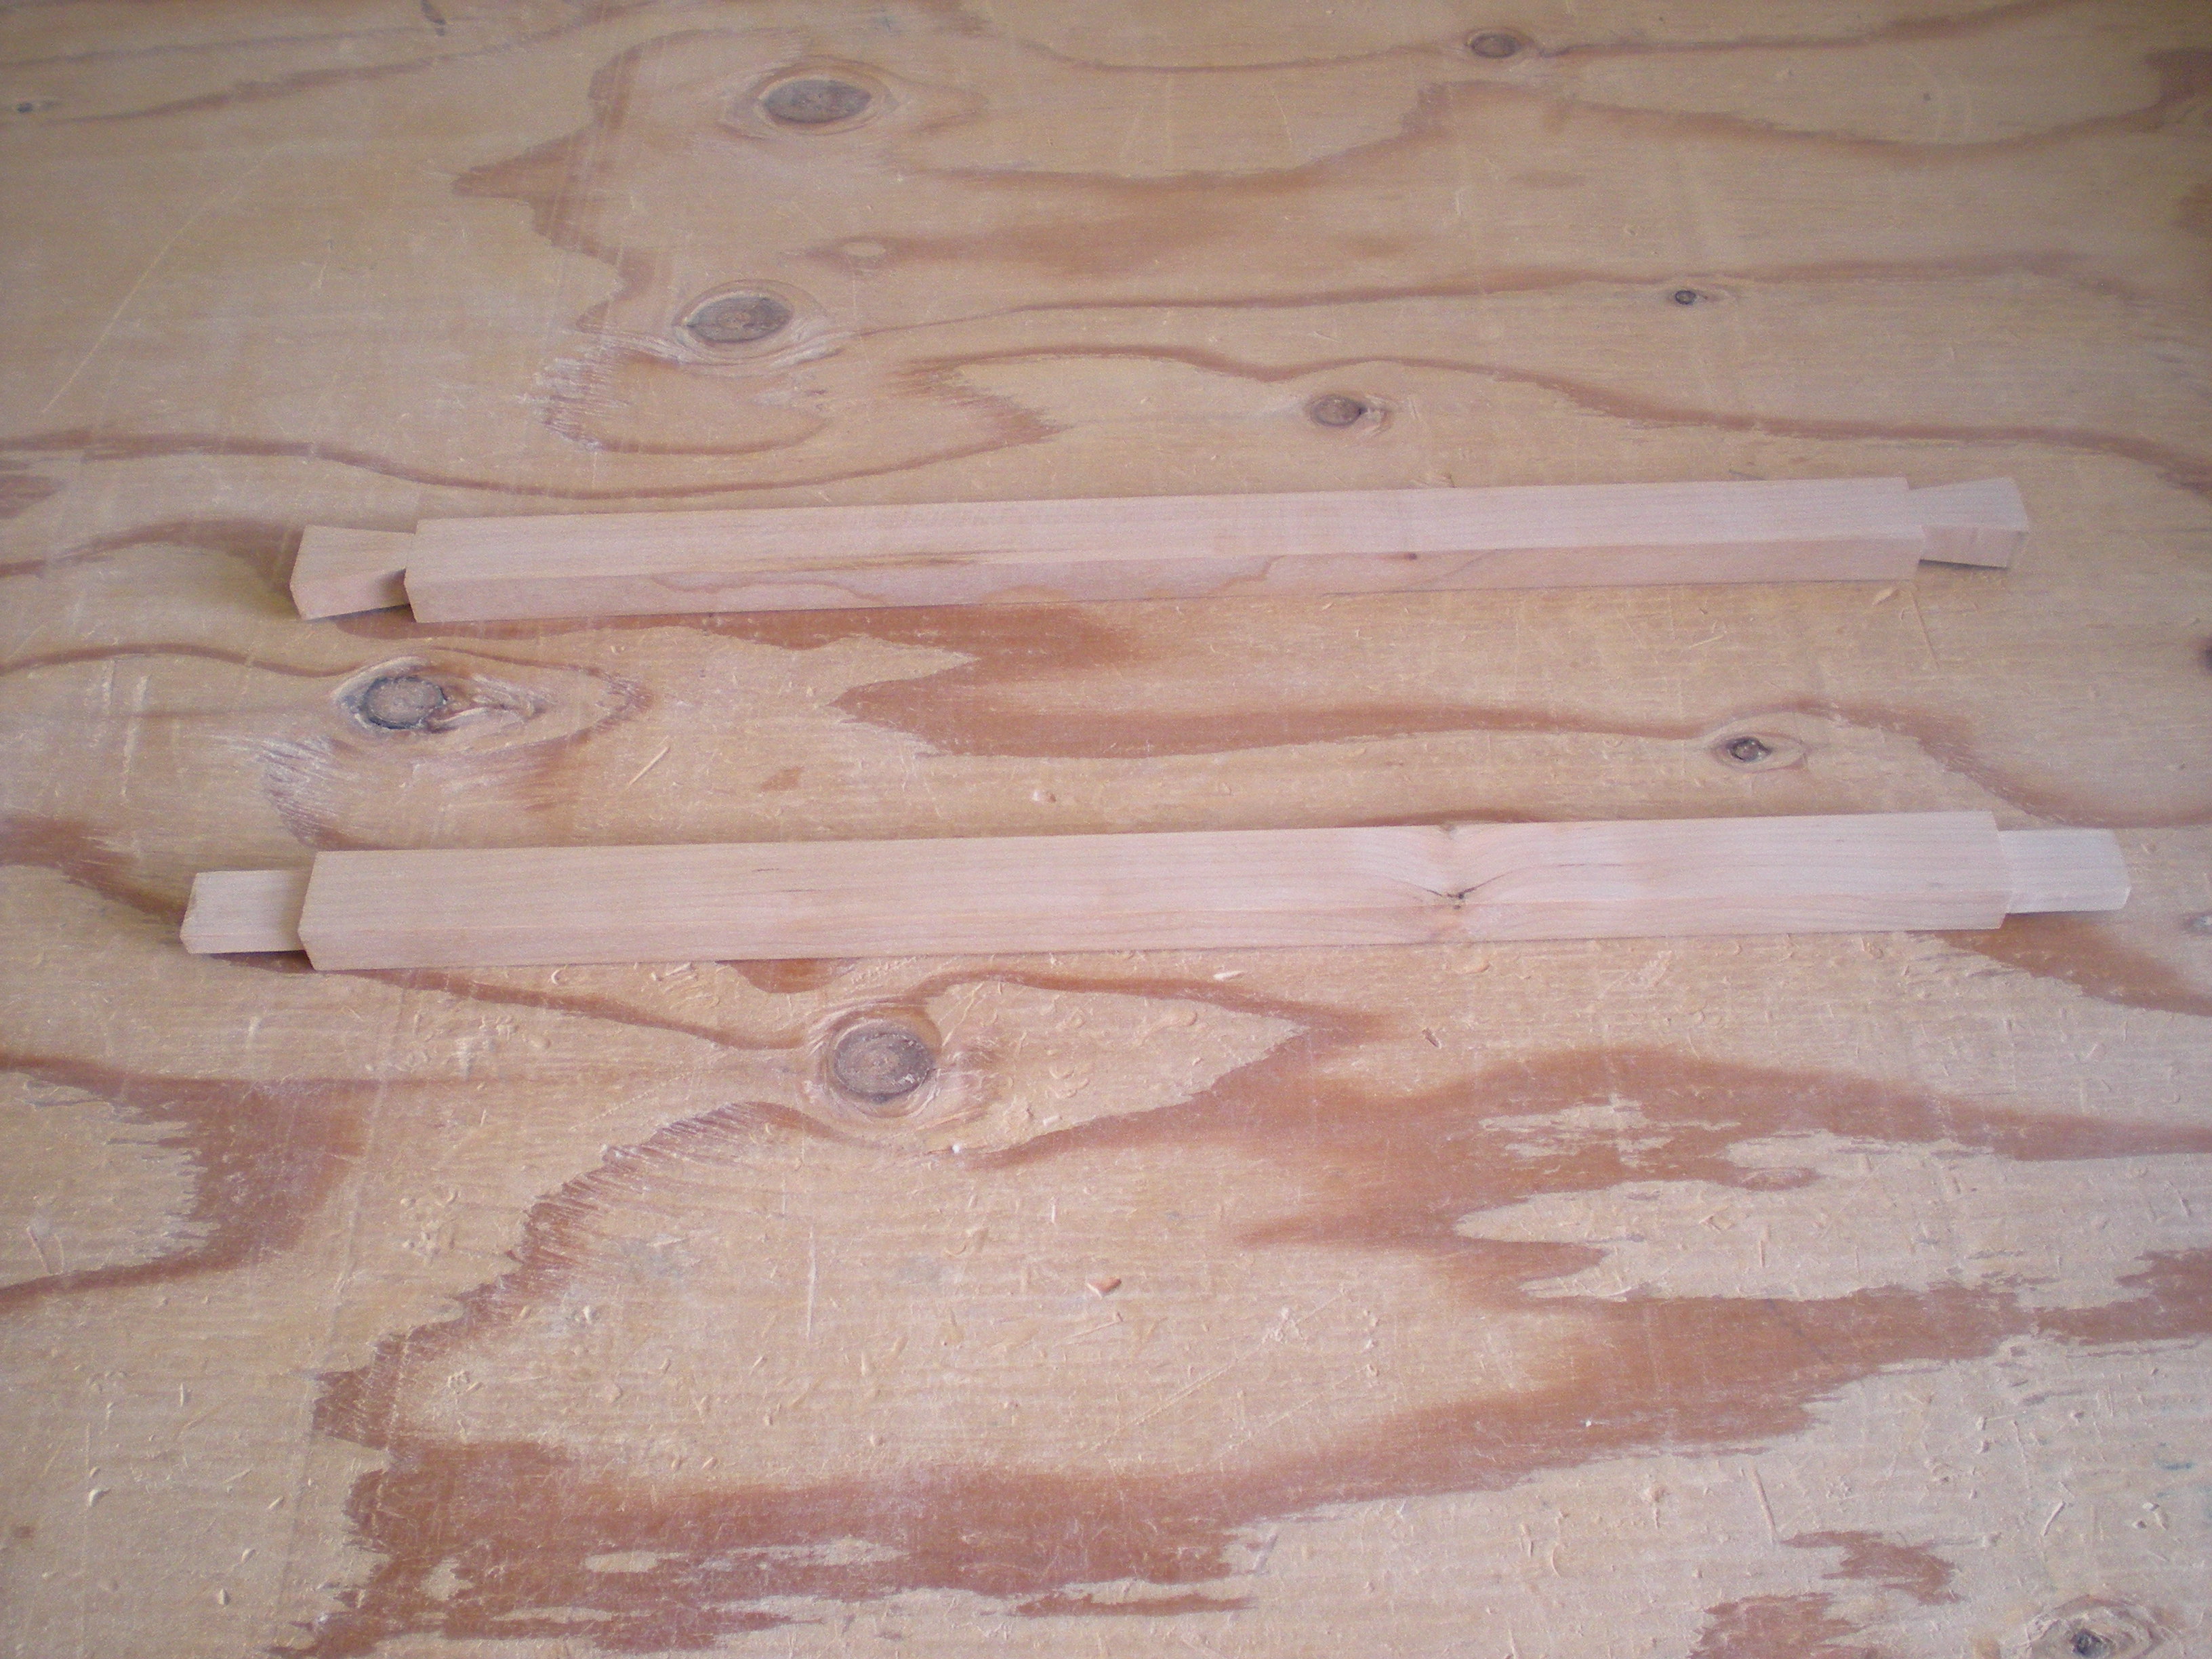
These are the front rails. The bottom one has tenons at the ends. The top one has dovetails at the ends.
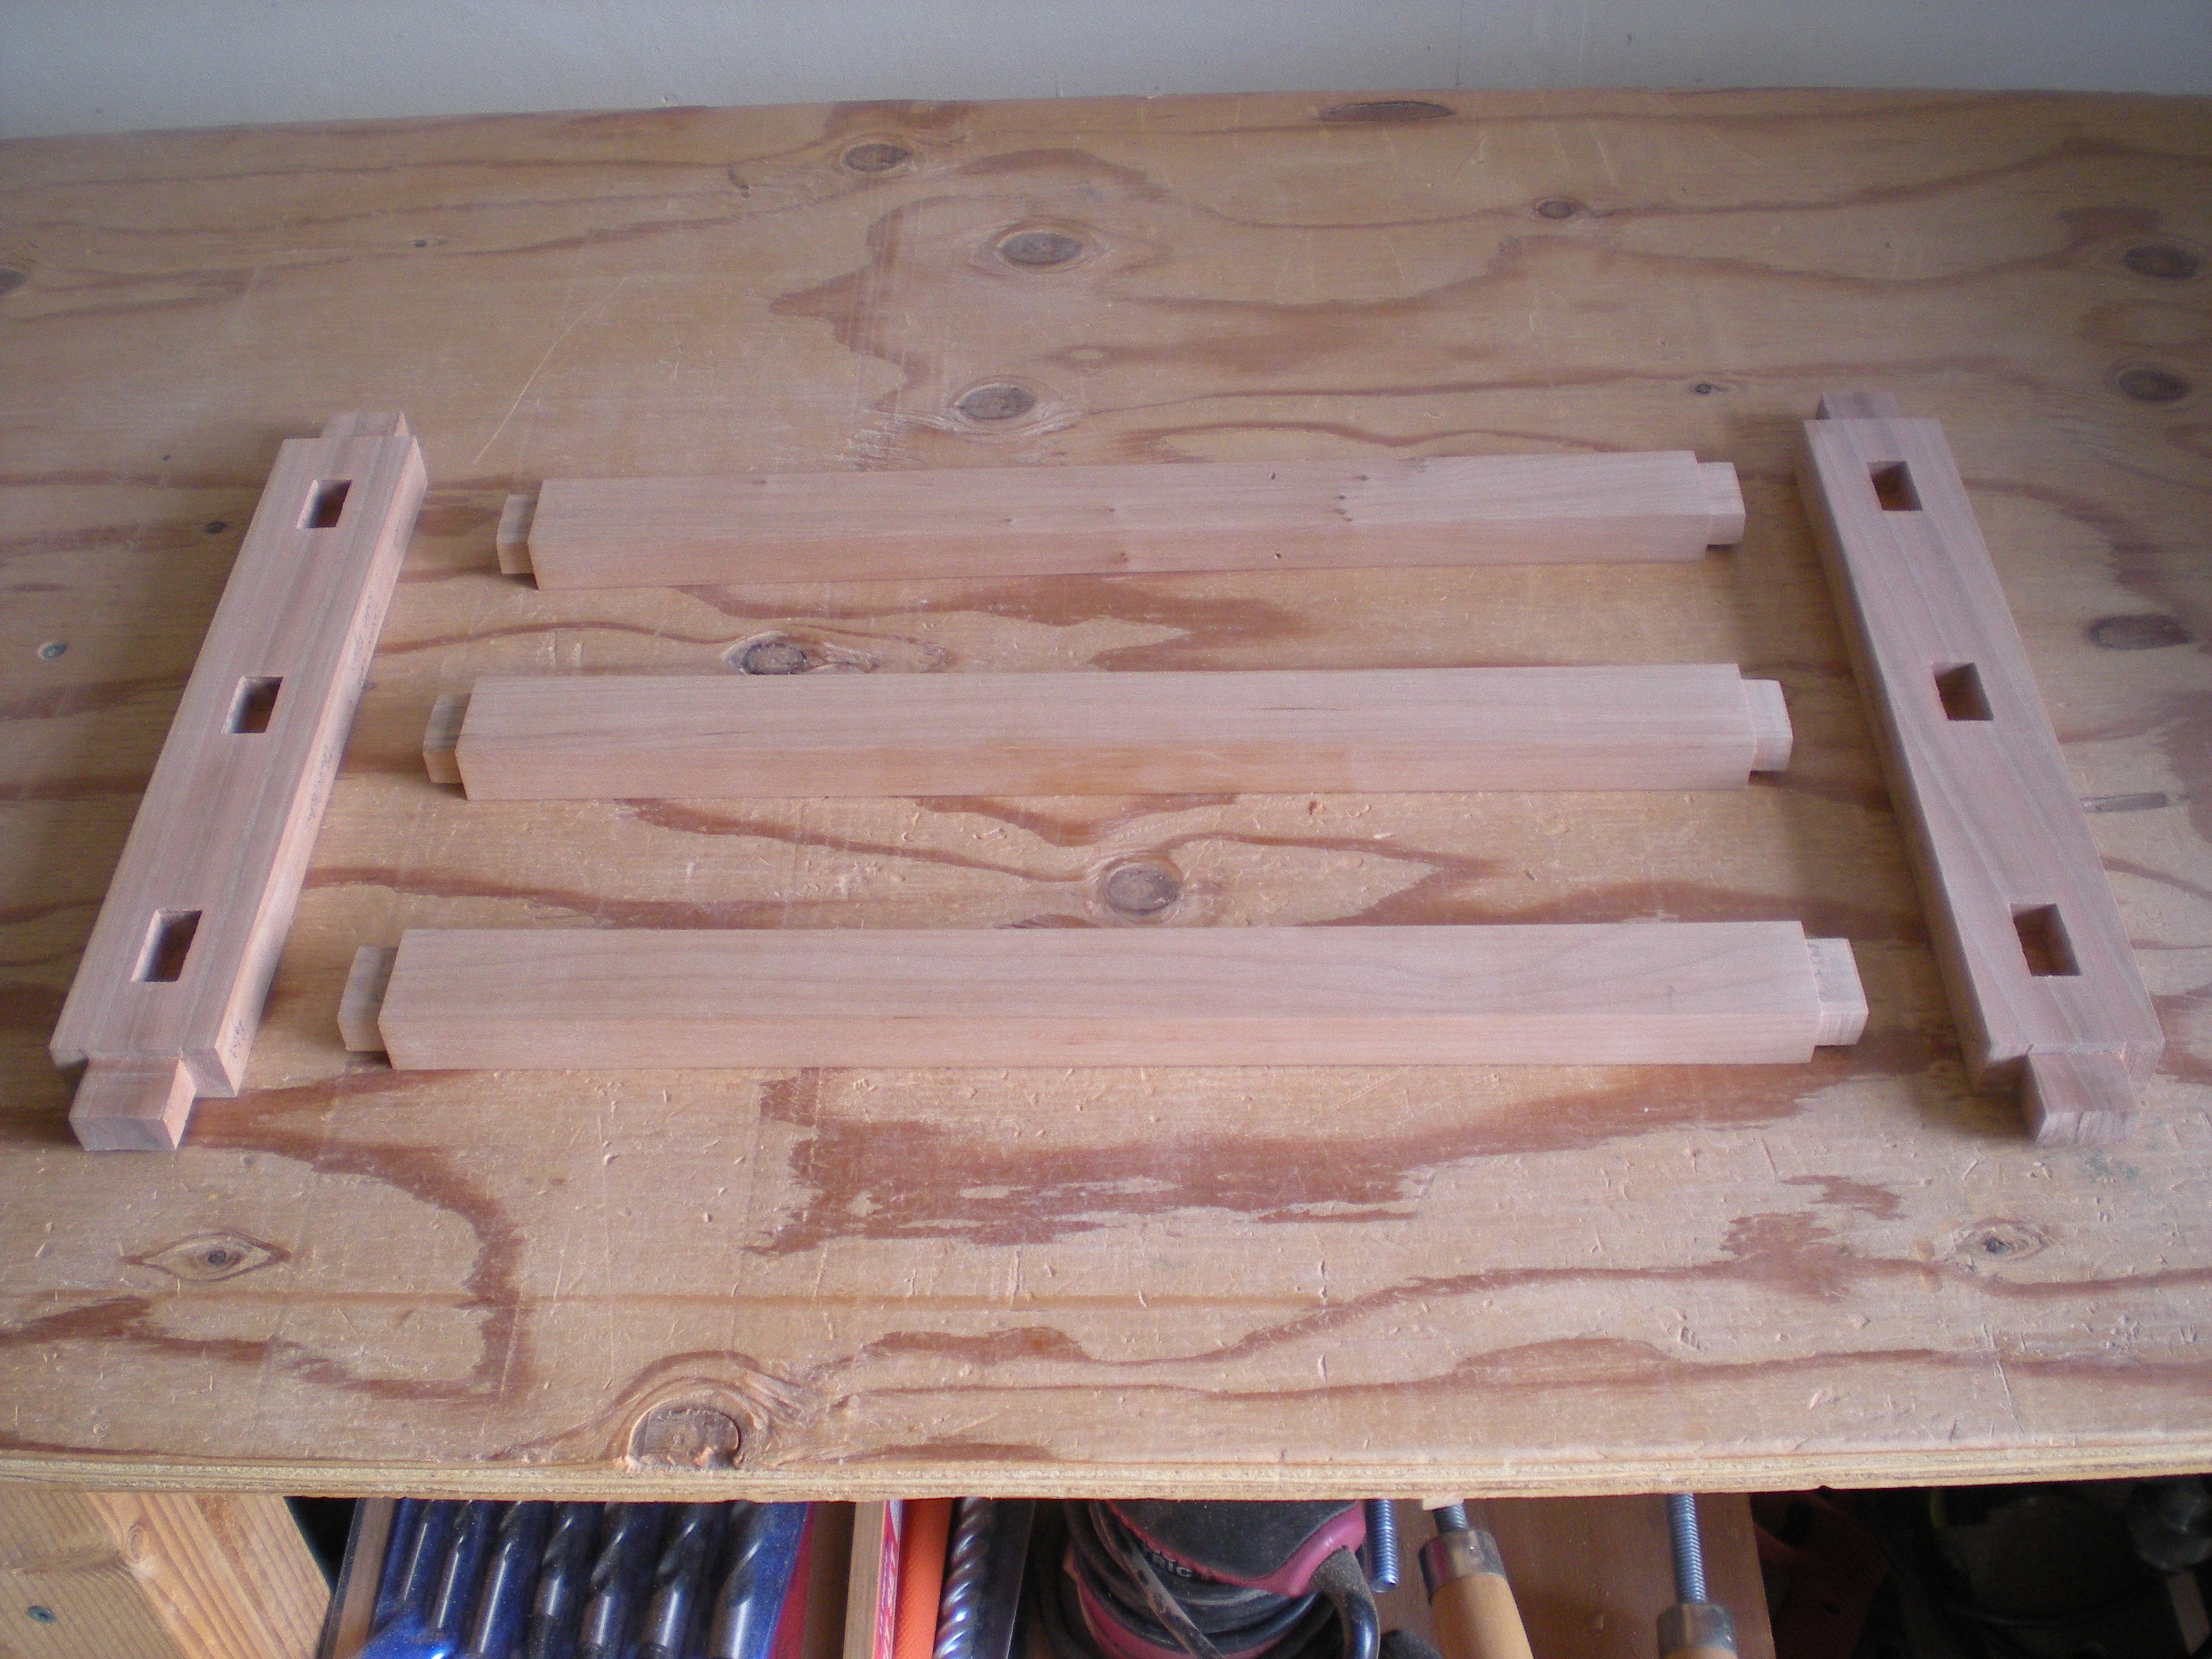
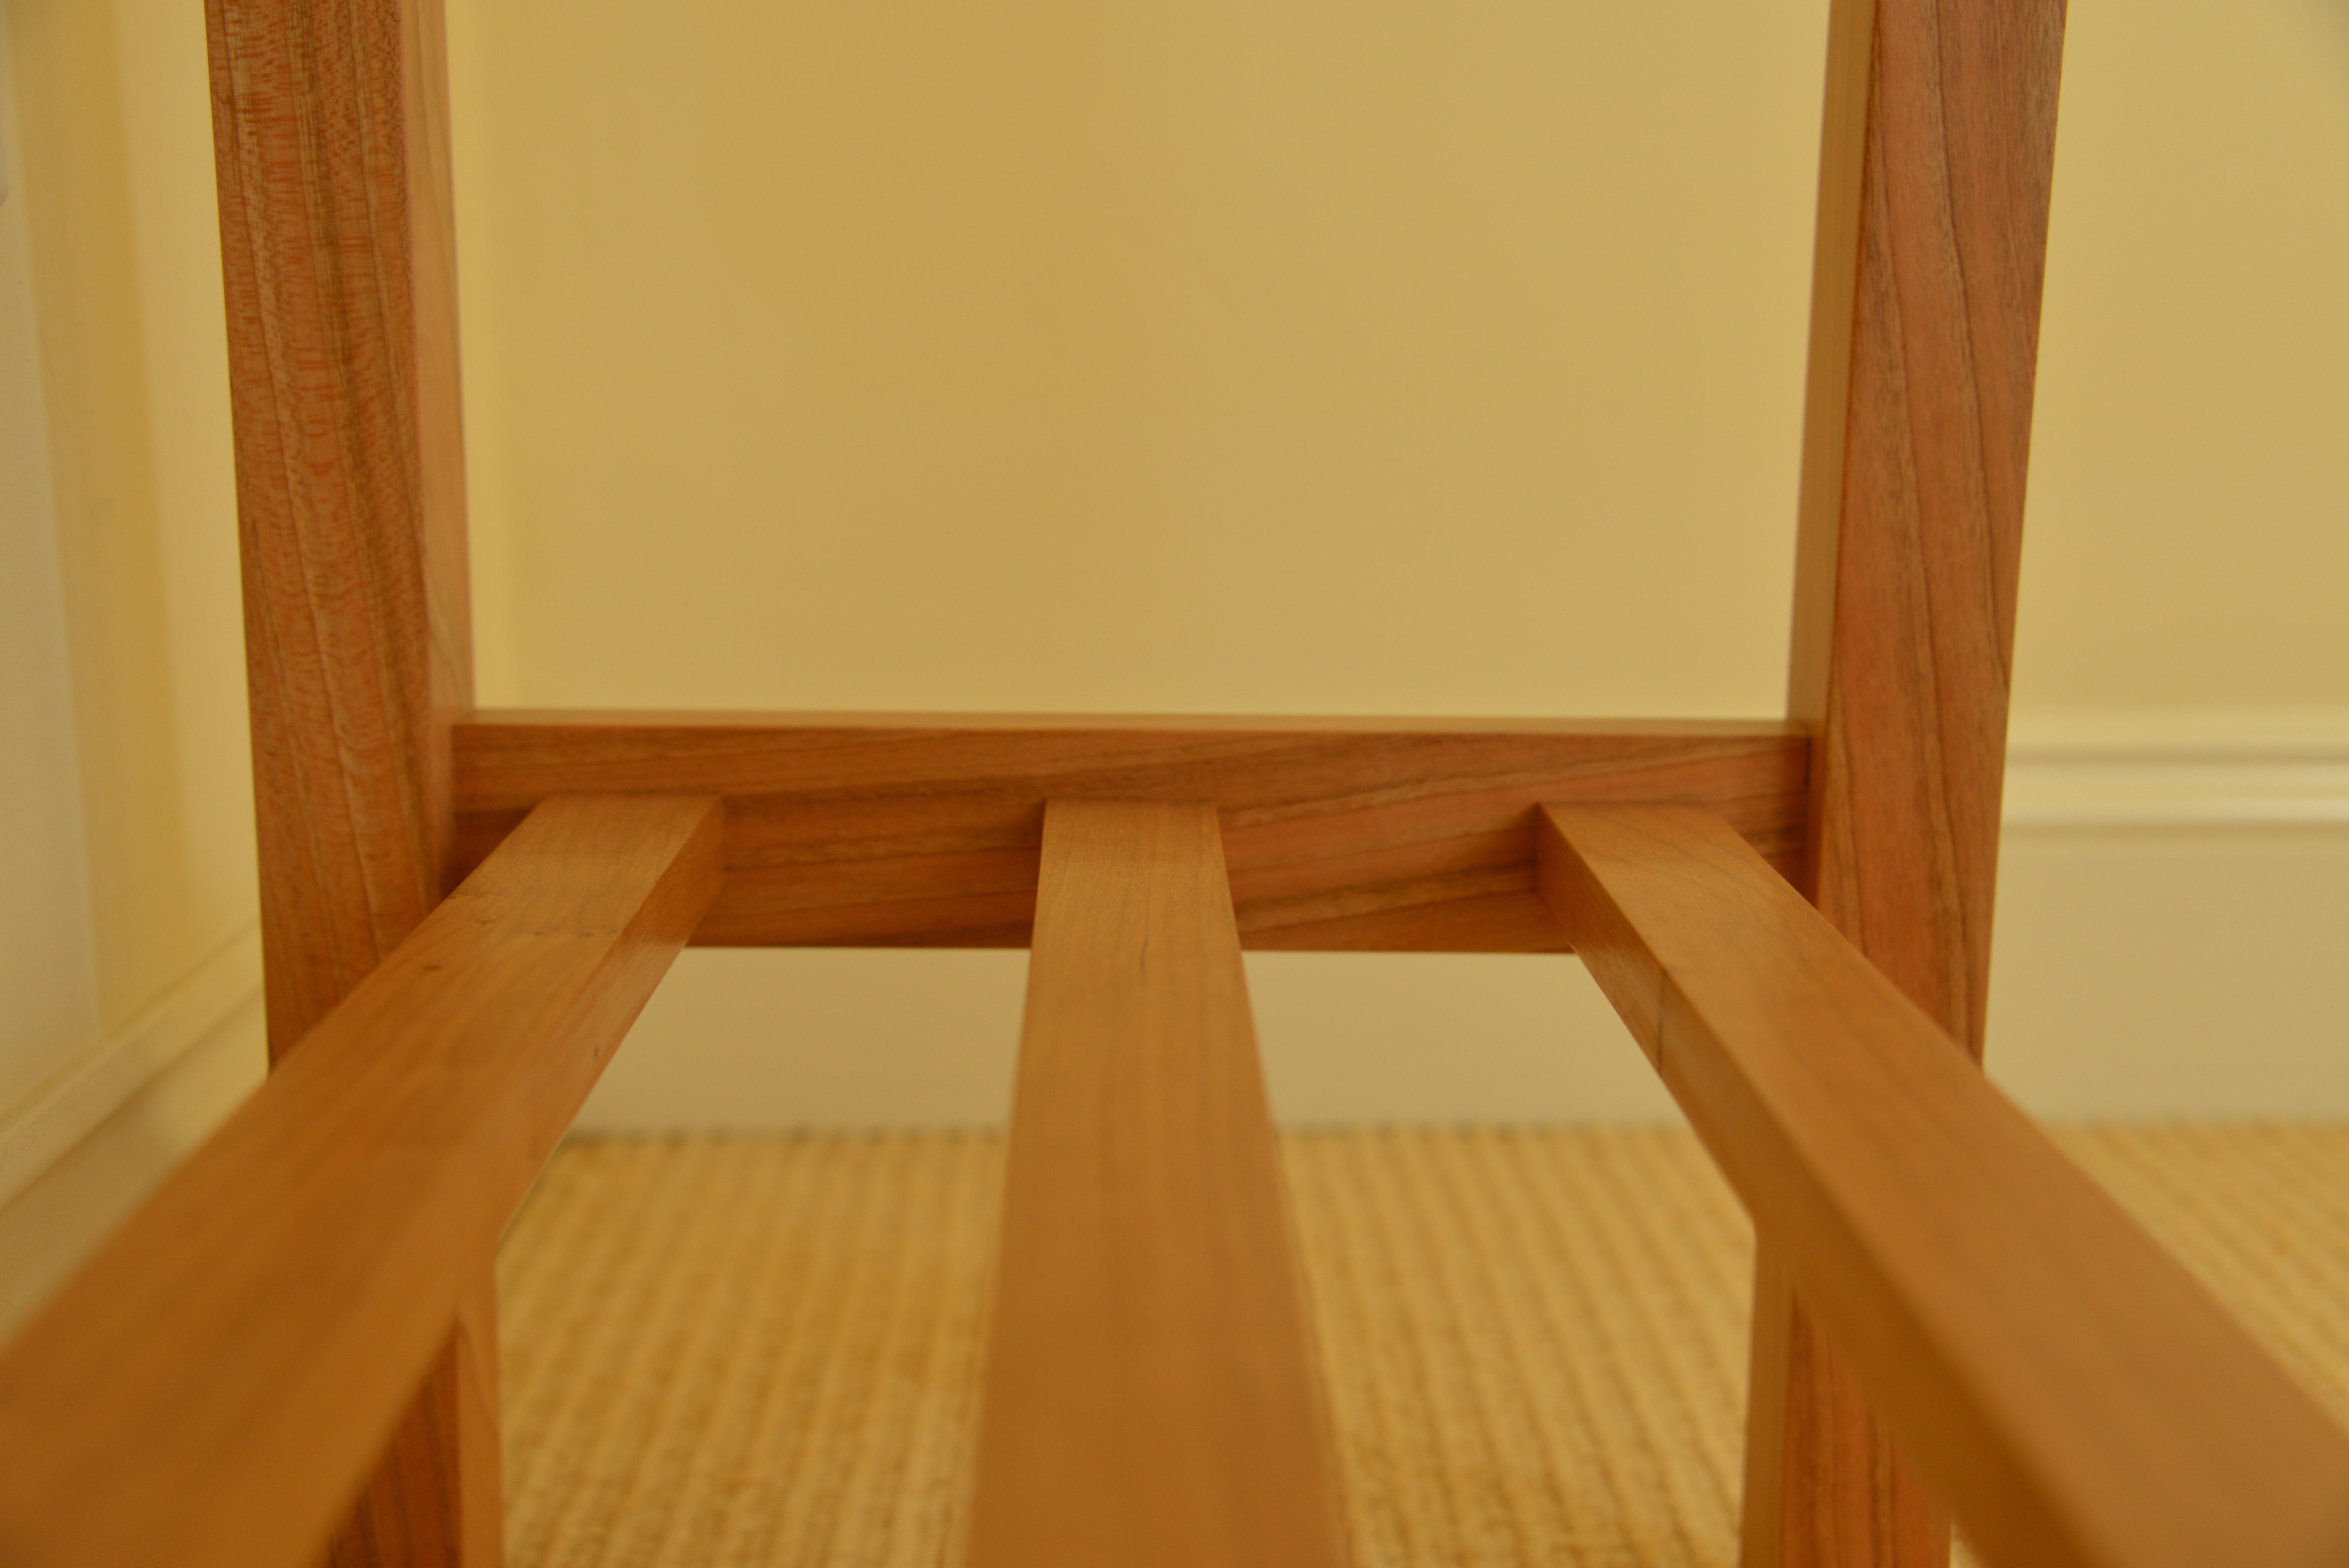
These is the pieces for the lower shelf. This is my addition to the table. I thought a full shelf might be too “visually heavy” so I went with two lower side aprons (each tenoned into the legs with 0.75”x1” mortises) and three slats (each tenoned into the lower side aprons with 0.5”x1” mortises).
This is the top. The table was made from a 1”x8” board, so I edge-glued two pieces. In this photo, edges have been broken and everything sanded to 220 grit – ready for finish.
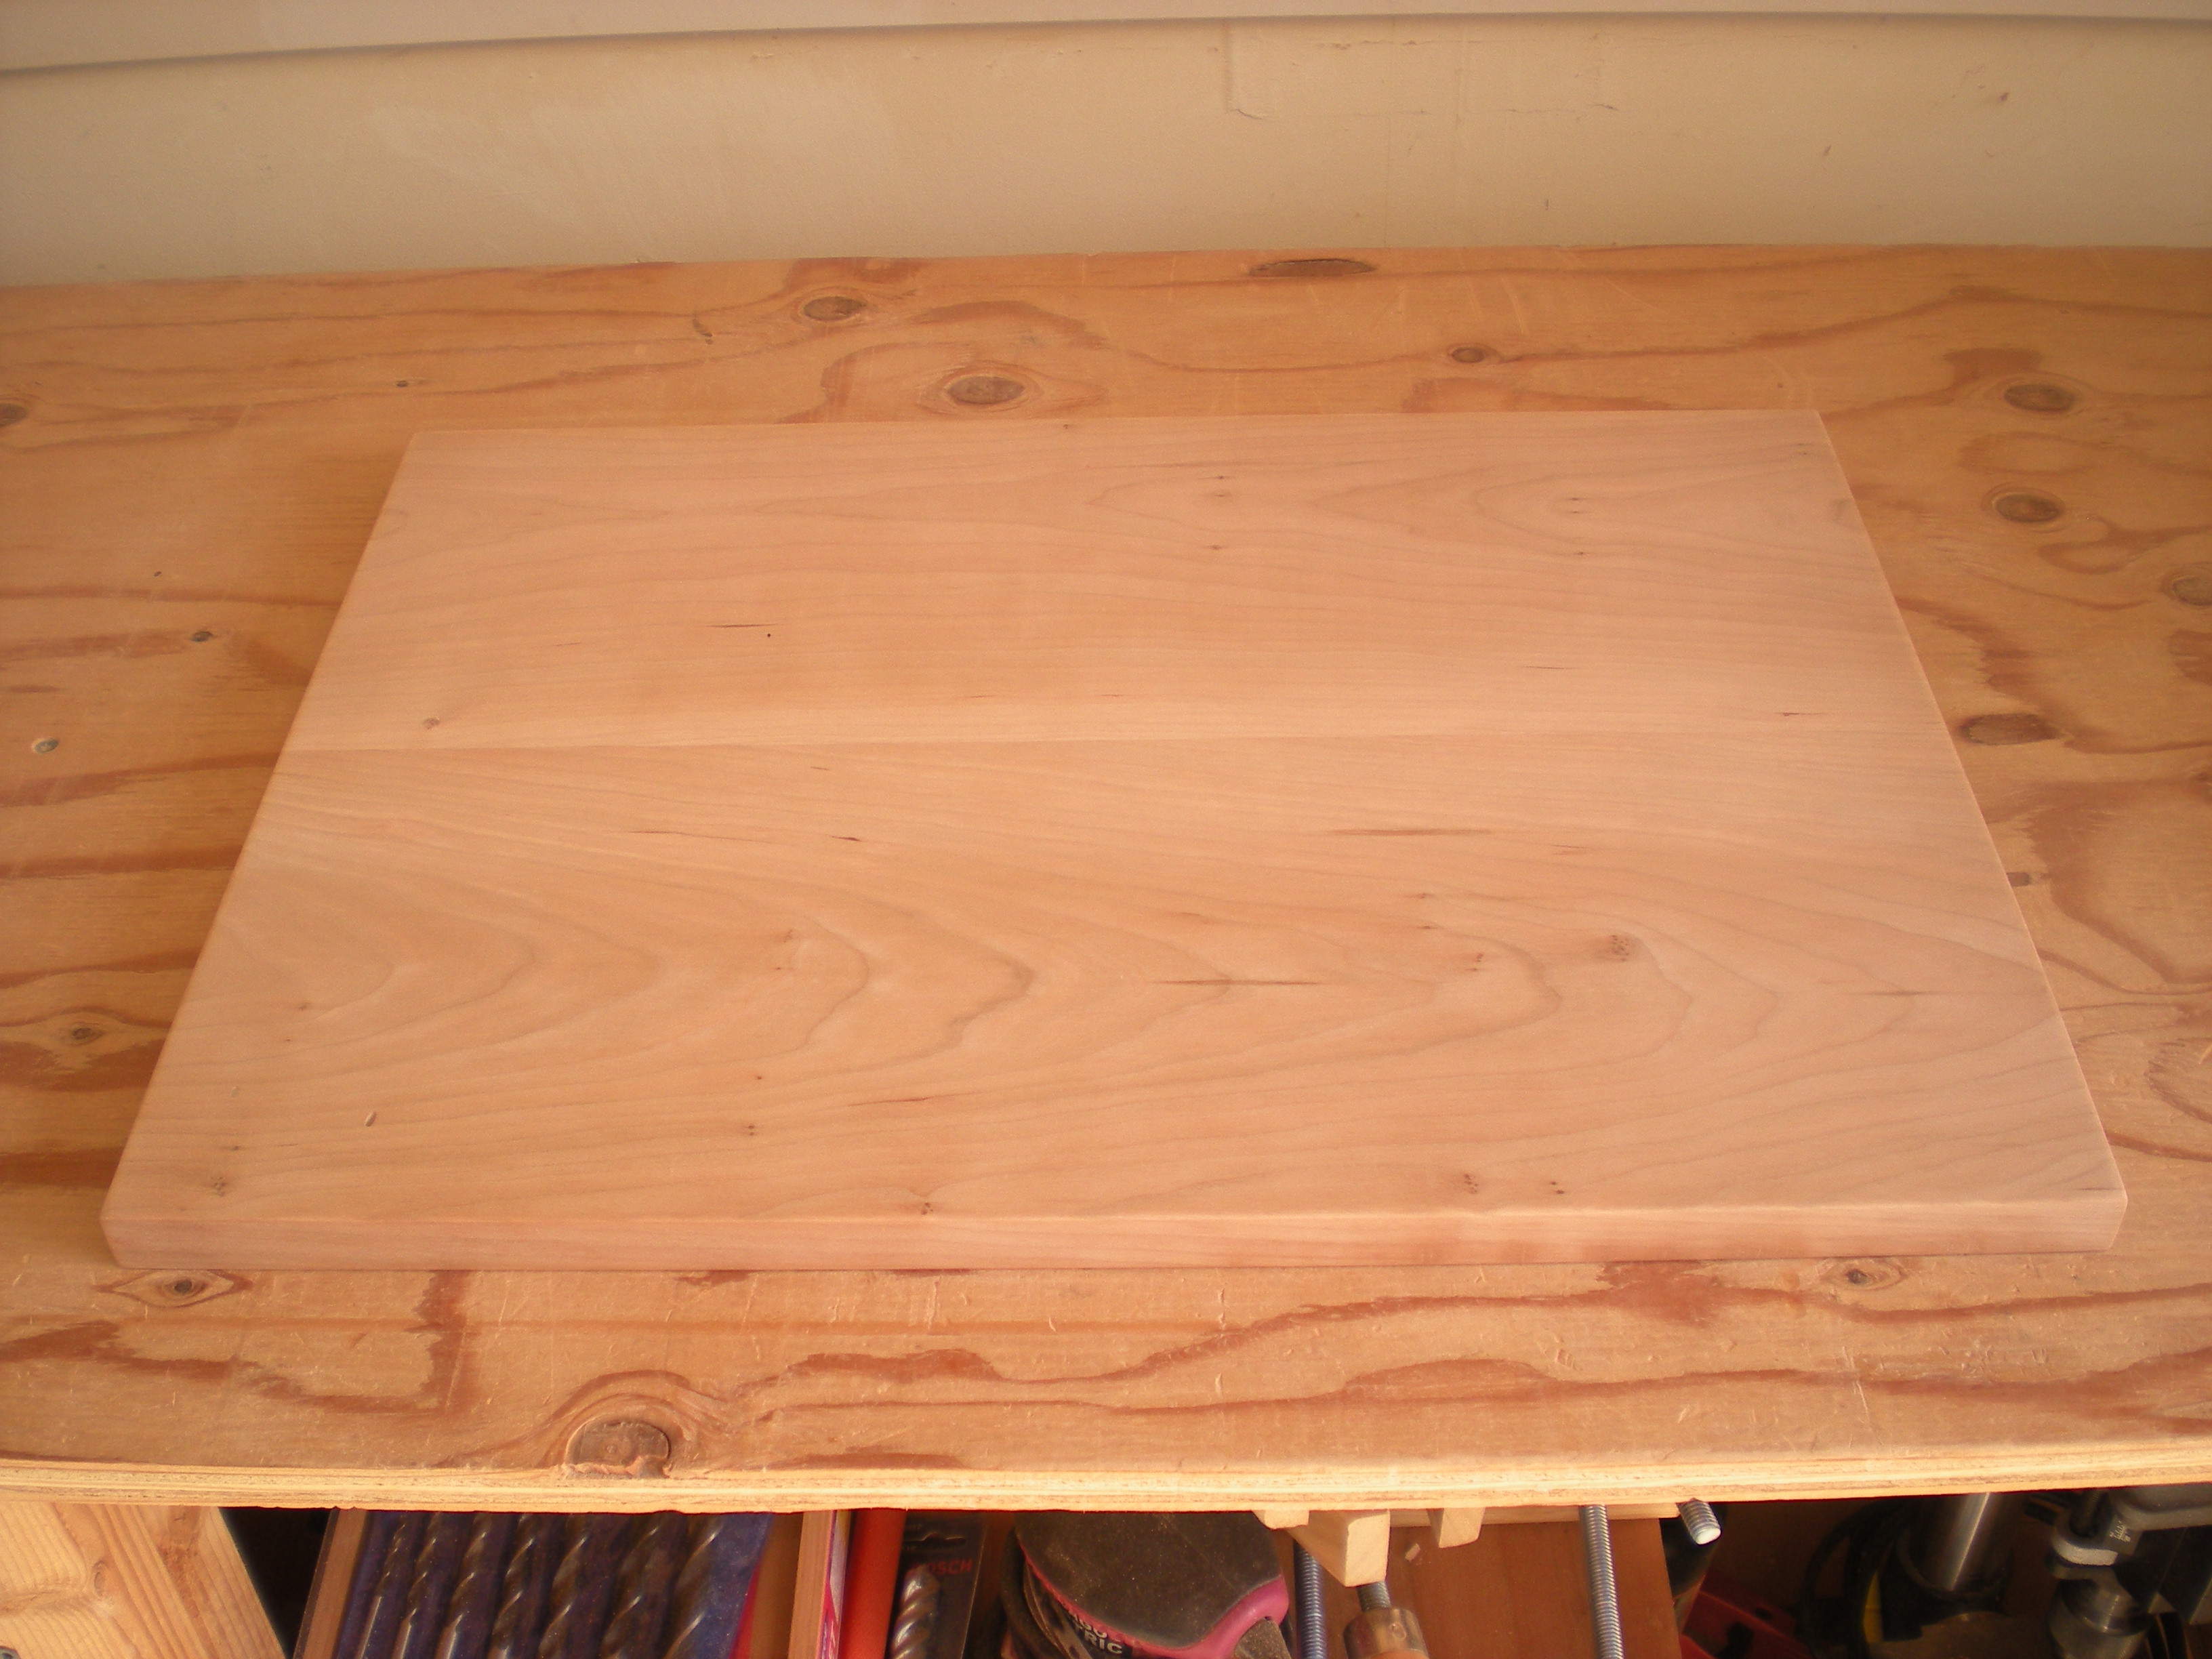
All edges were gently broken, and all pieces sanded with 100-grit, 150-grit and 220-grit sandpaper.
Next, piece-by-piece glue-up.
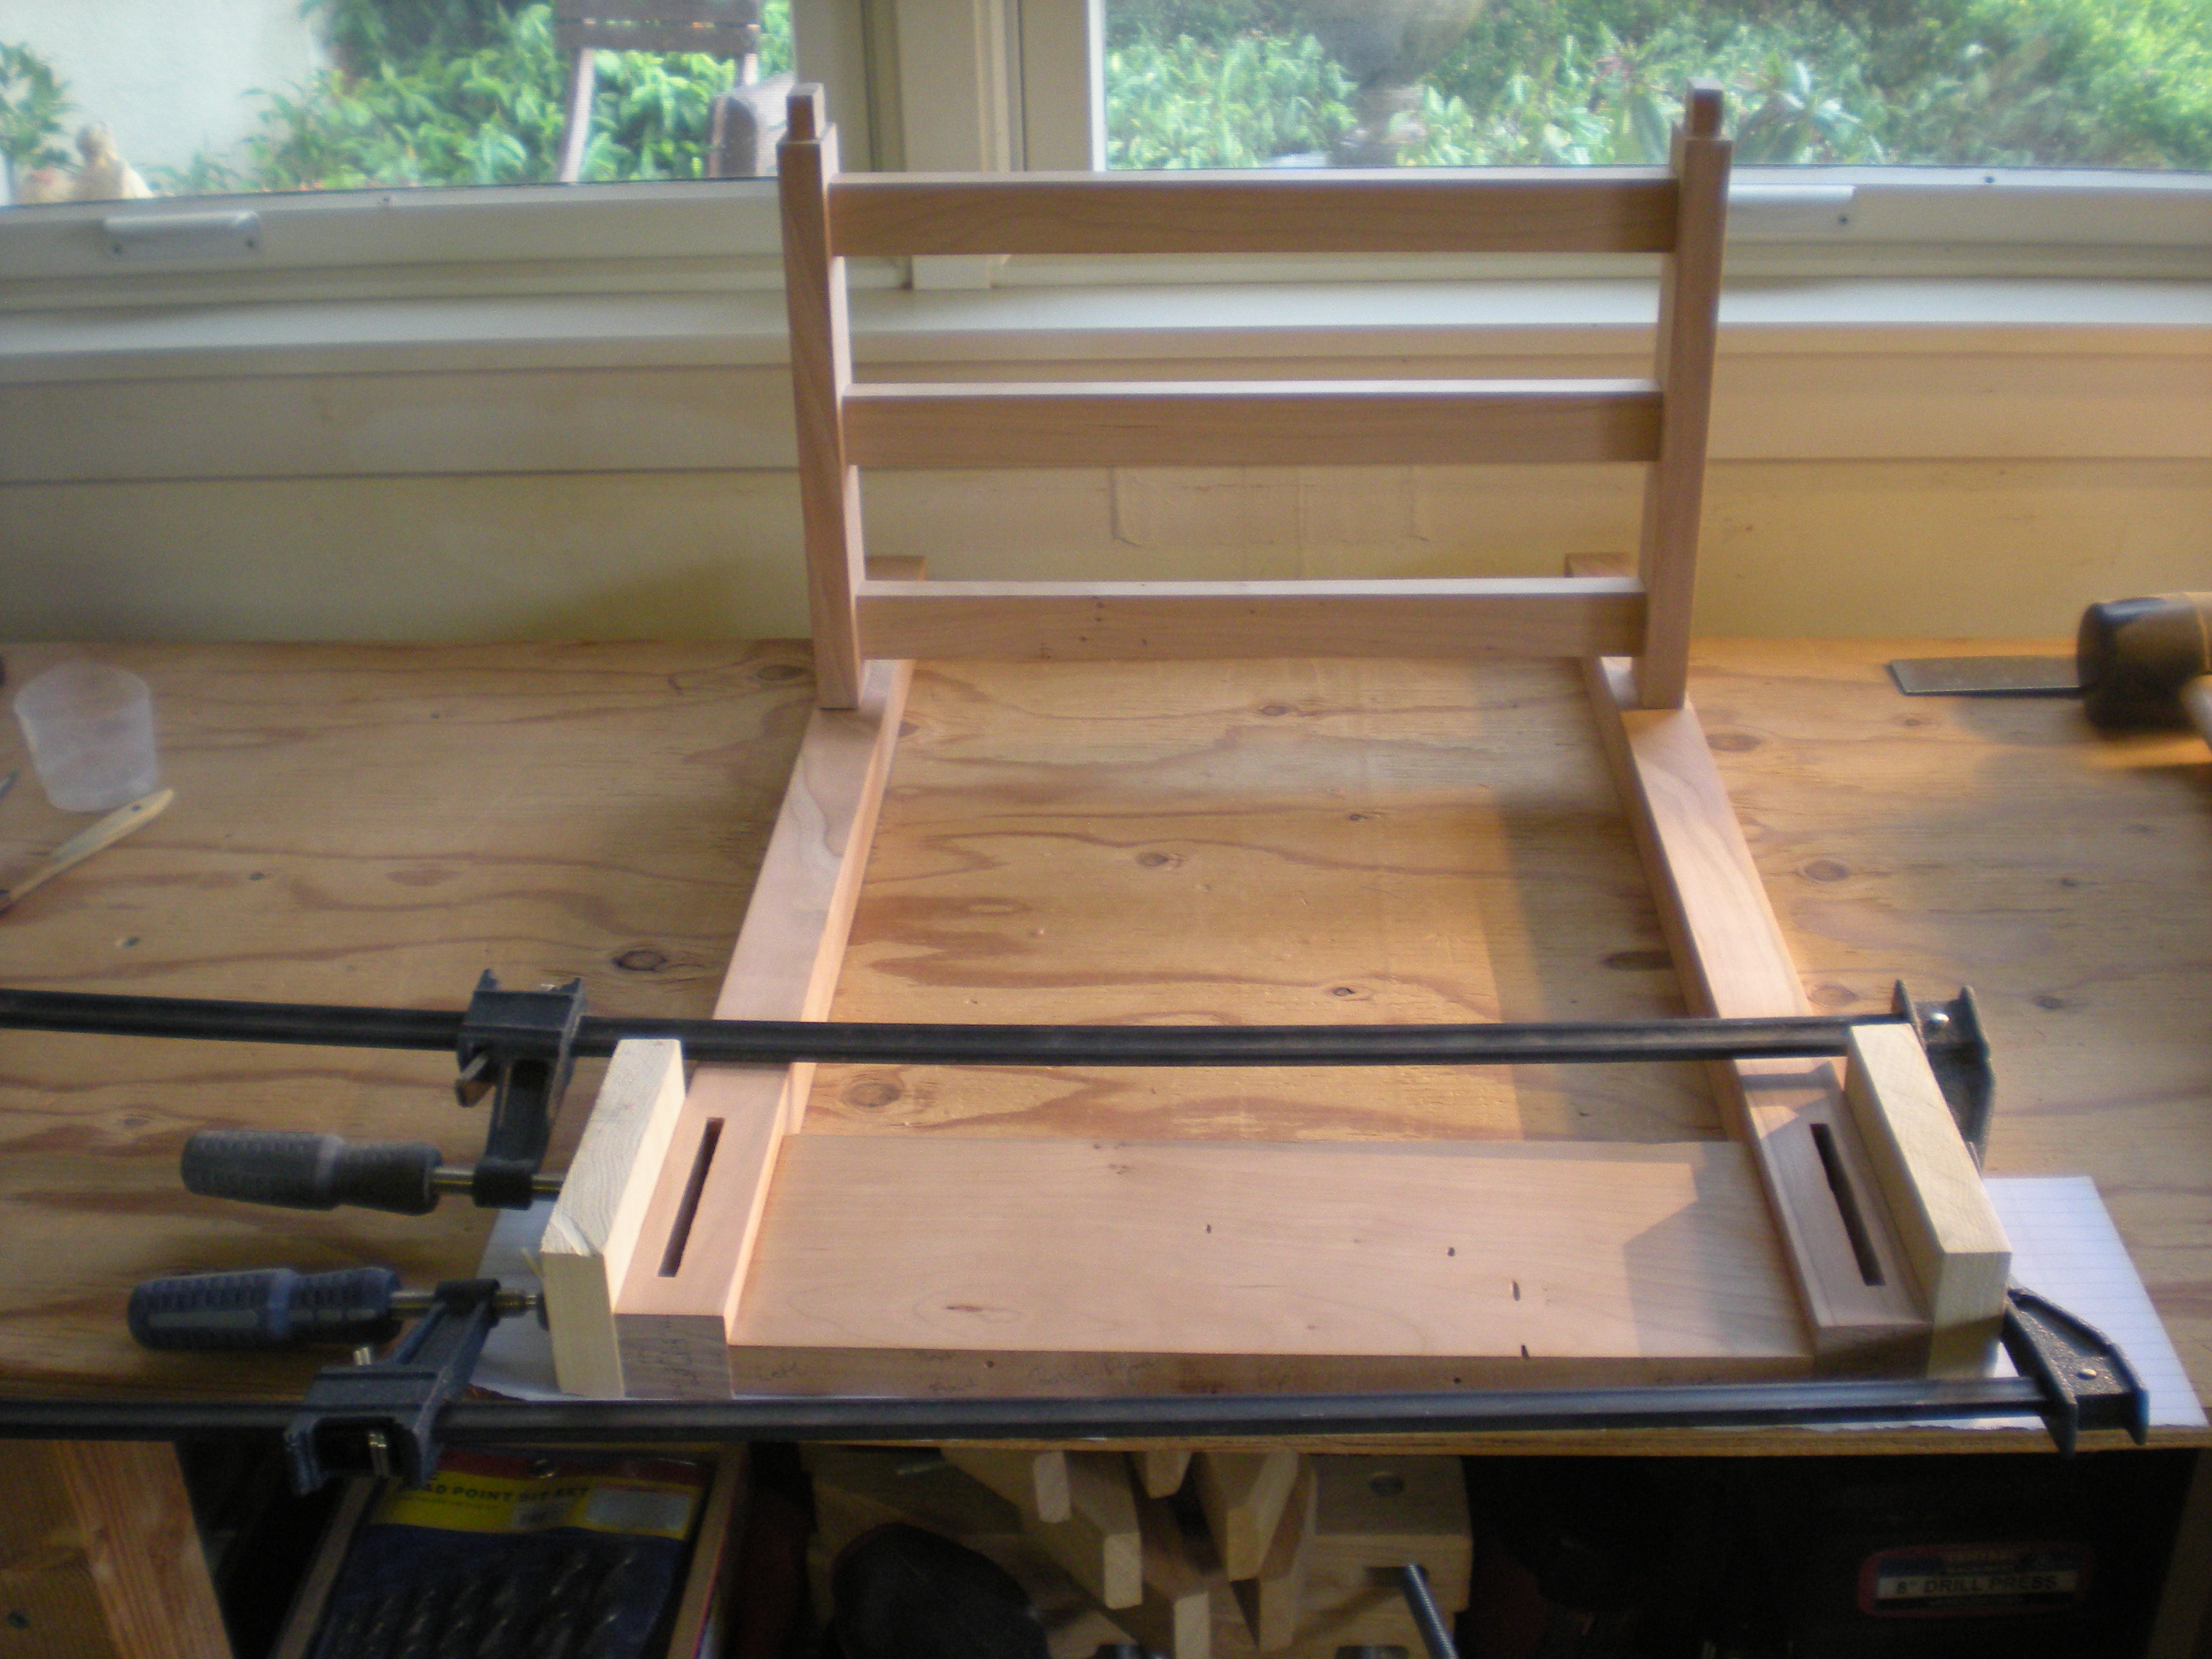
Here, I am gluing up the back panel. The lower shelf is not glued, but is added to ensure the correct spacing when I add/glue it later.
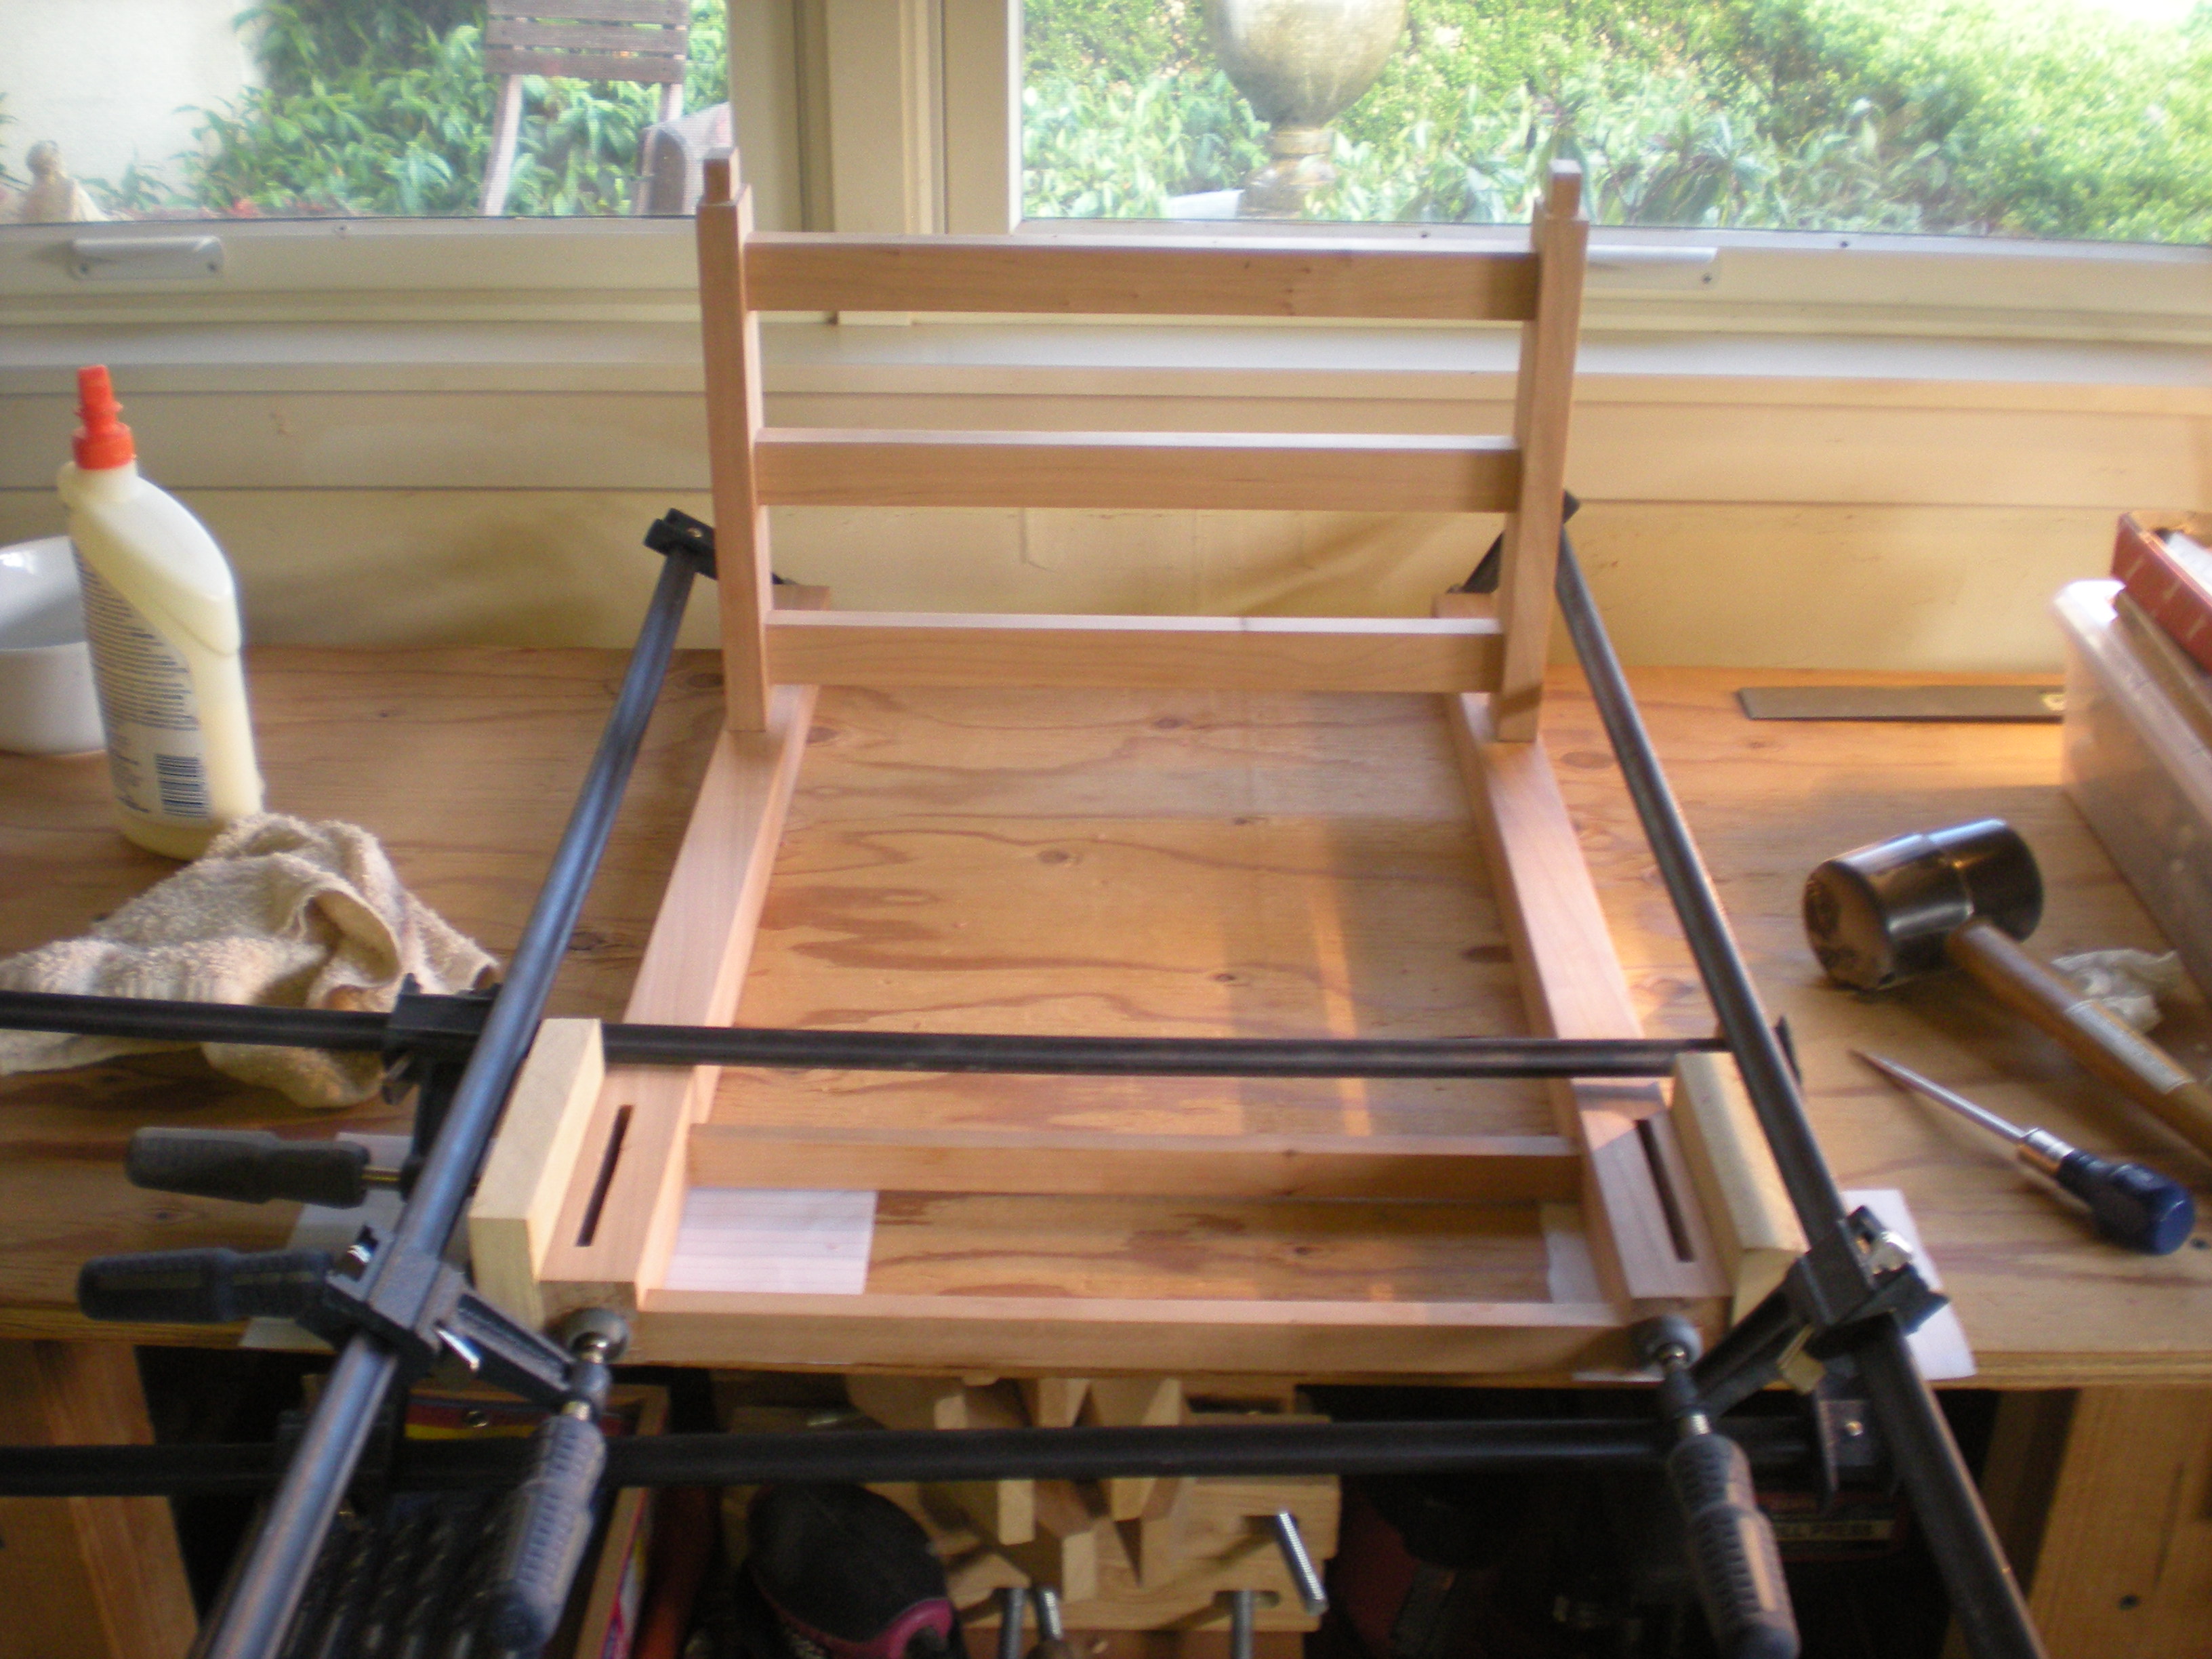
 Here, I am gluing the front panel. Again, Tthe lower shelf is not glued, but is added to ensure the correct spacing when I add/glue it later.
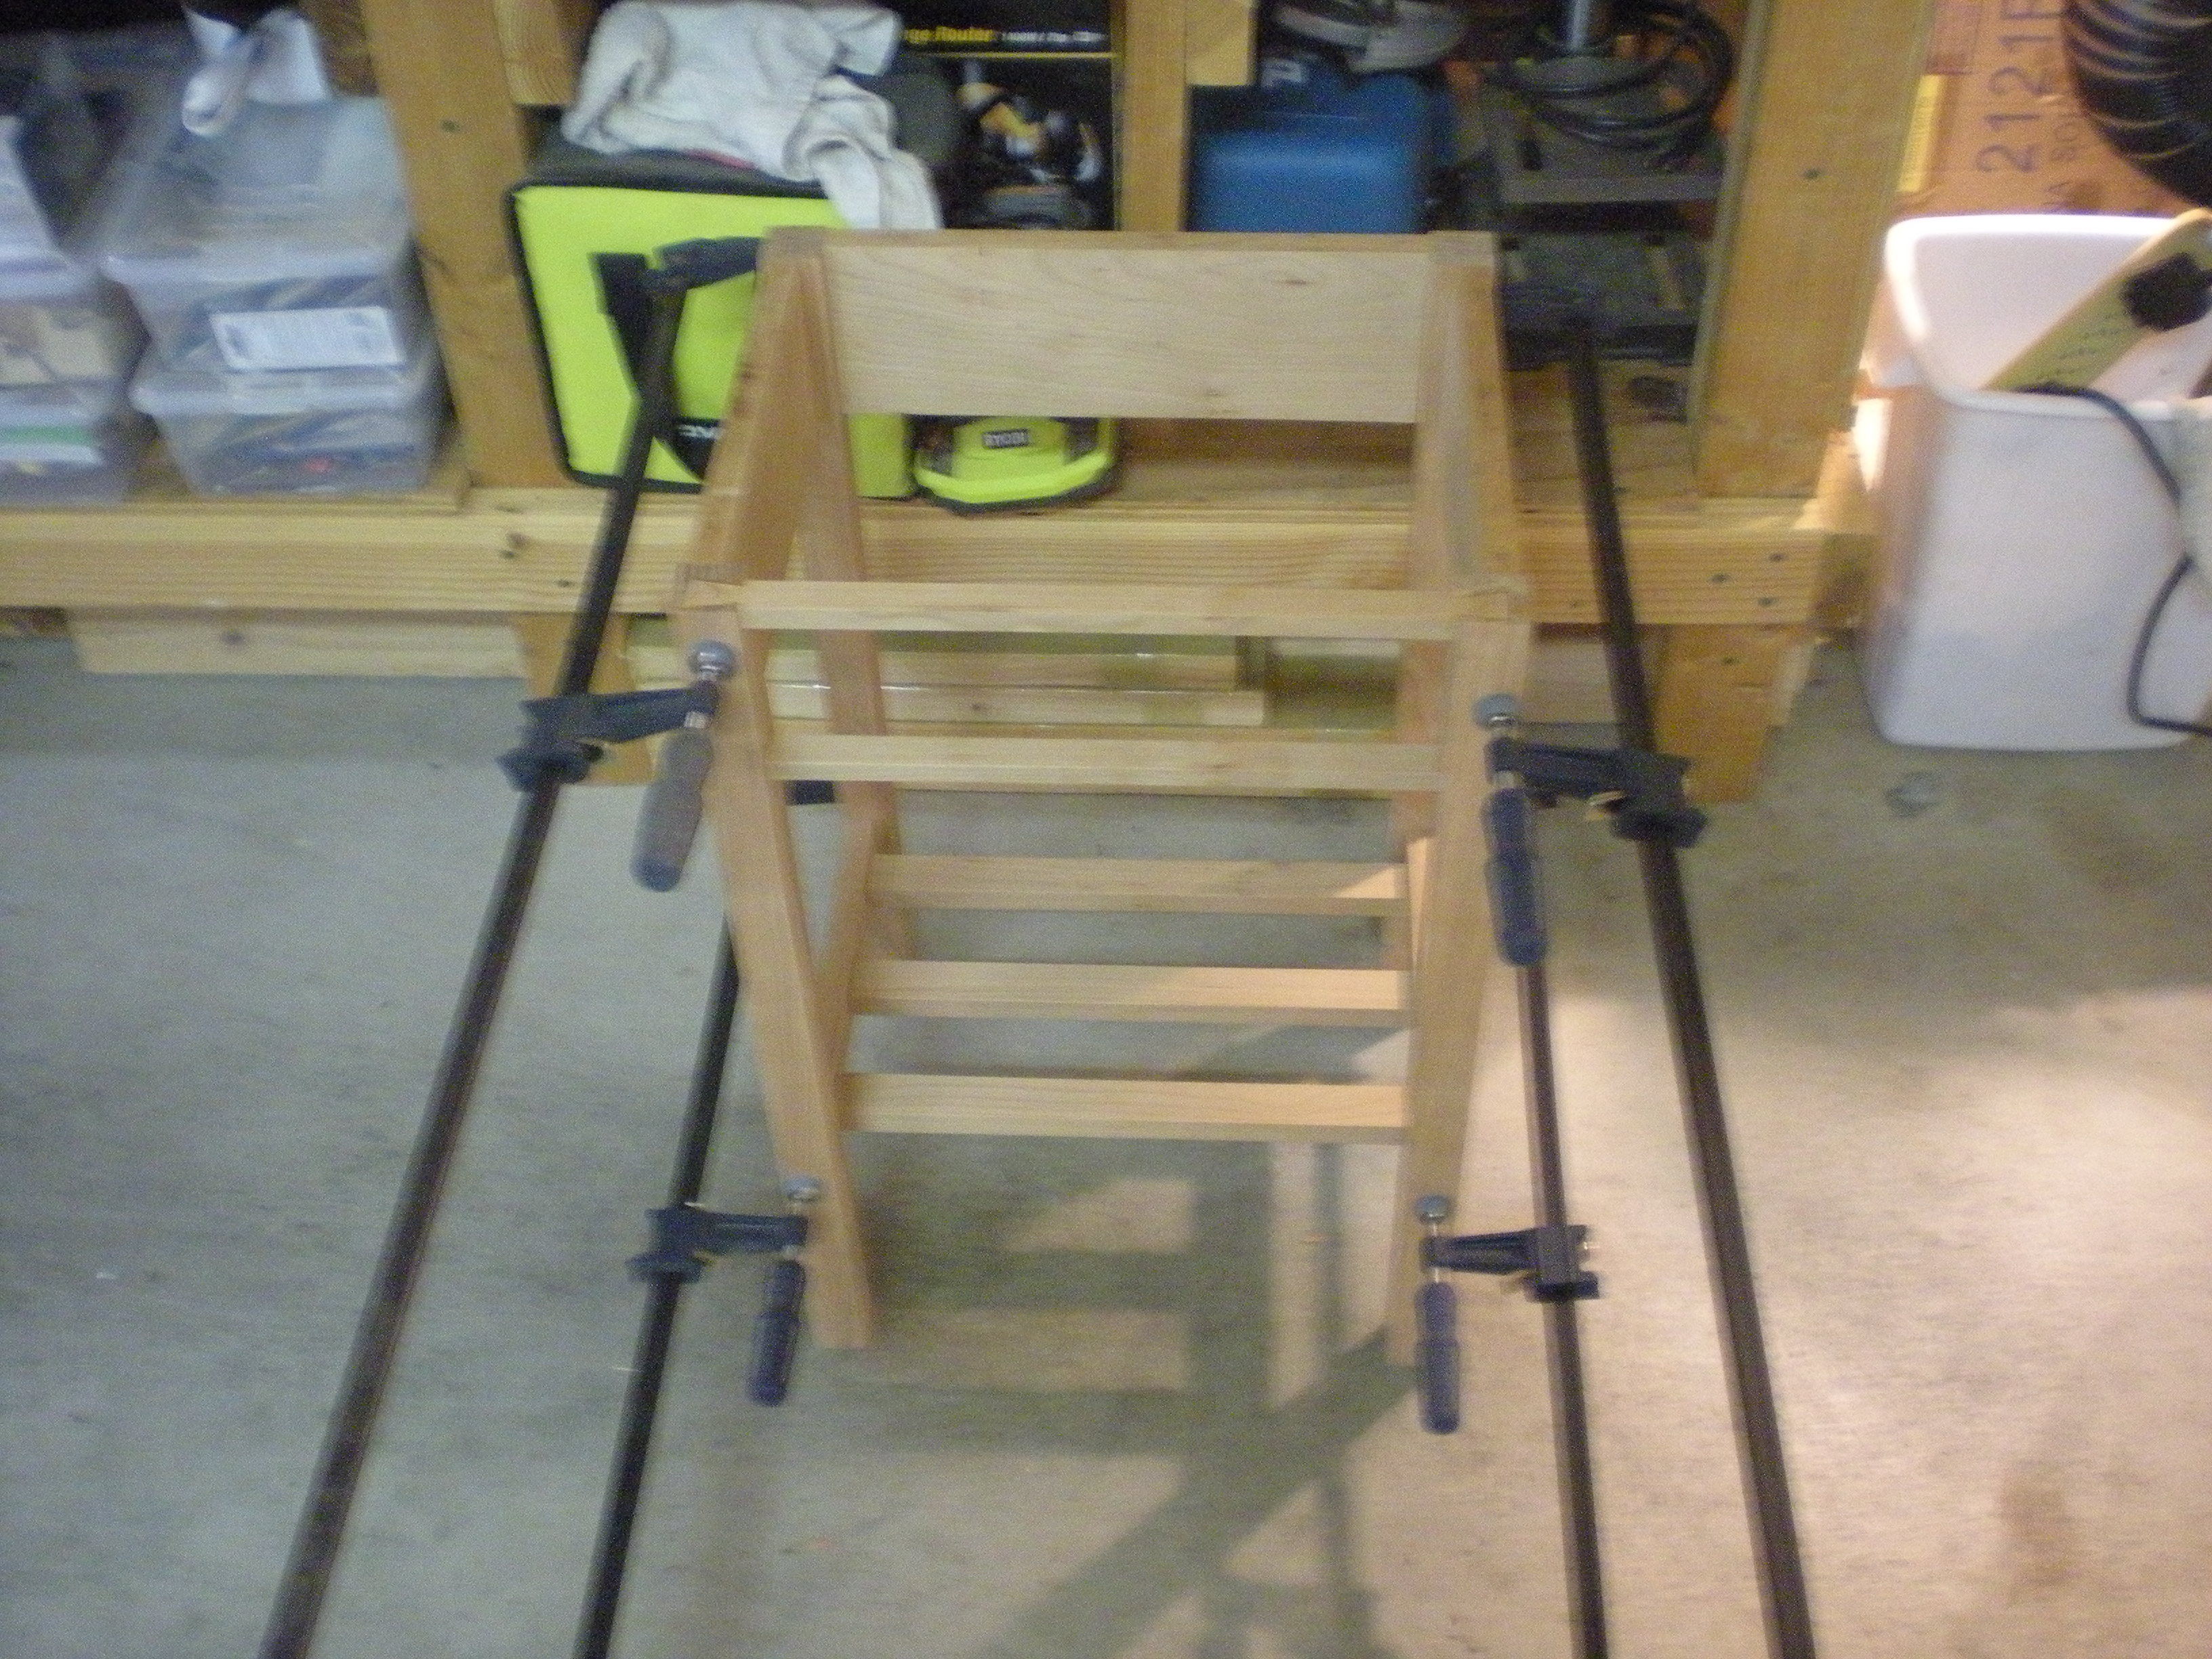
 Next, the full carcase glueup. A bit stressful, but I had dry-fitted it a couple of times and had the sequence dialed, so it worked out well.
 Next, I cut the runners, kickers and spacers for the drawer.
 These are simply glued in – no joinery.
 After some sanding, I’m ready to add the finish.
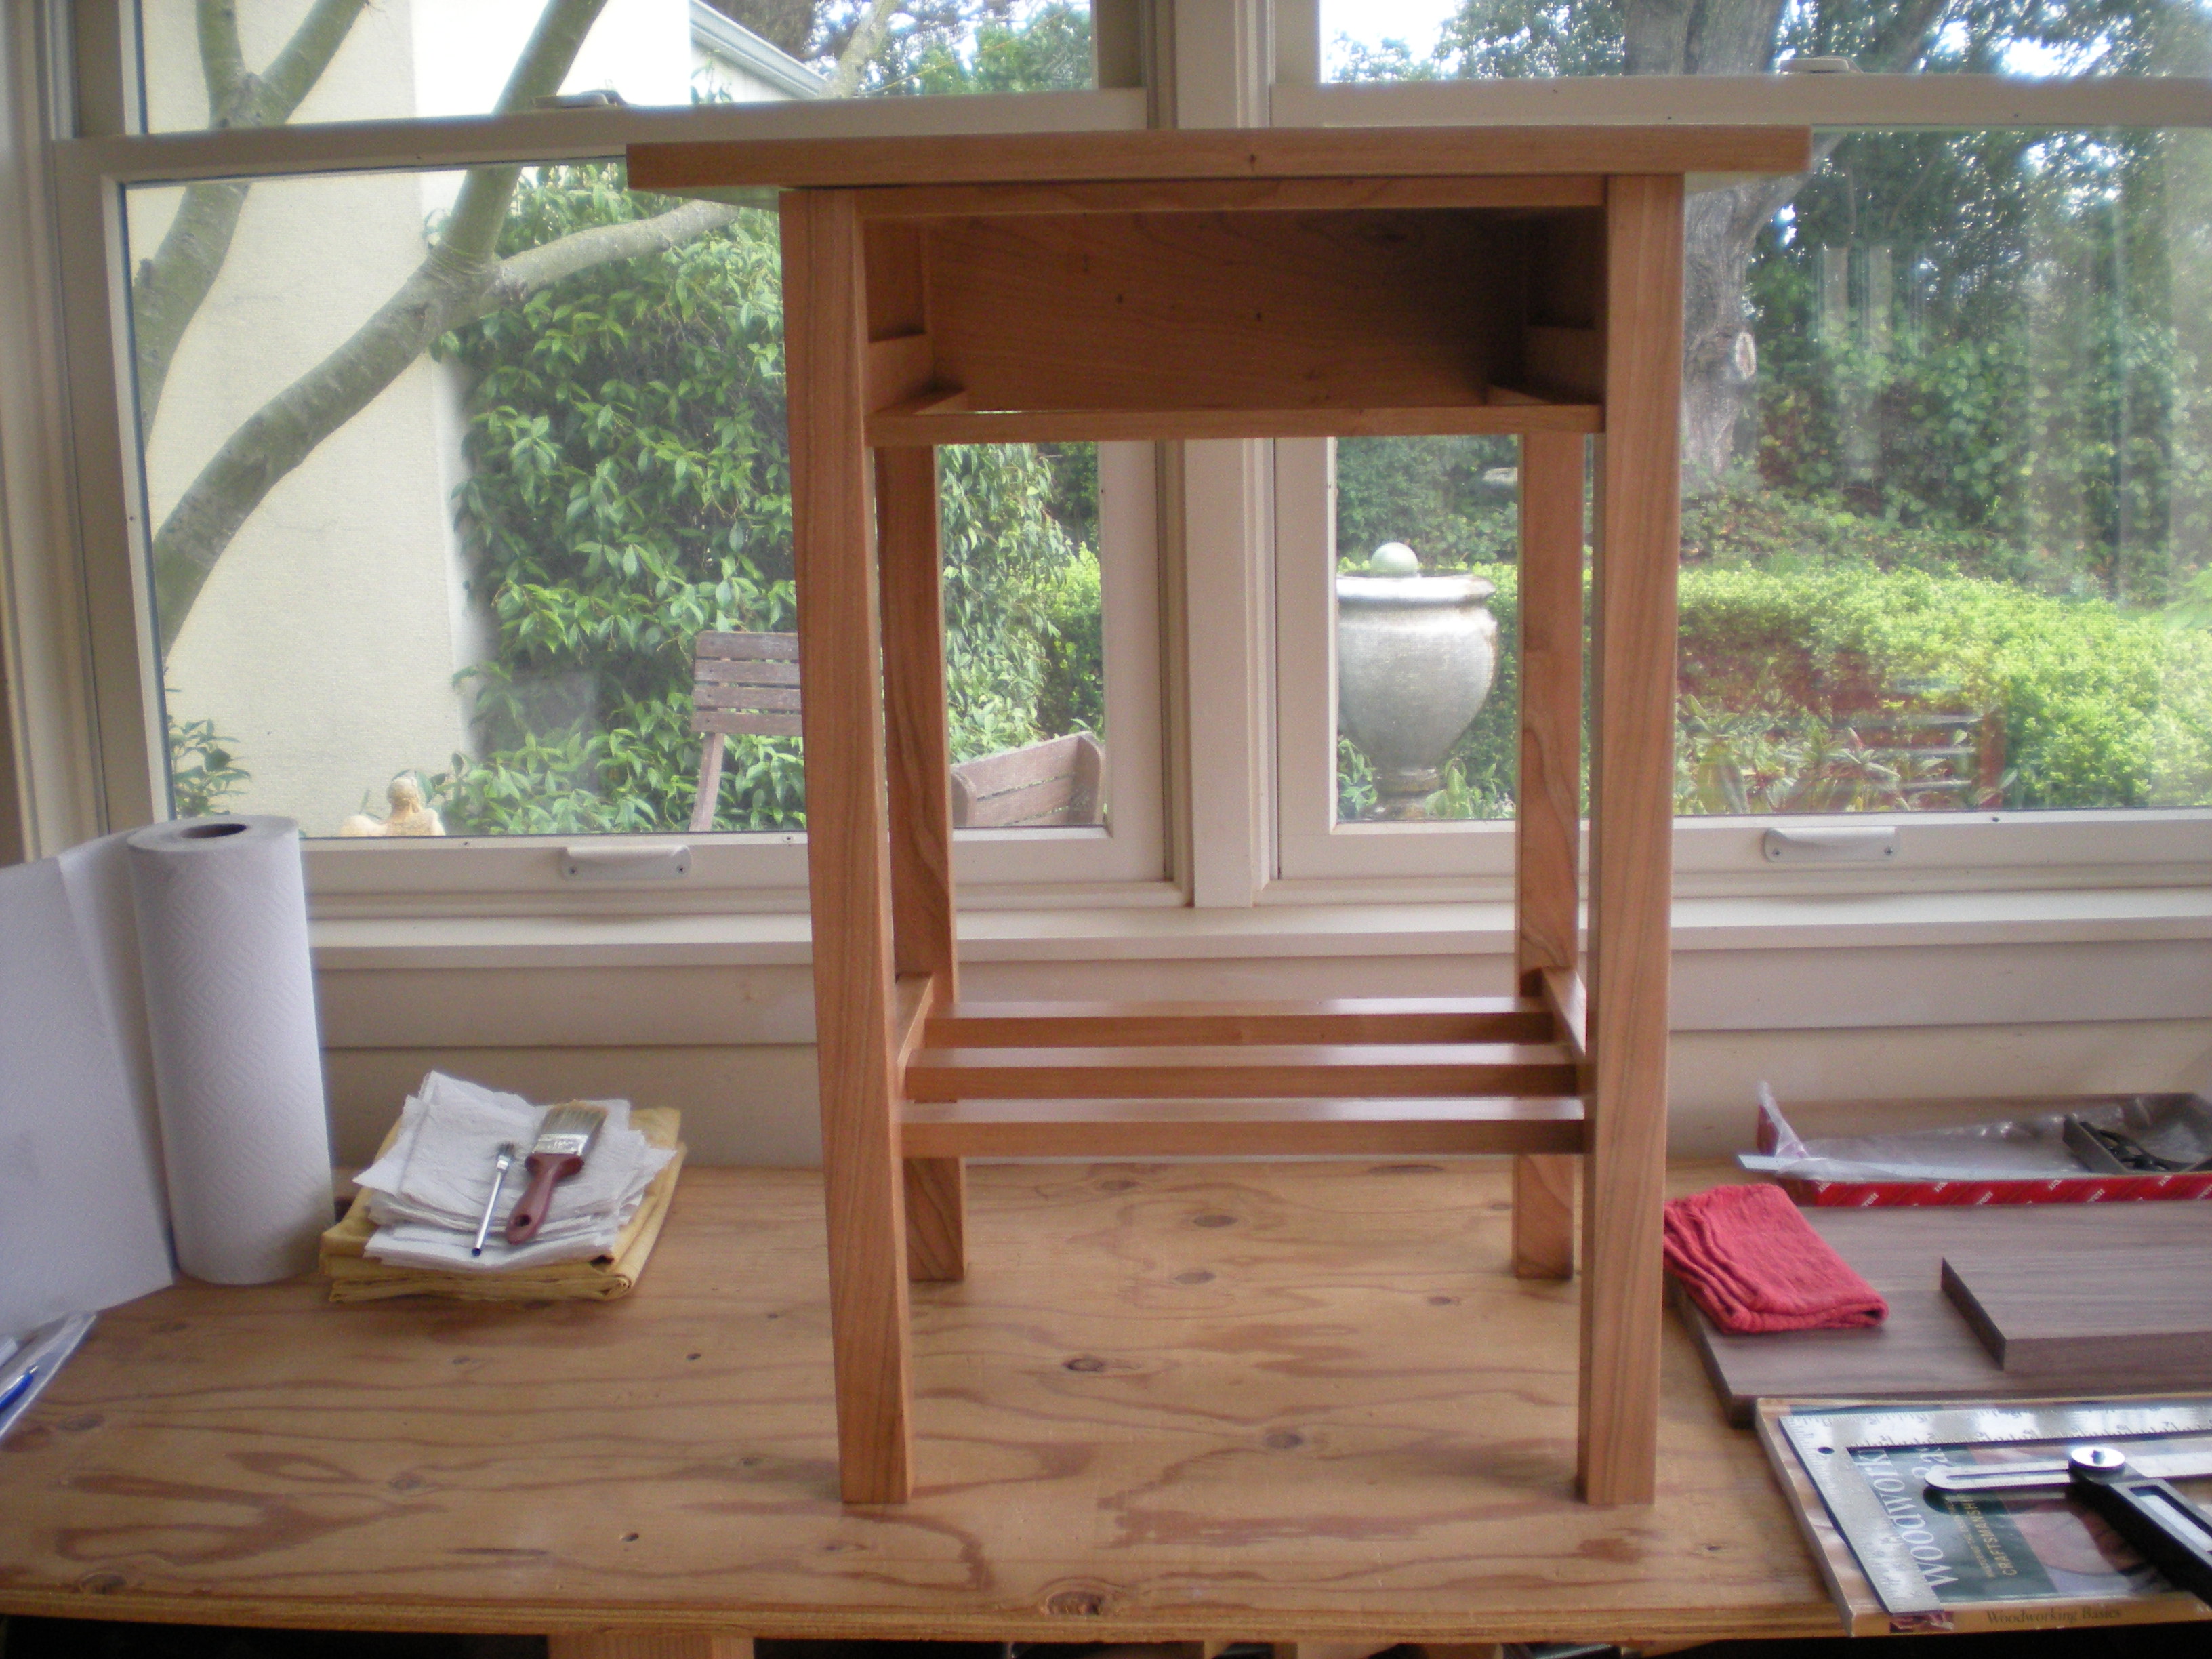
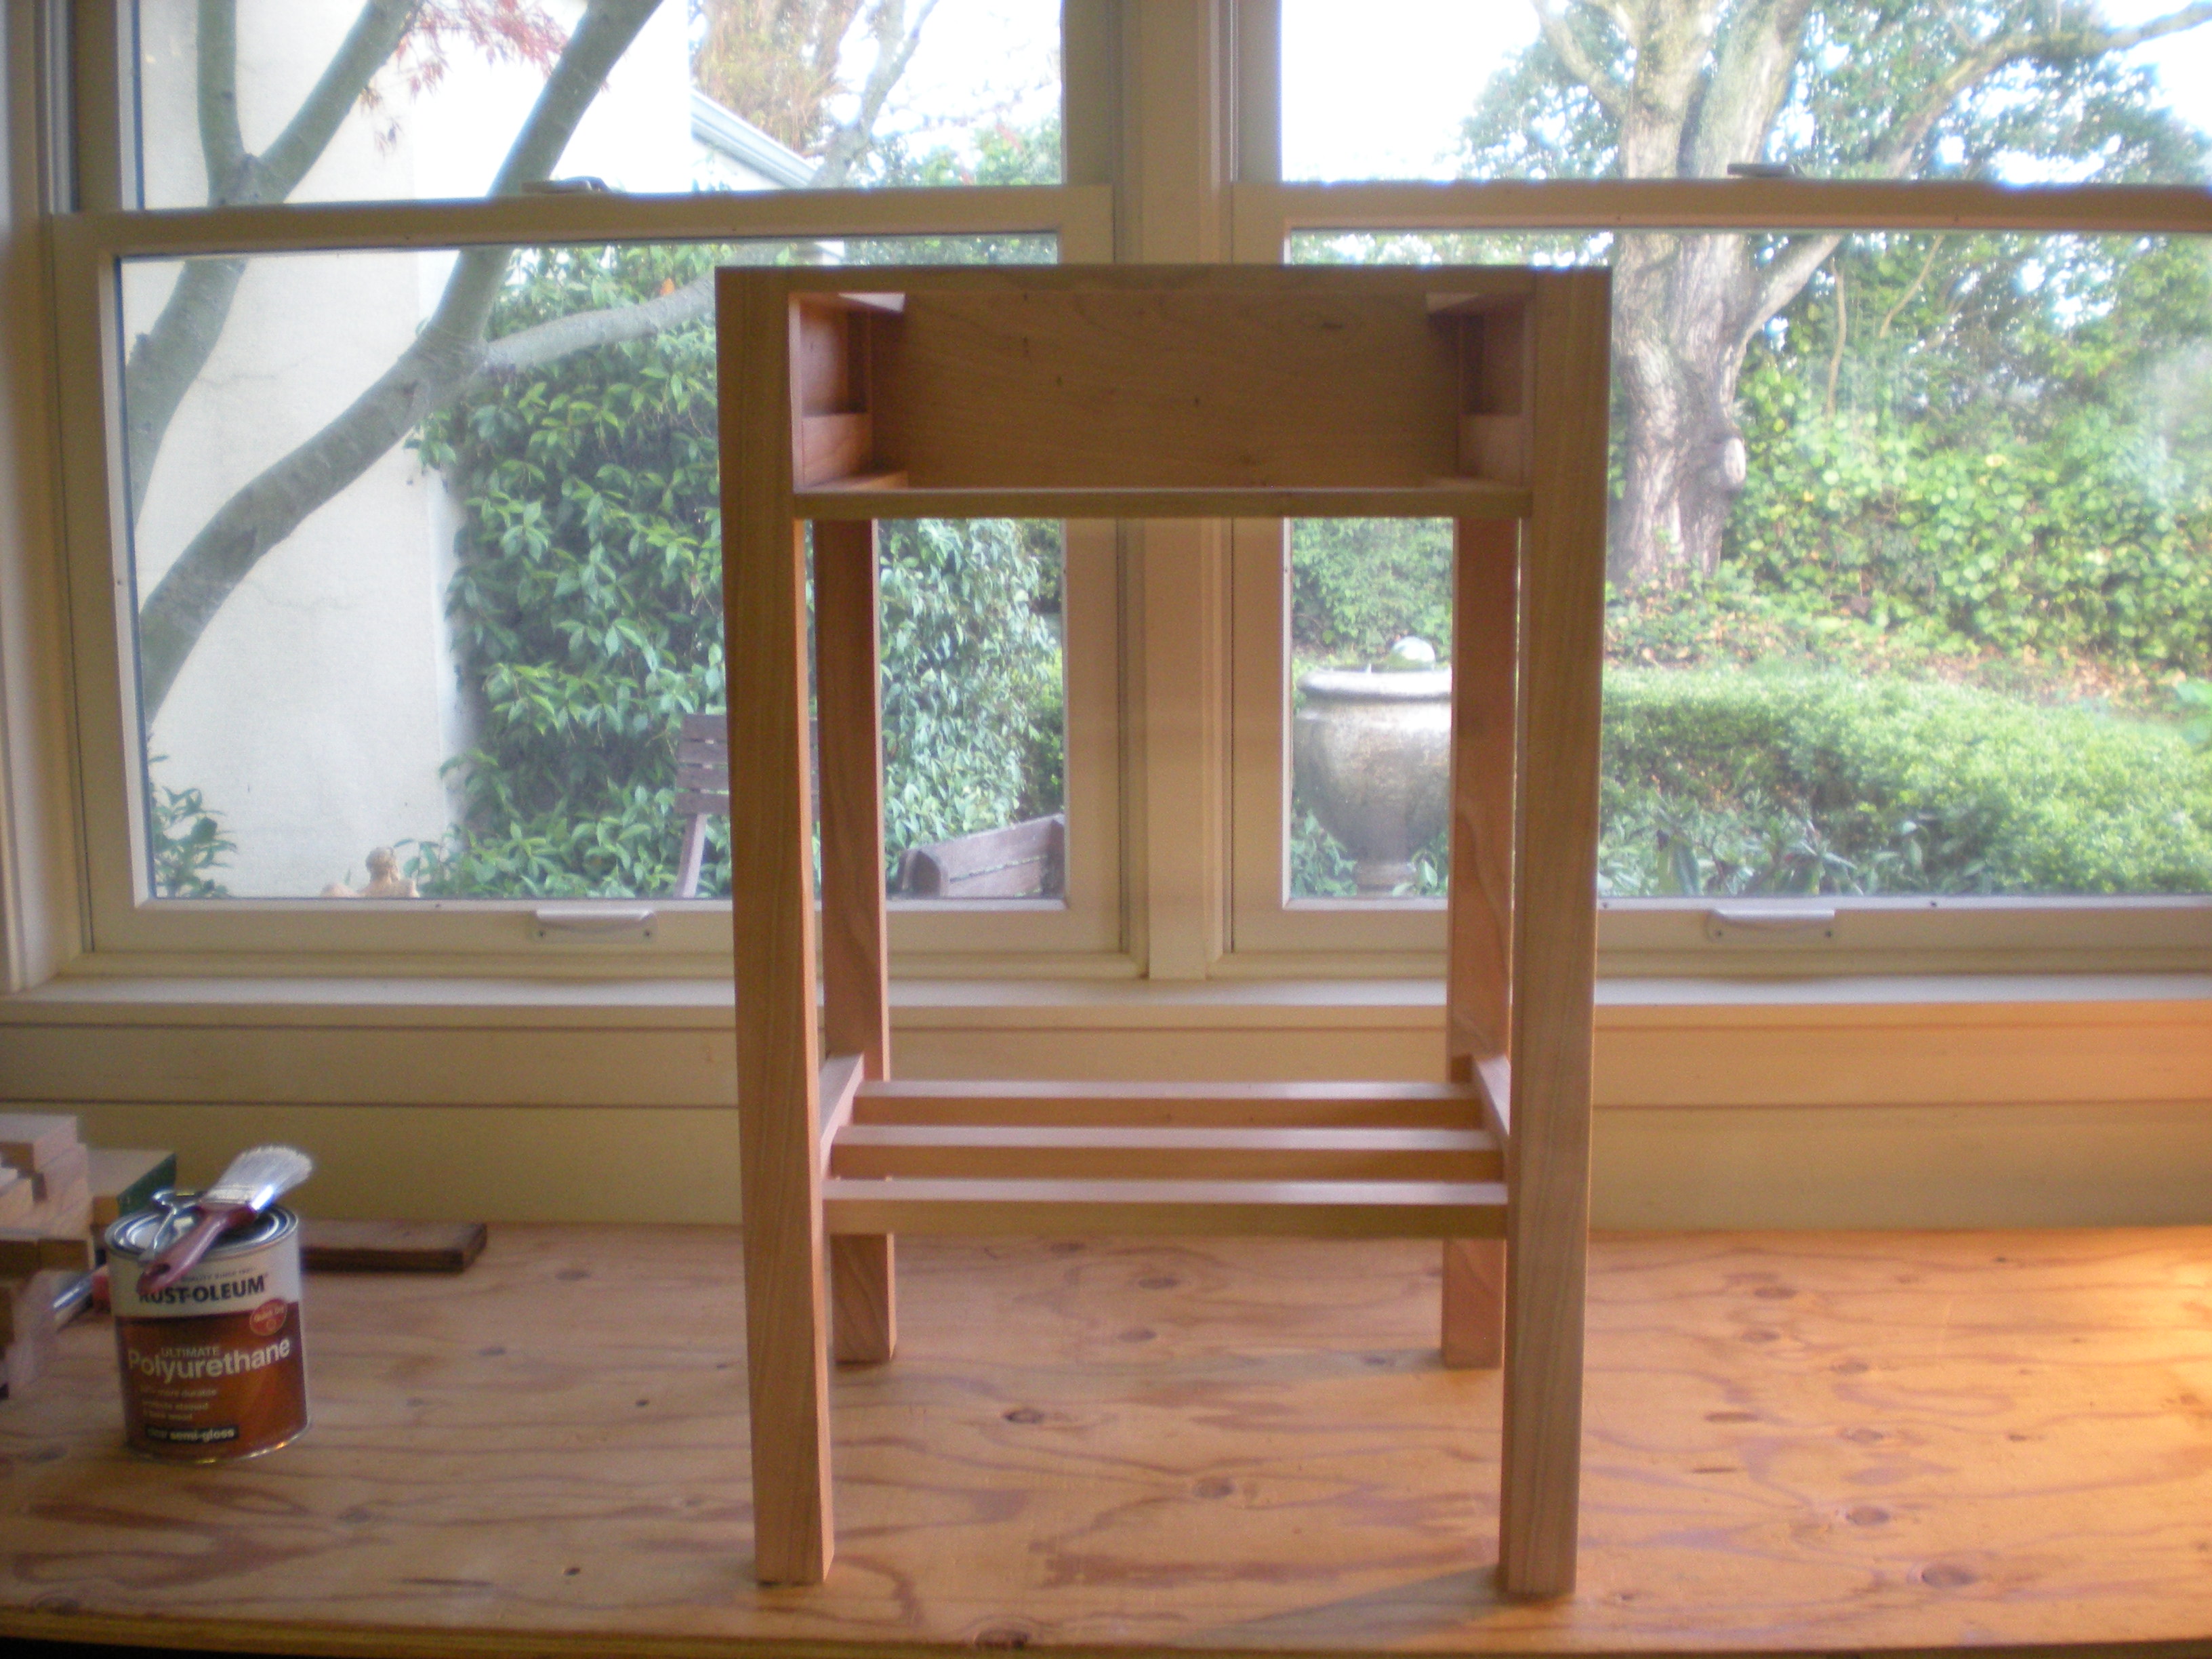 After testing a few options for finishing, I ended up using a suggestion from Bob Moyer. A few layers of semi-gloss polyeurethane to give it good protection and show the grain, and then a layer of matte polyeurethane to remove the sheen while keeping it clear. Too many matte layers can make it a bit too murky. Below, everything is finished, so besides screwing the top into the two kickers with a few nice brass screws, the “only” thing the table needs is a drawer.
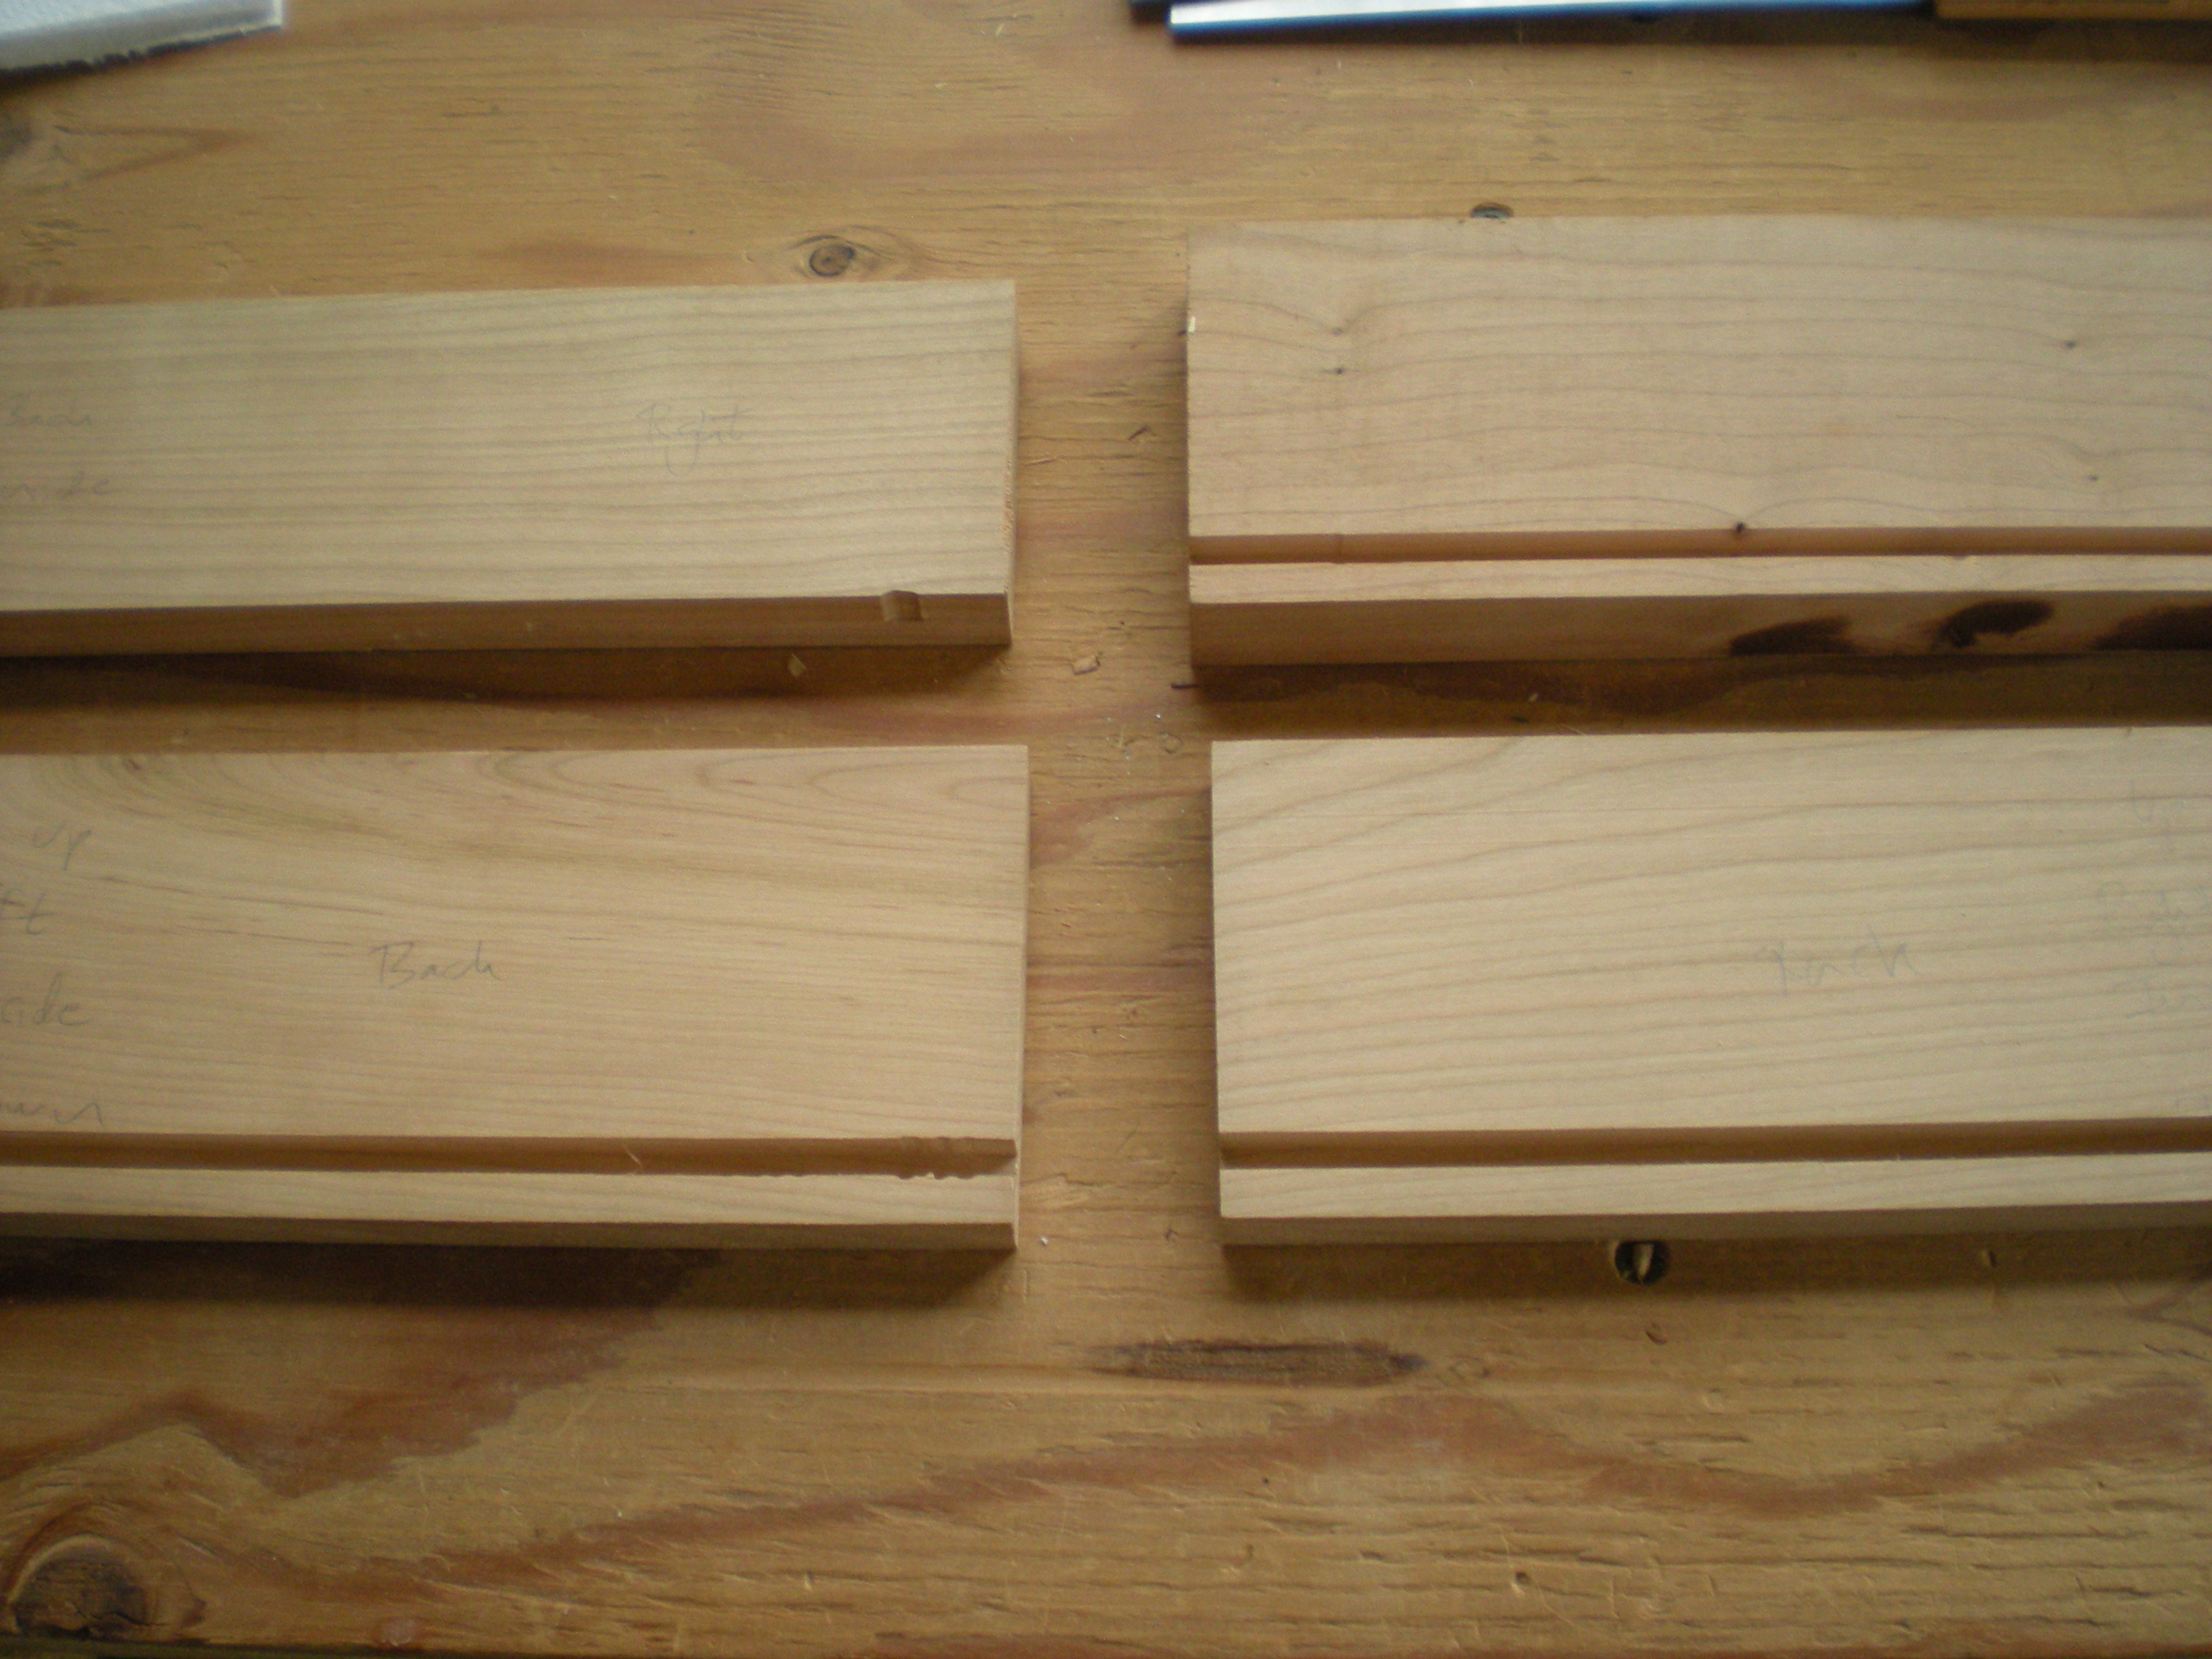
 Now for the drawer. Front is 3.5” wide and 3/4” think, sides are 3.5” wide and 1/2” thick, and back is 2 15/16” wide and 5/8” thick. It’s a classic design, half-blind dovetails at the front, full dovetails at the back, bottom slides under the back into grooves in the sides and front. The dovetail layout was not included in the article. I chose the two side pins to be 4/16 wide at the shoulders, and the two middle pins to be 6/16 wide at the shoulders.
This is the starting point. Grooves have been routed.
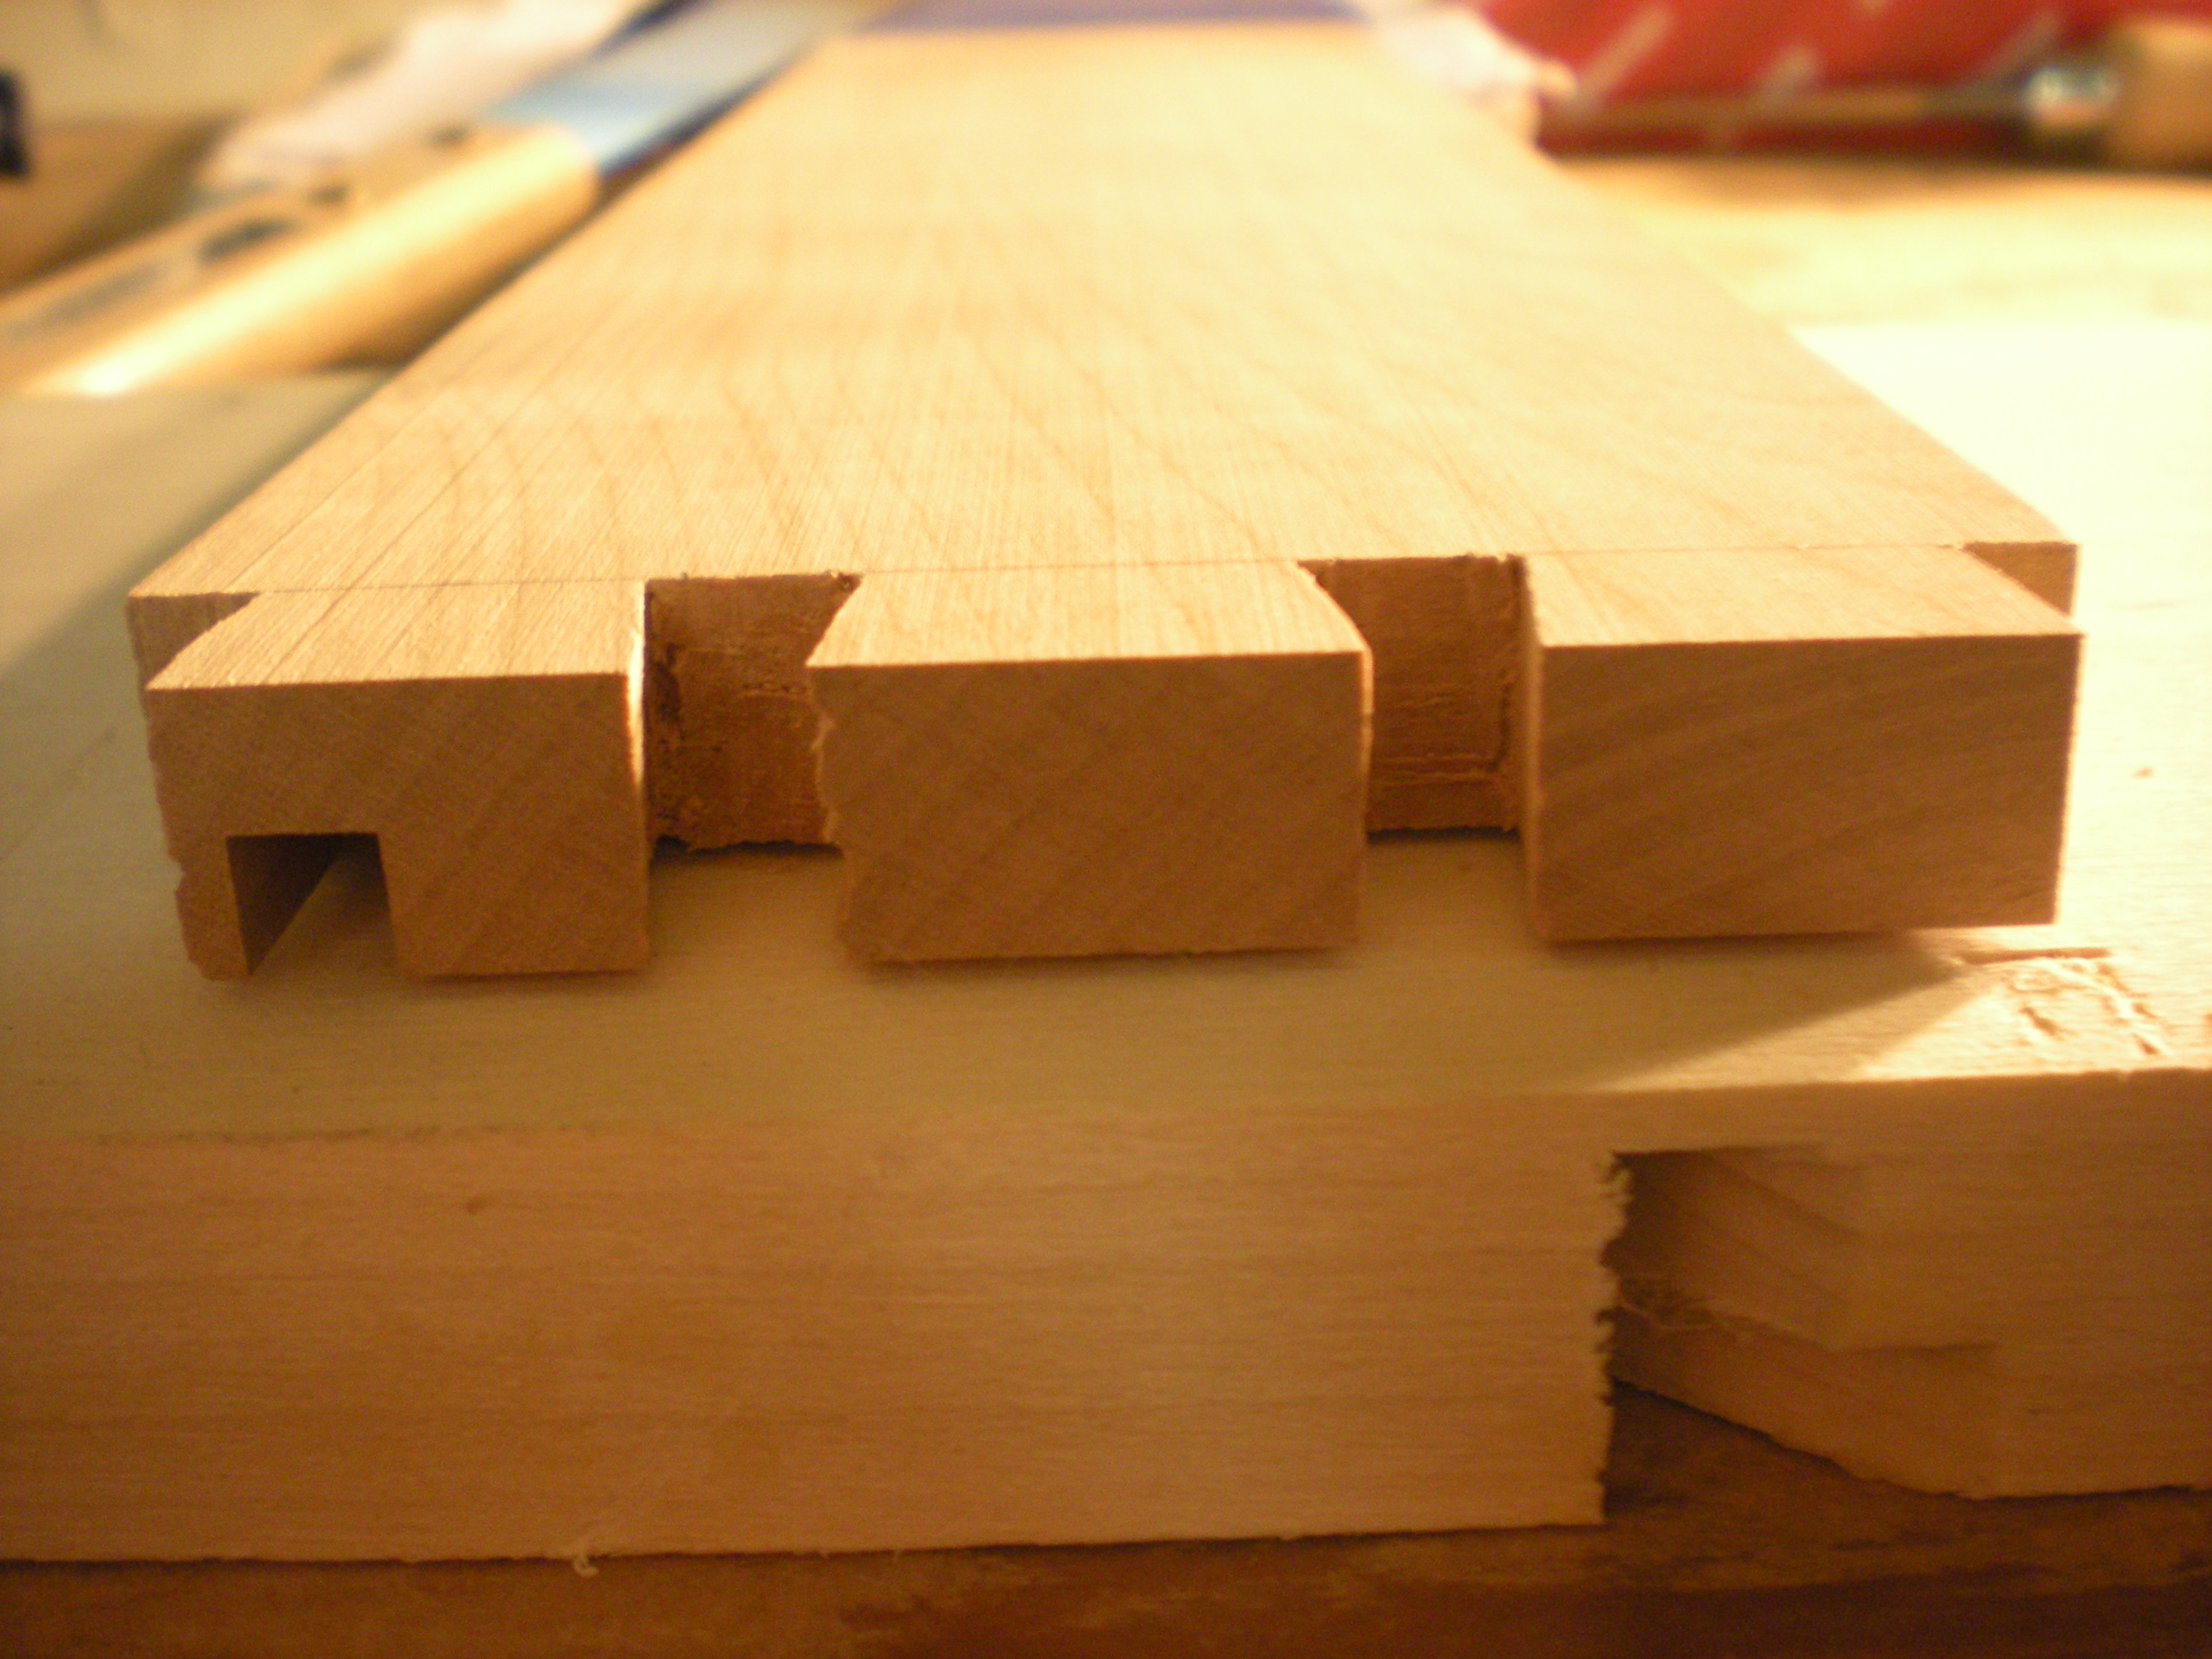
 Next, I cut the tails on the front left side. This is what it looks like.
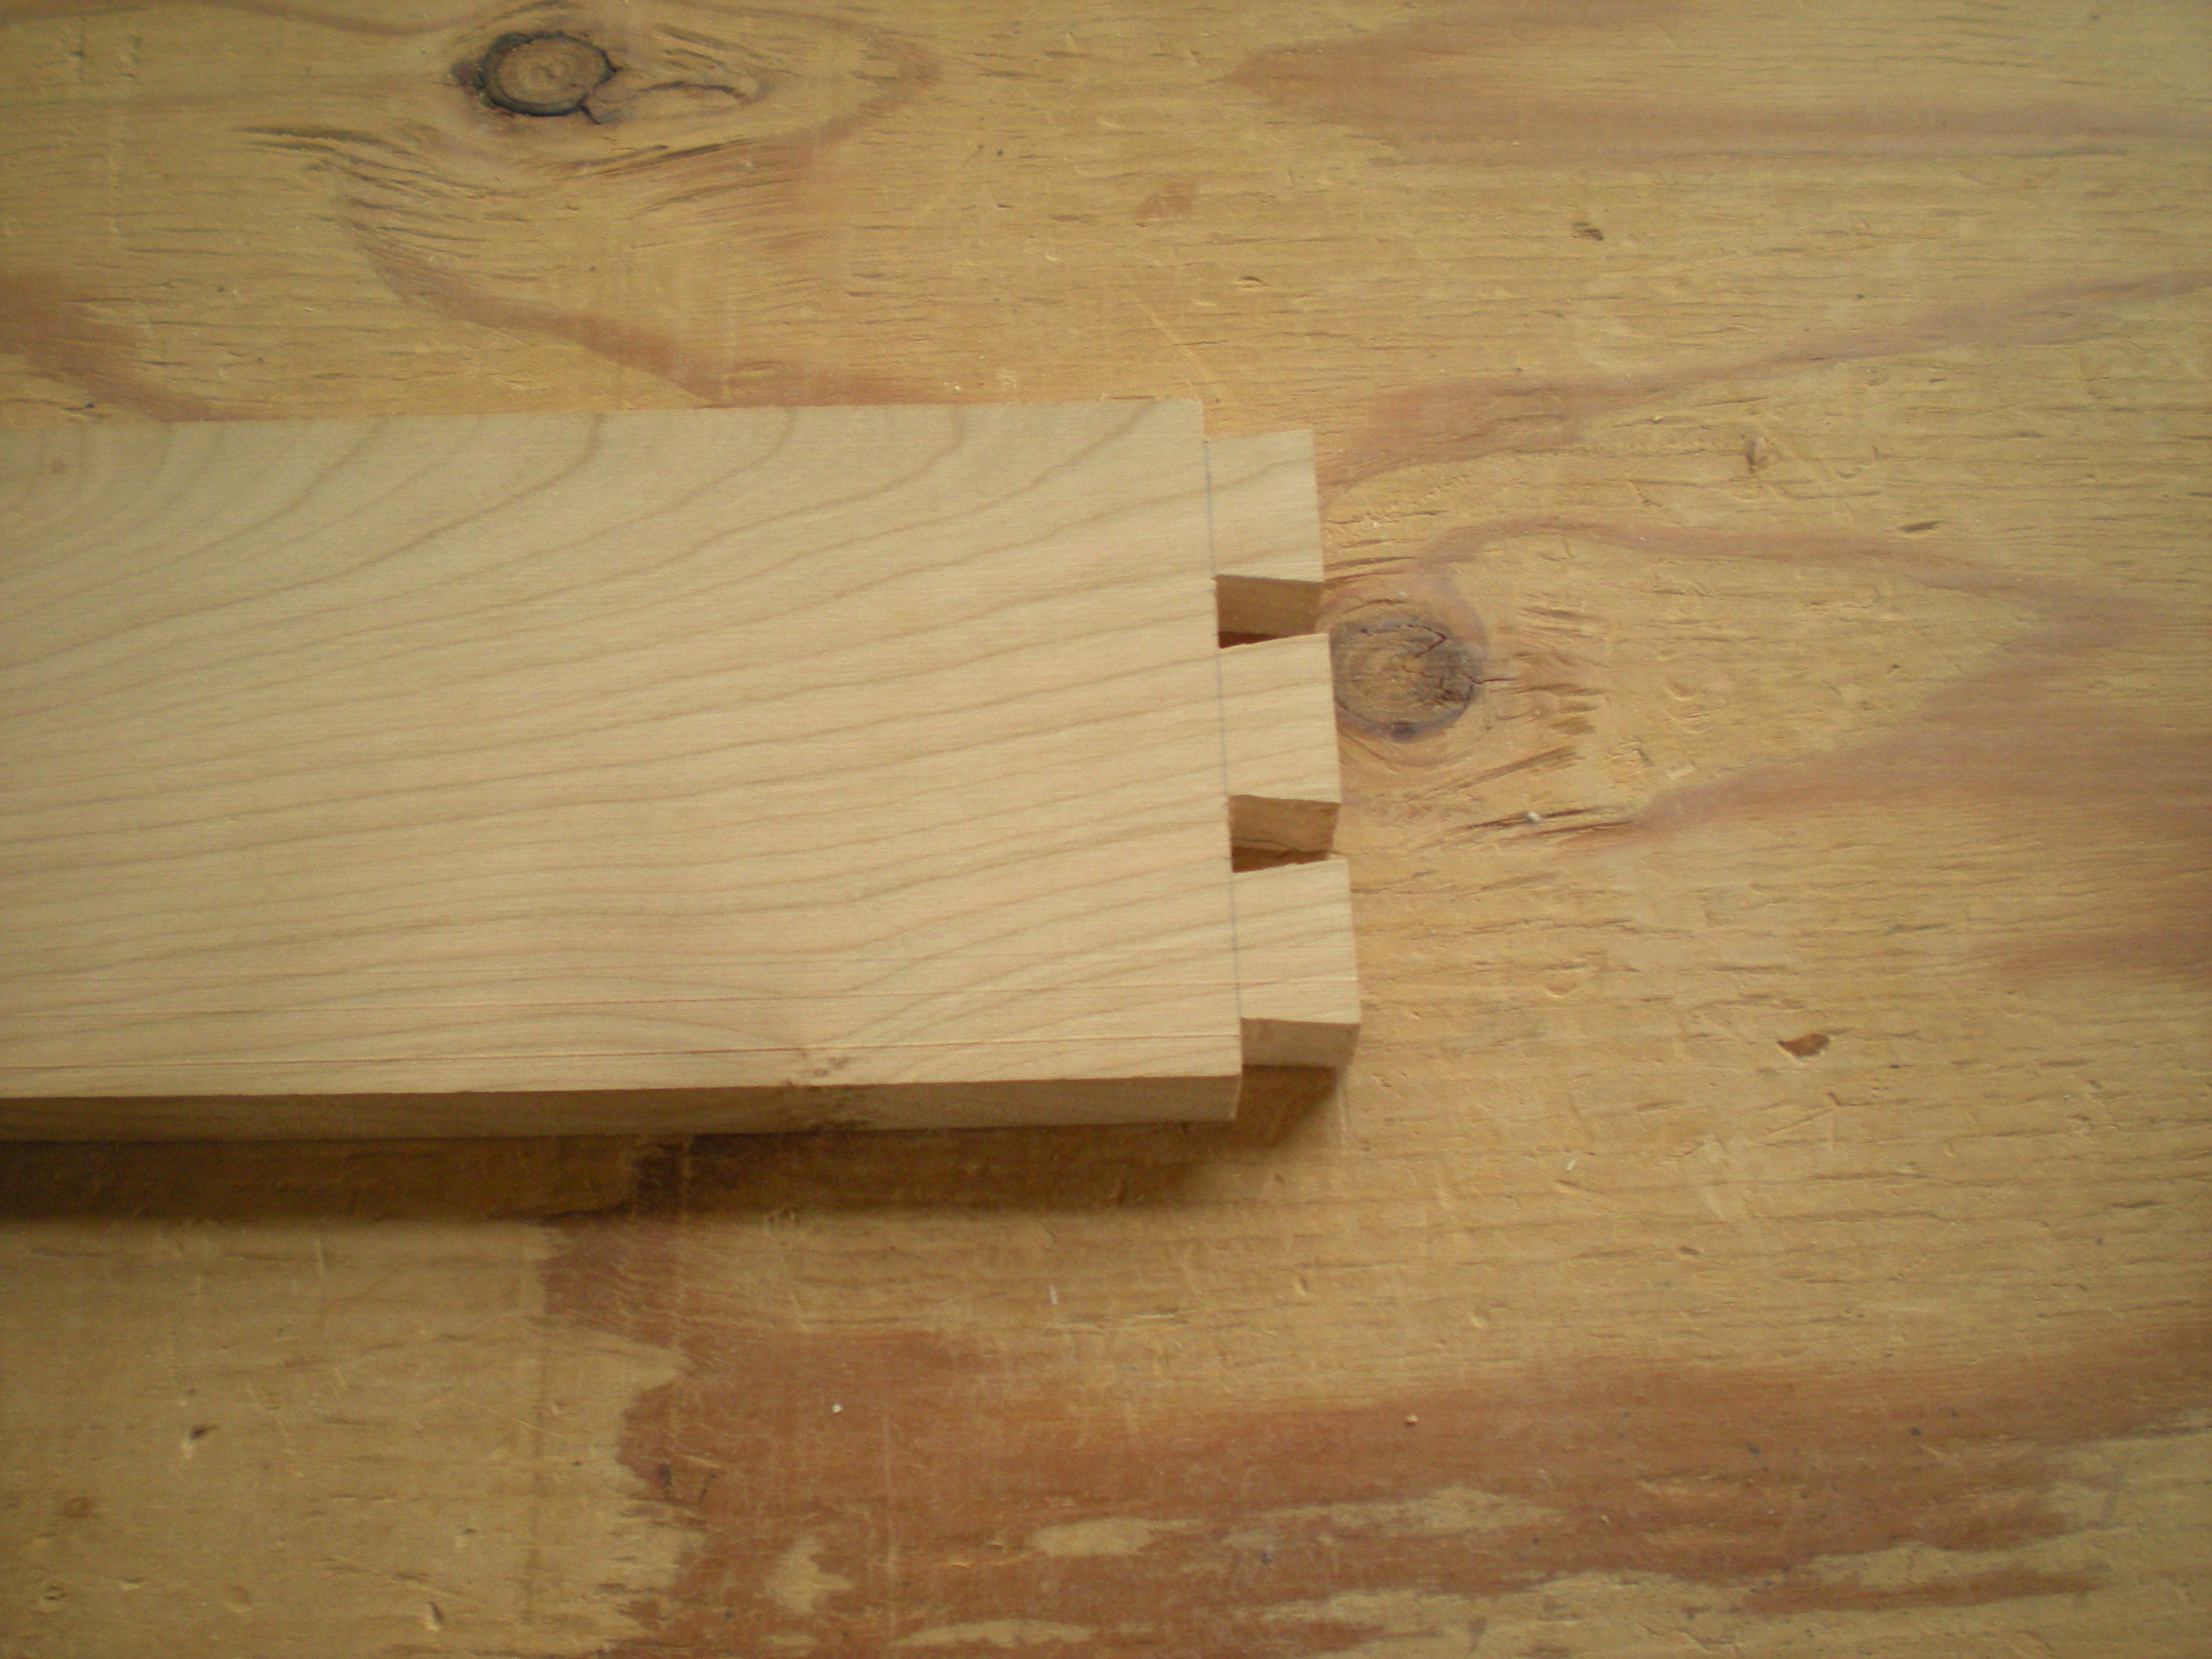
The final vertical wasn’t always clear. I had some tearout. It will be hidden, so it should still work.
Here’s all the joinery.
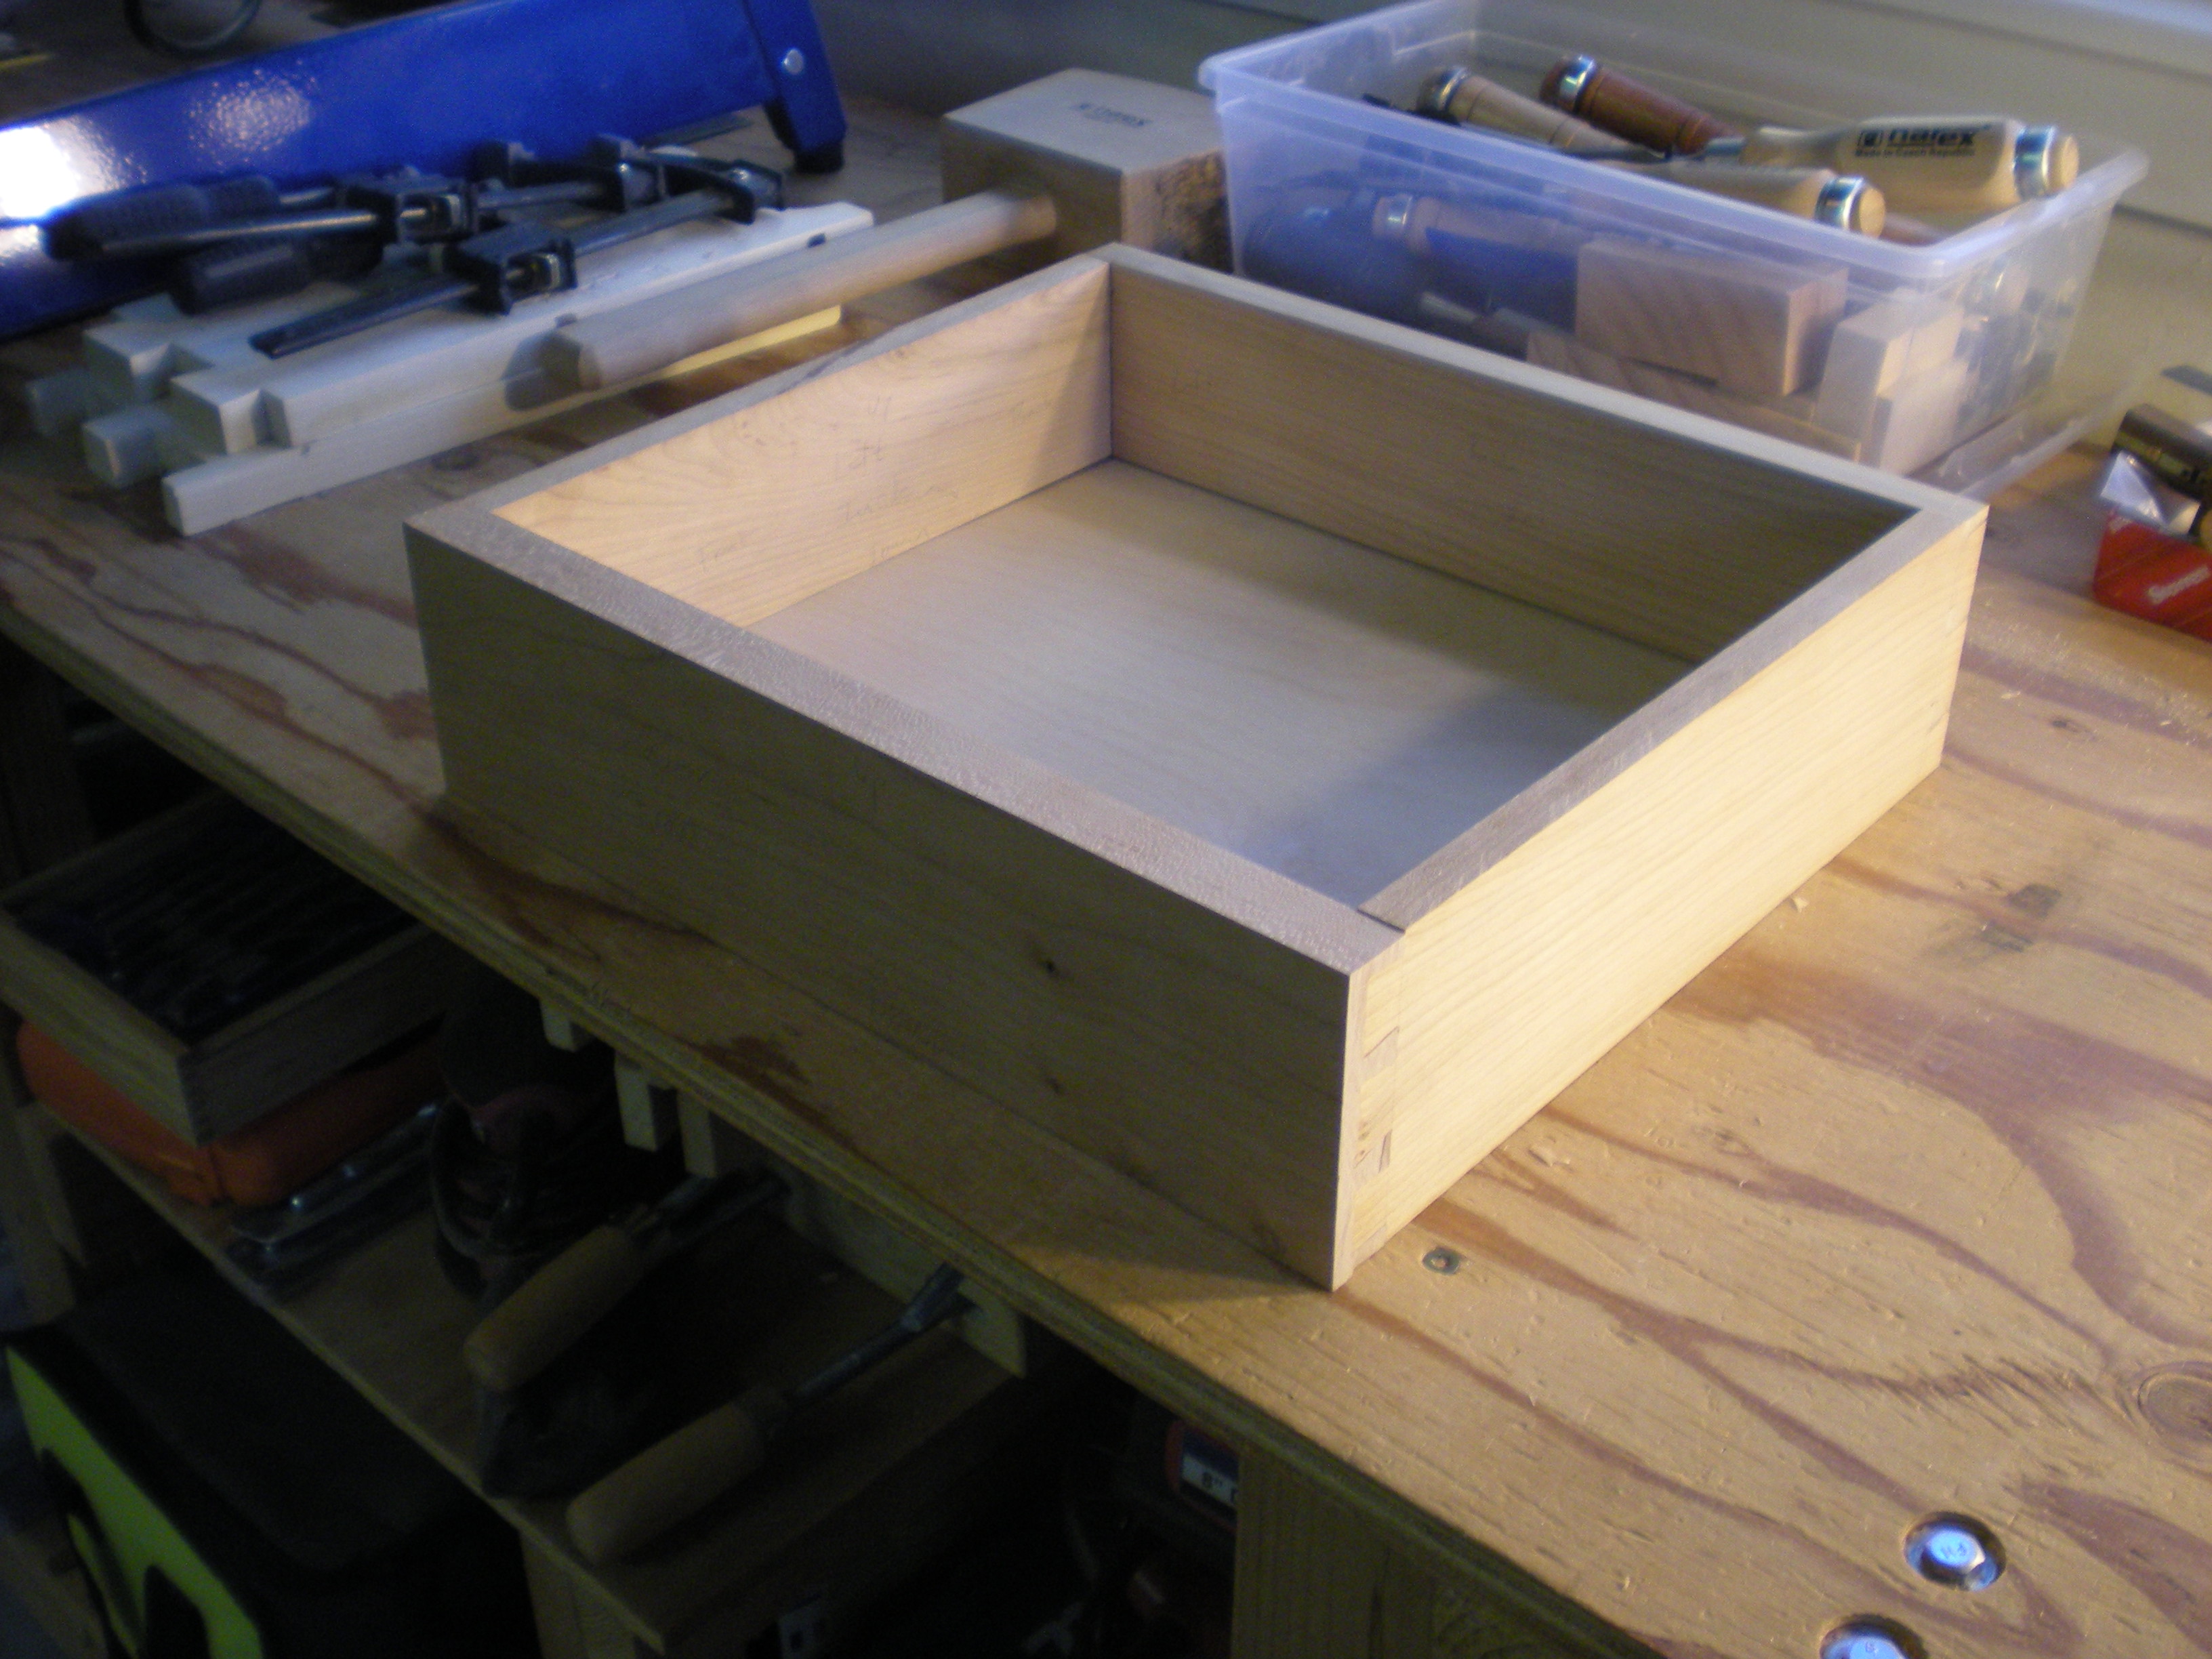
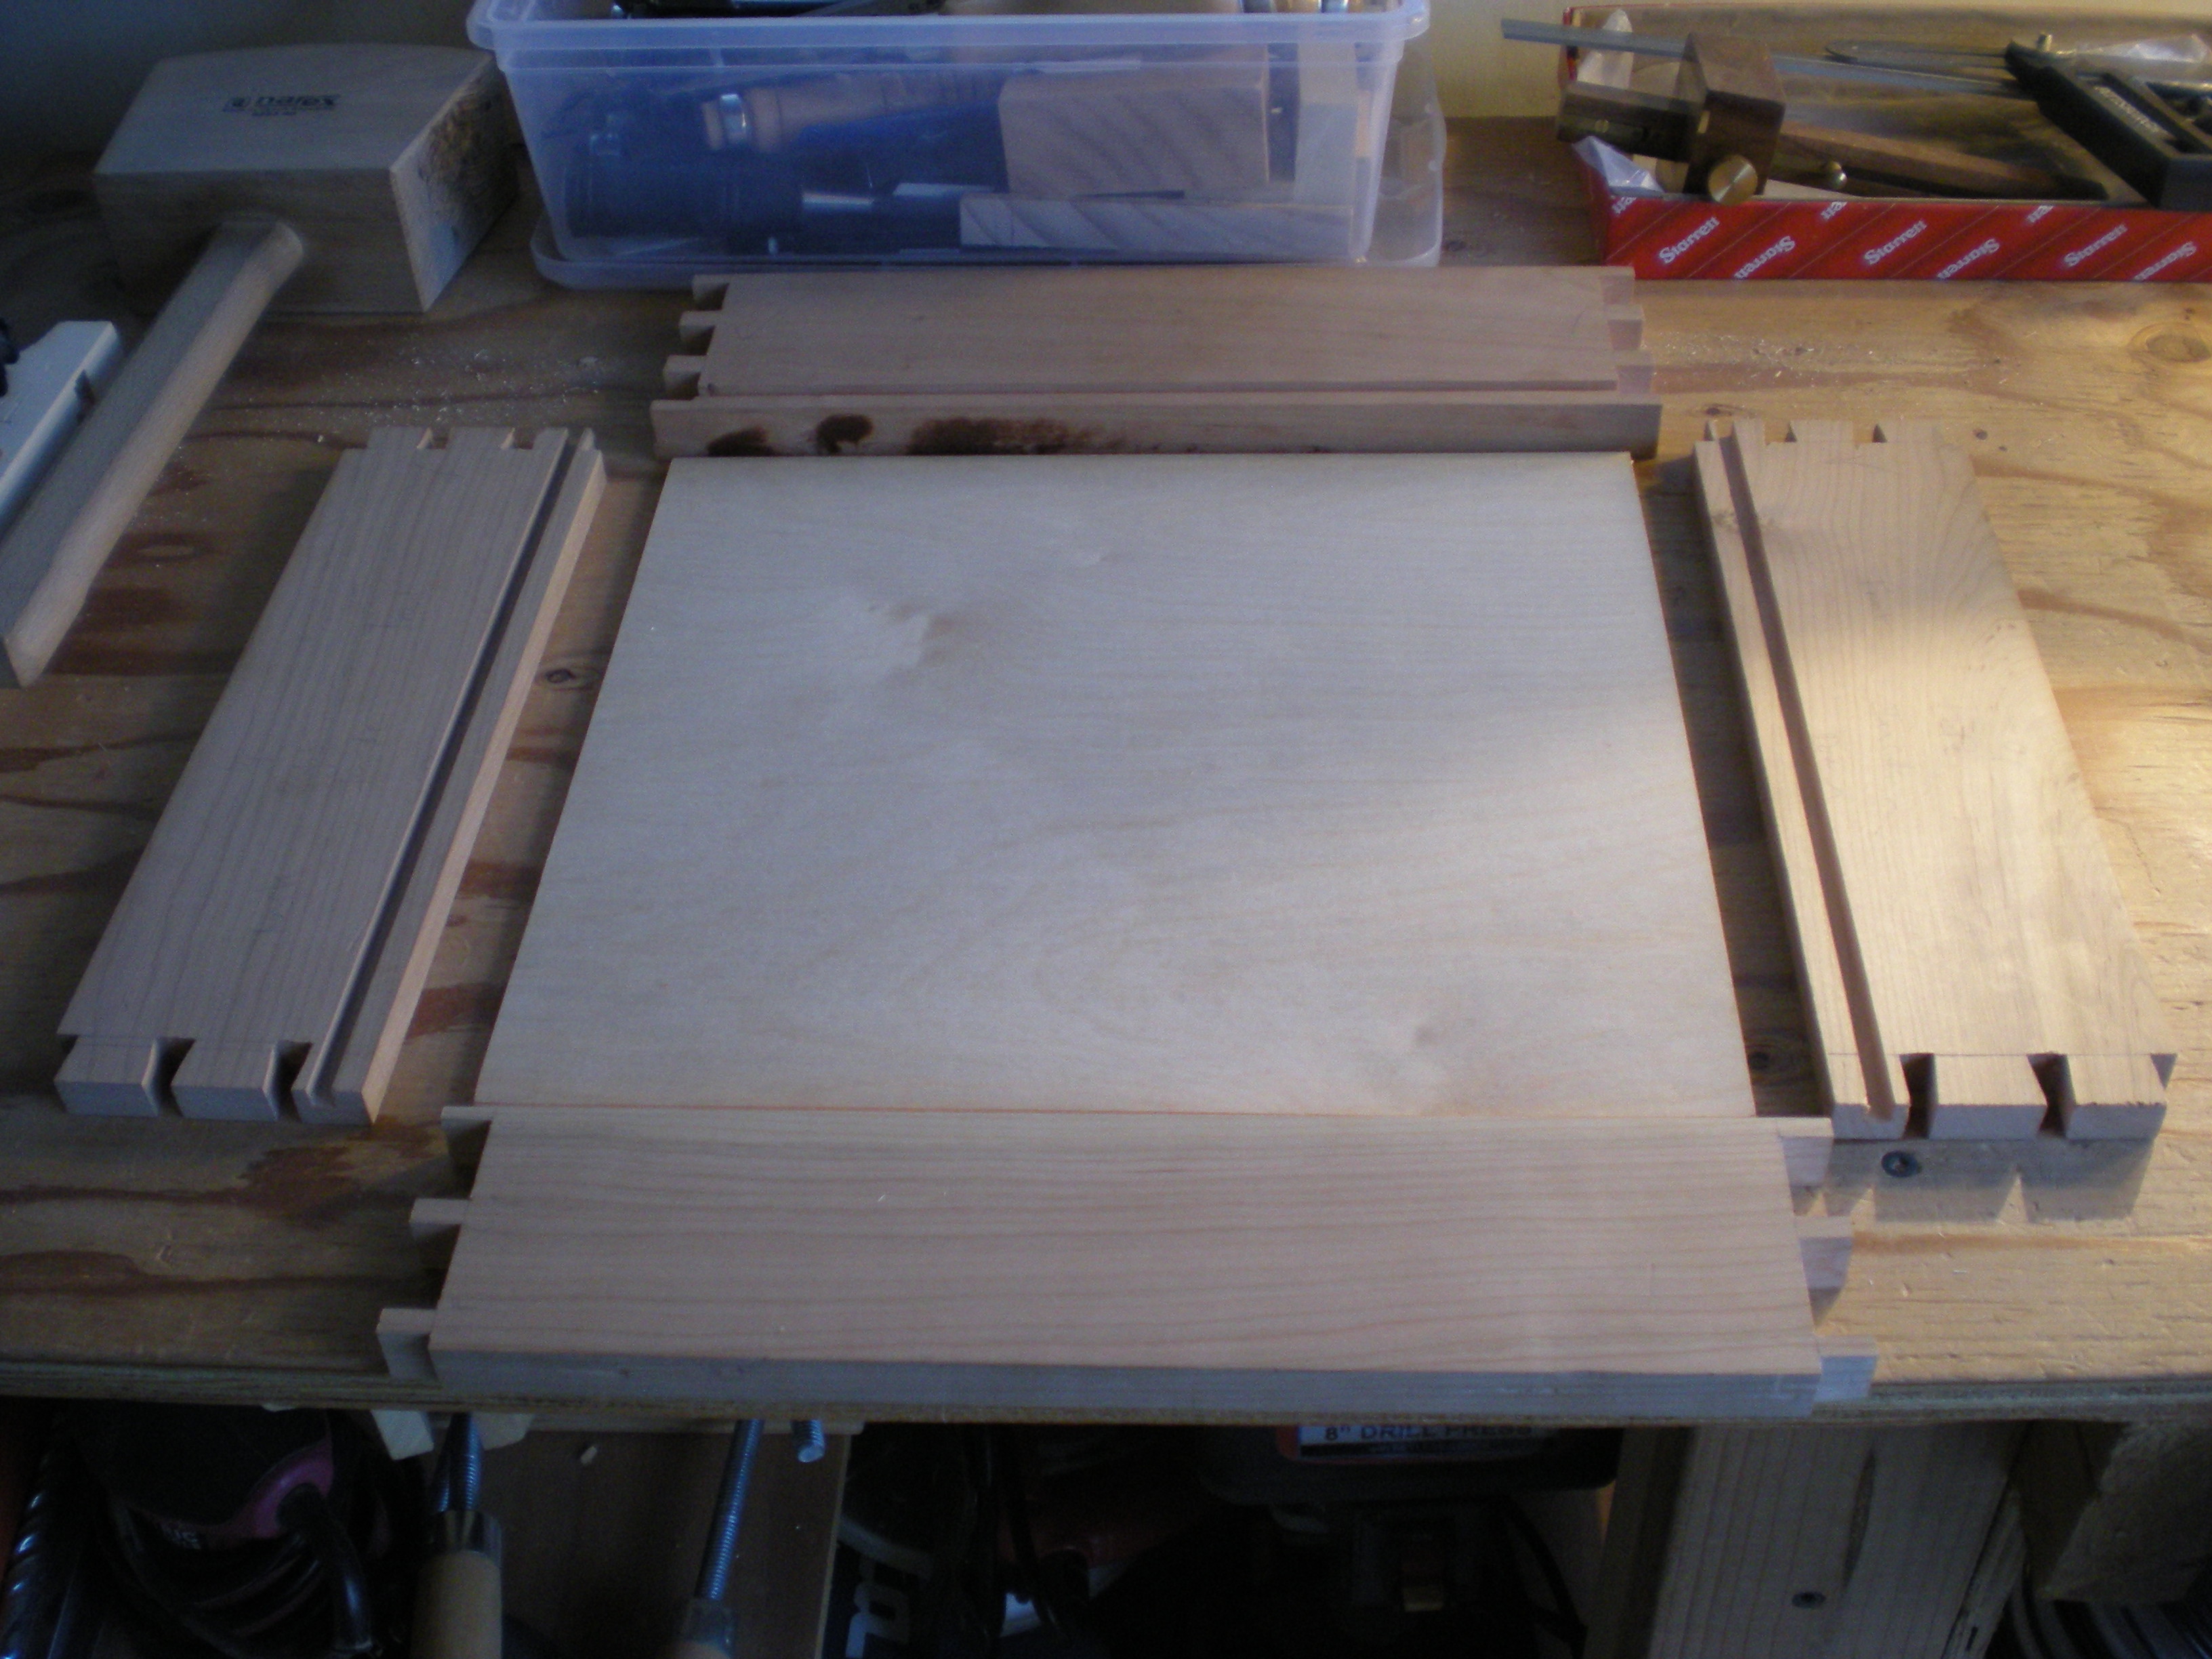 Here’s the initial dryfit.
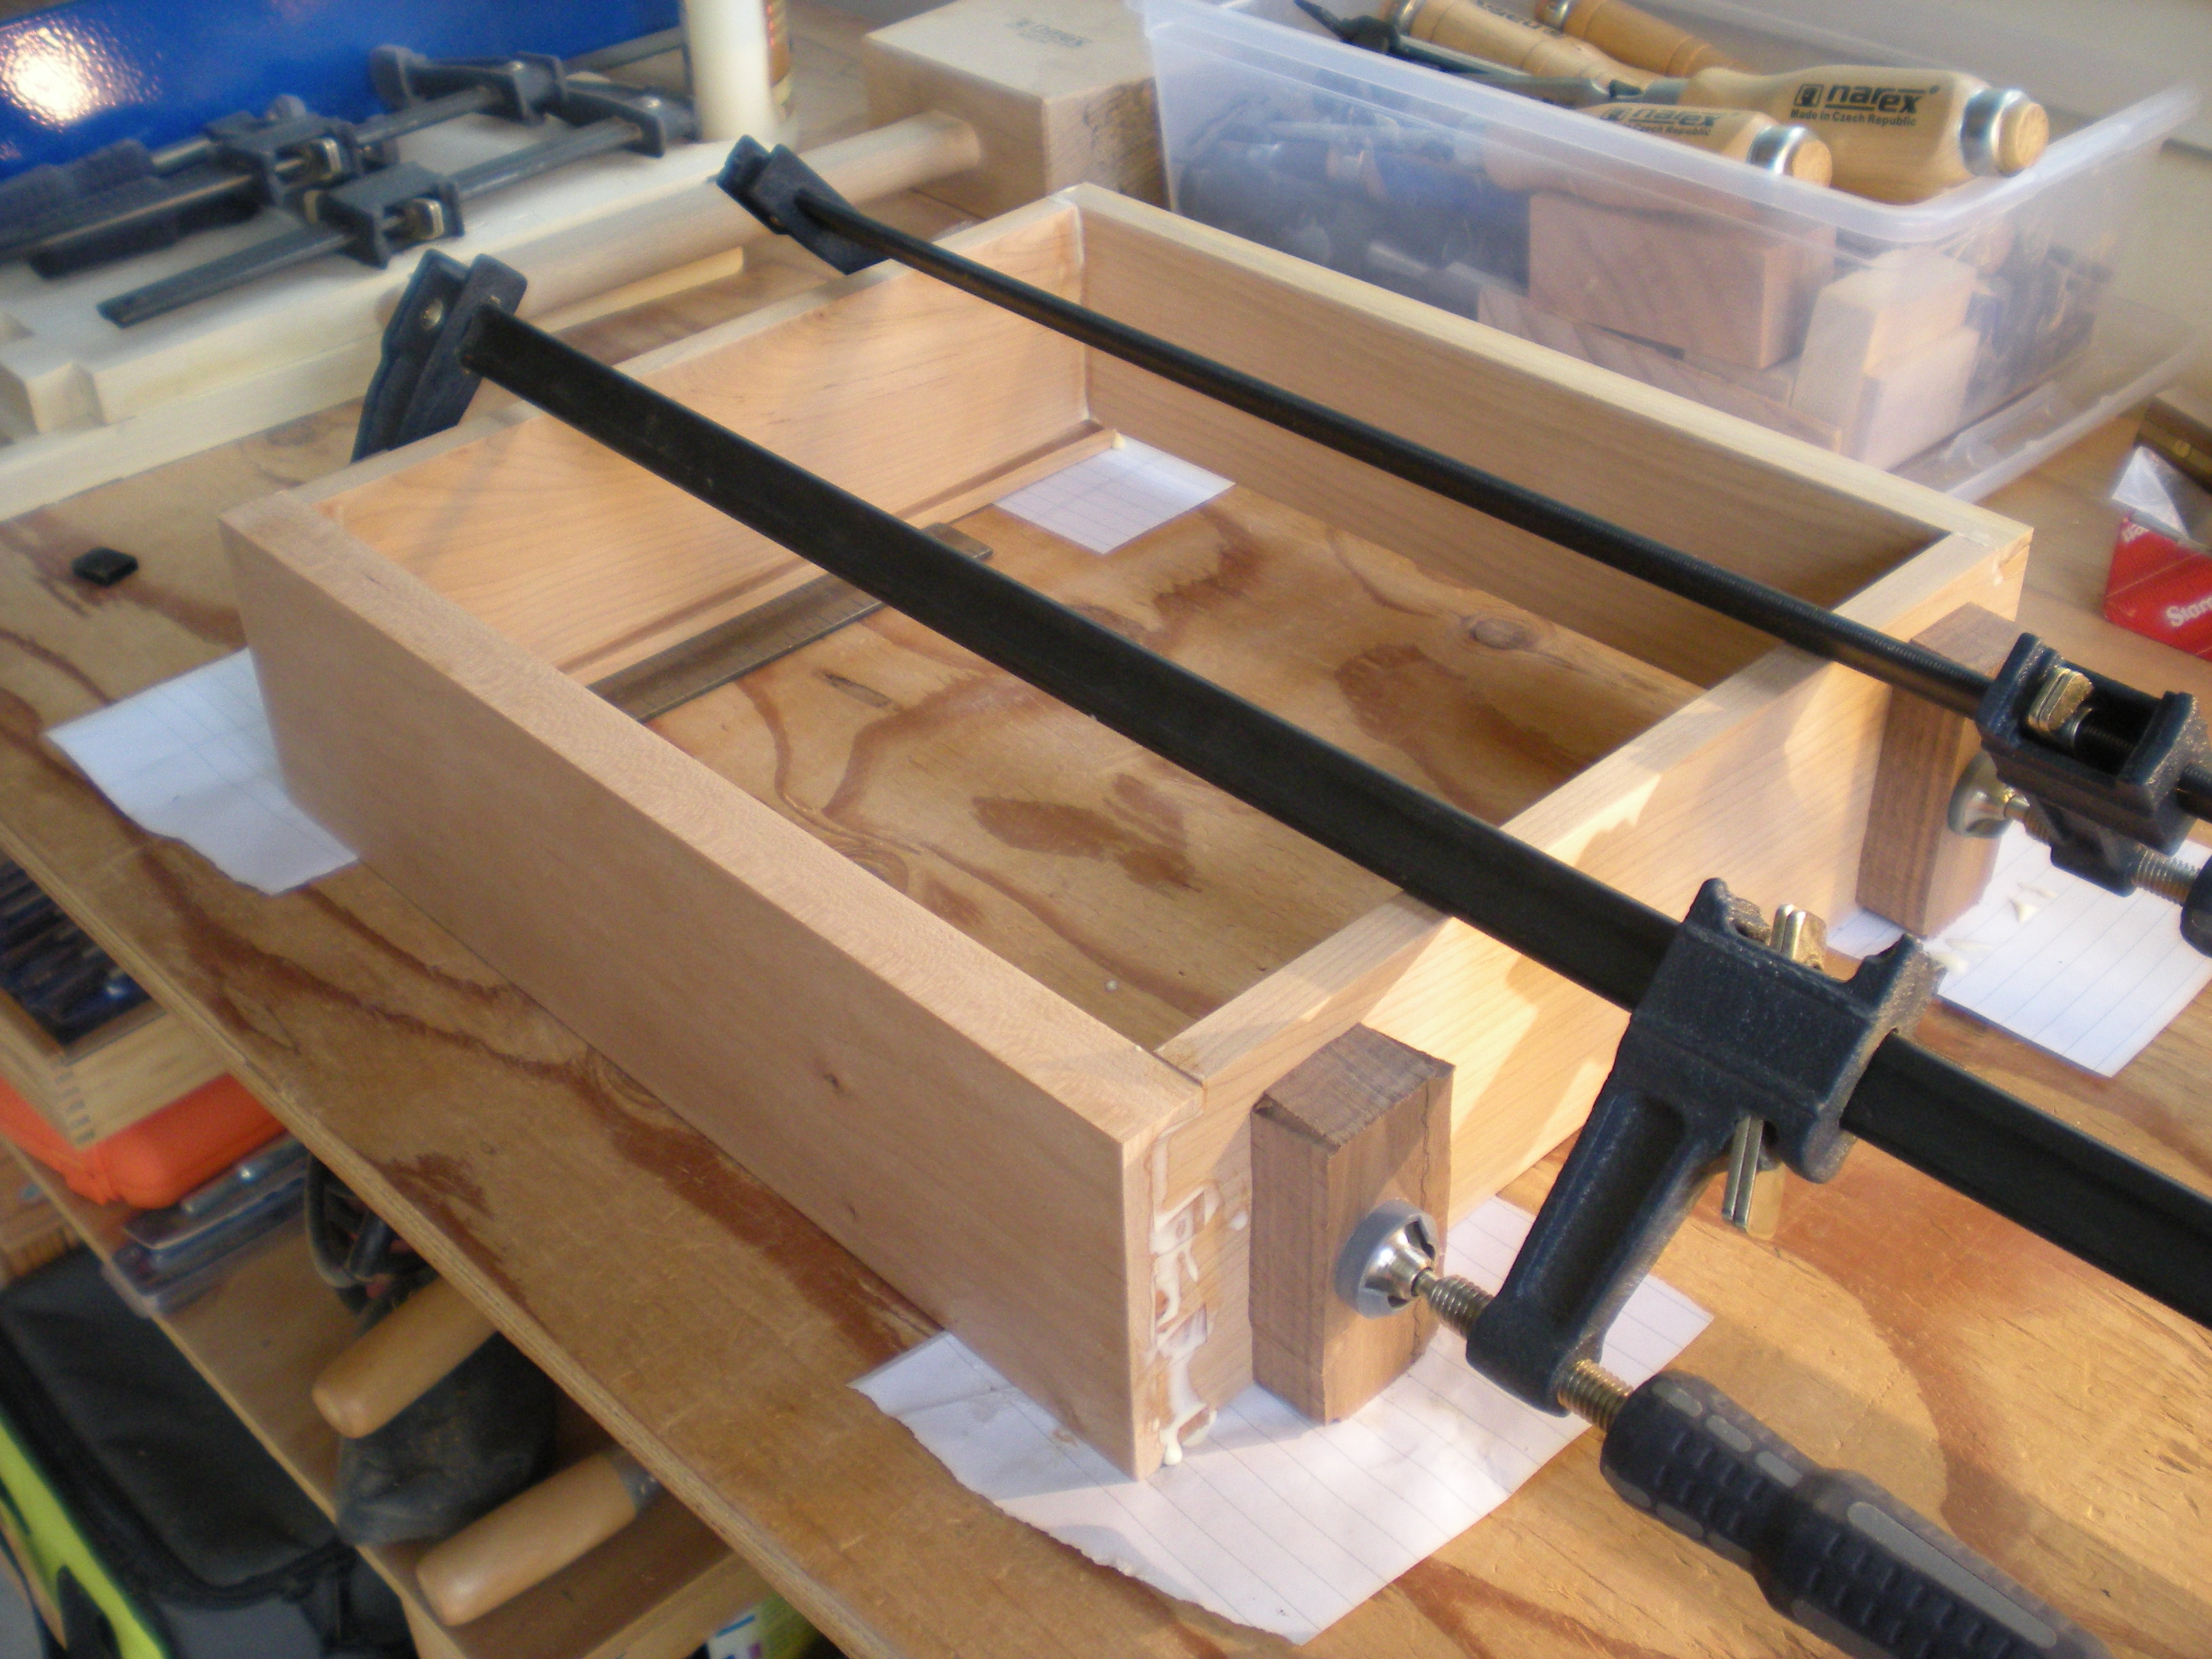
 After sanding each surface down to 220-grit and breaking some edges, time to glue it up:
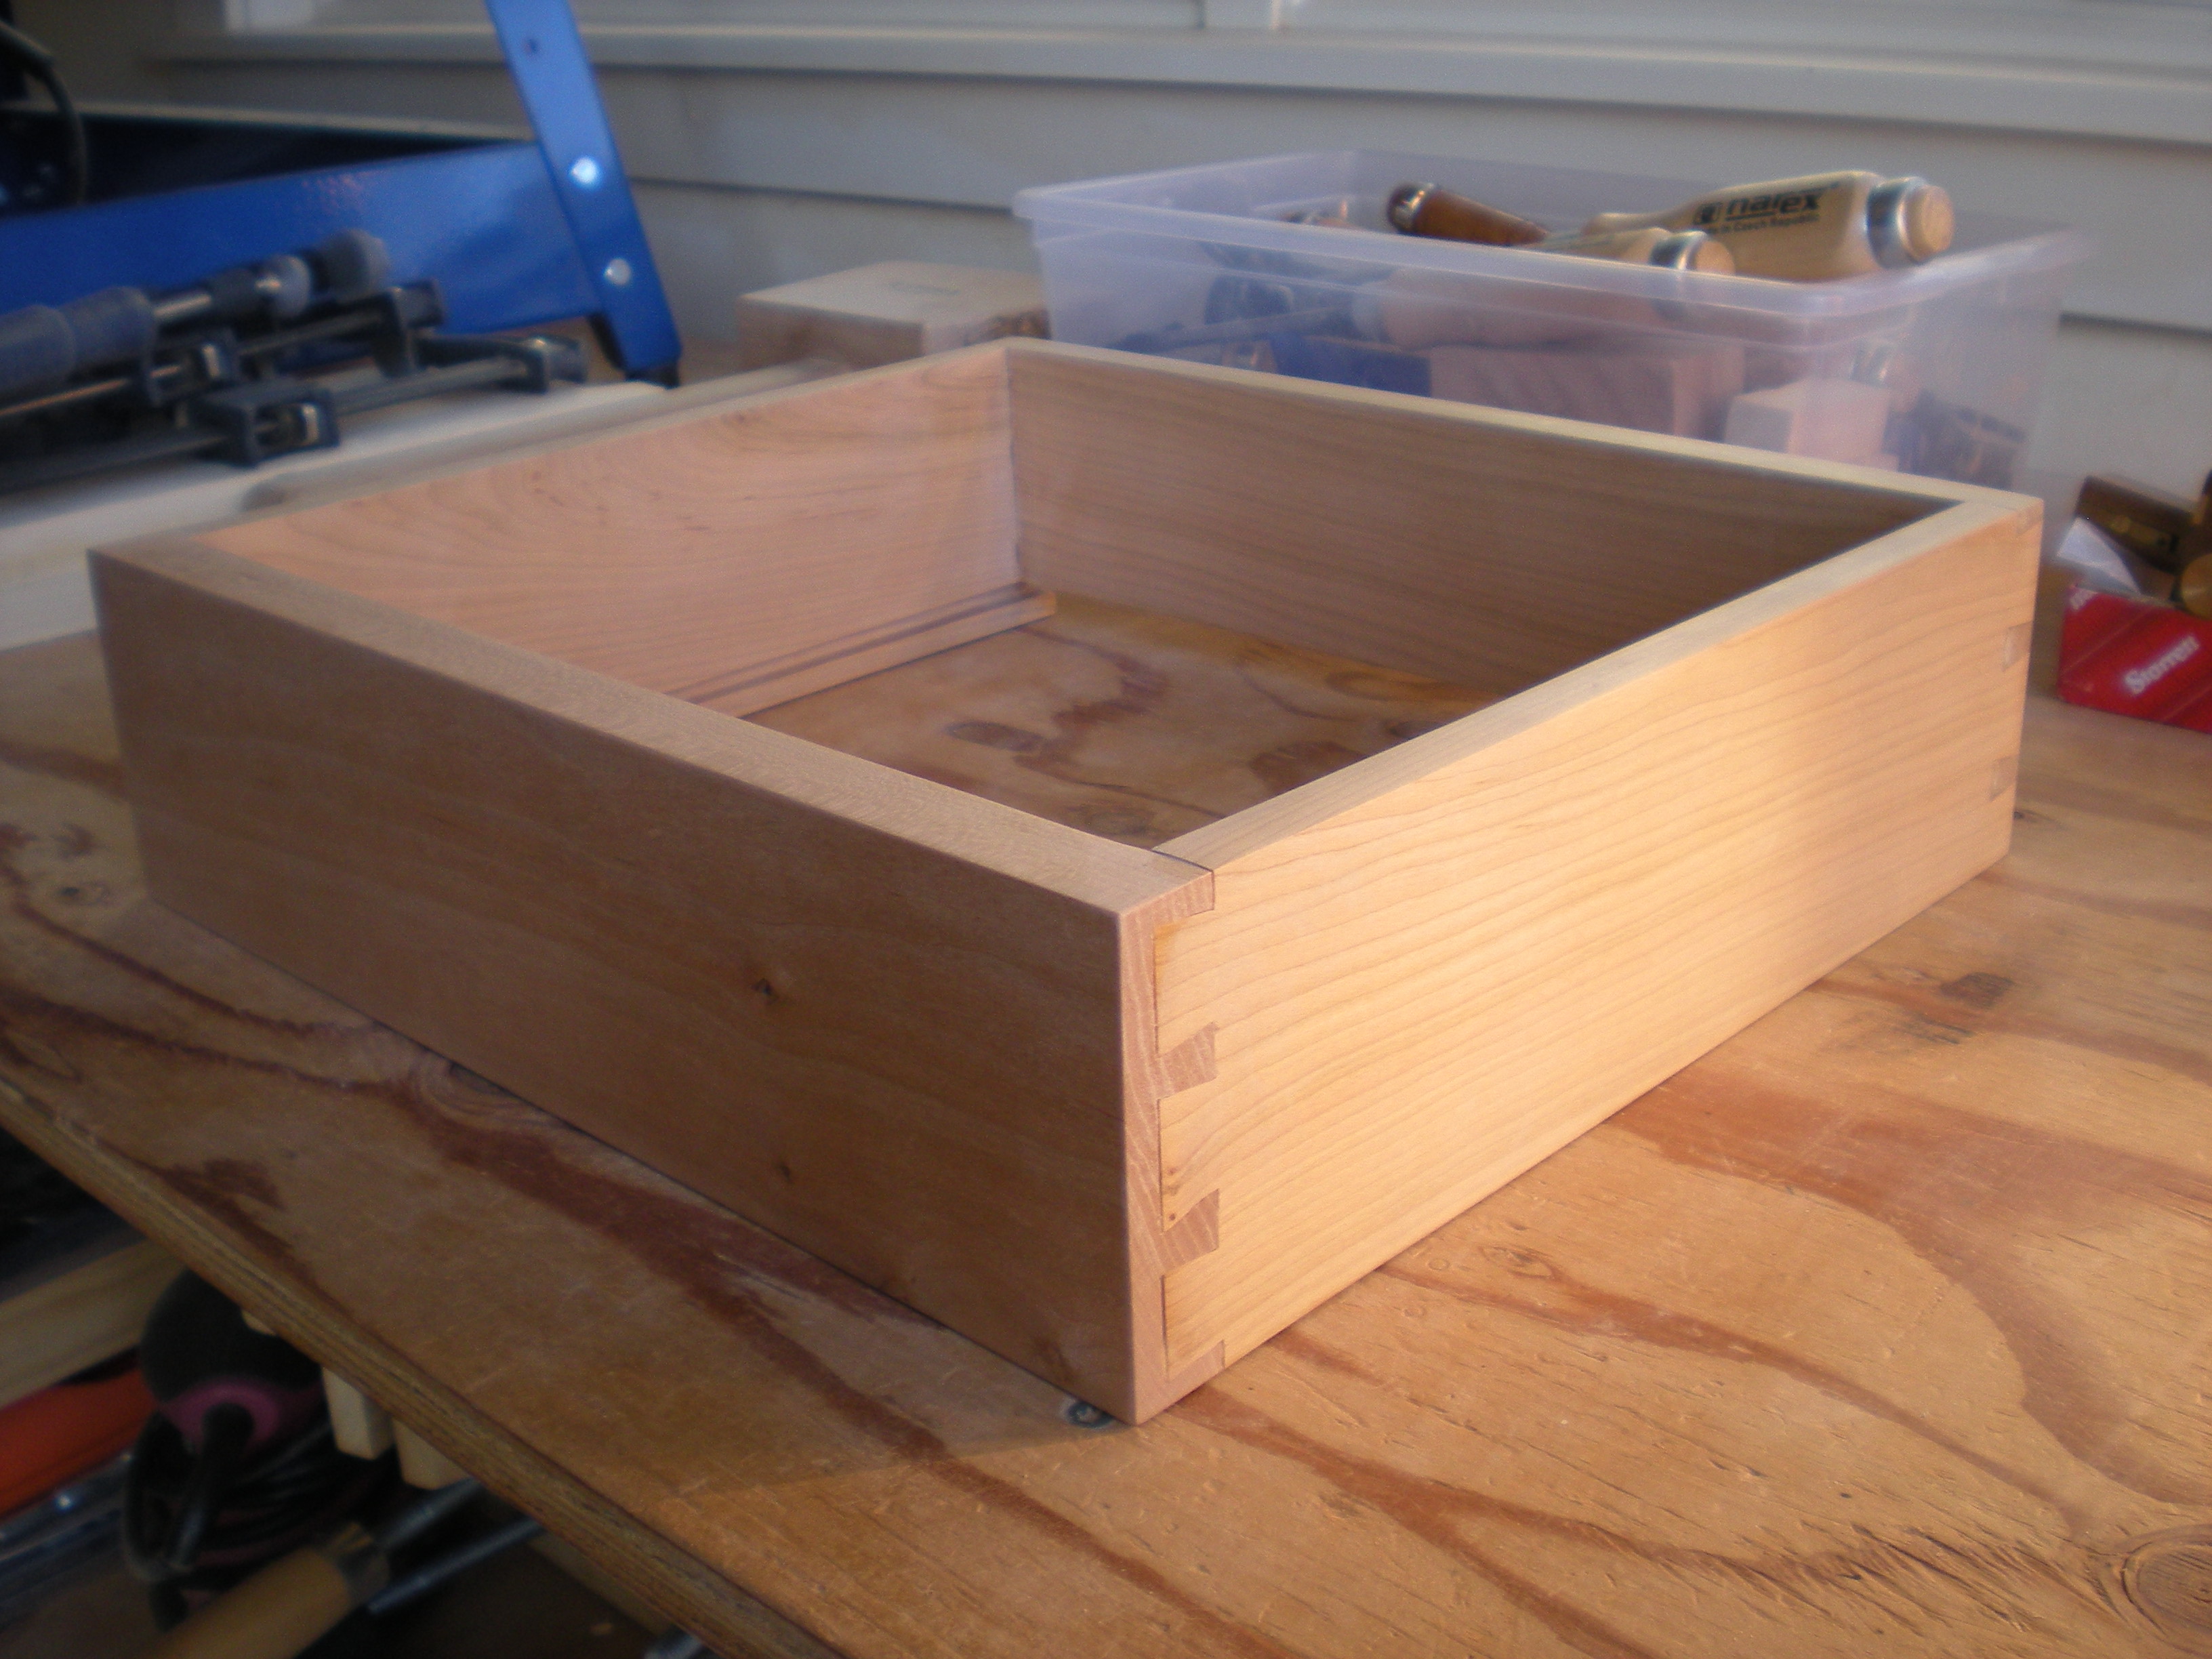
 After some cleanup, ready to apply finish.
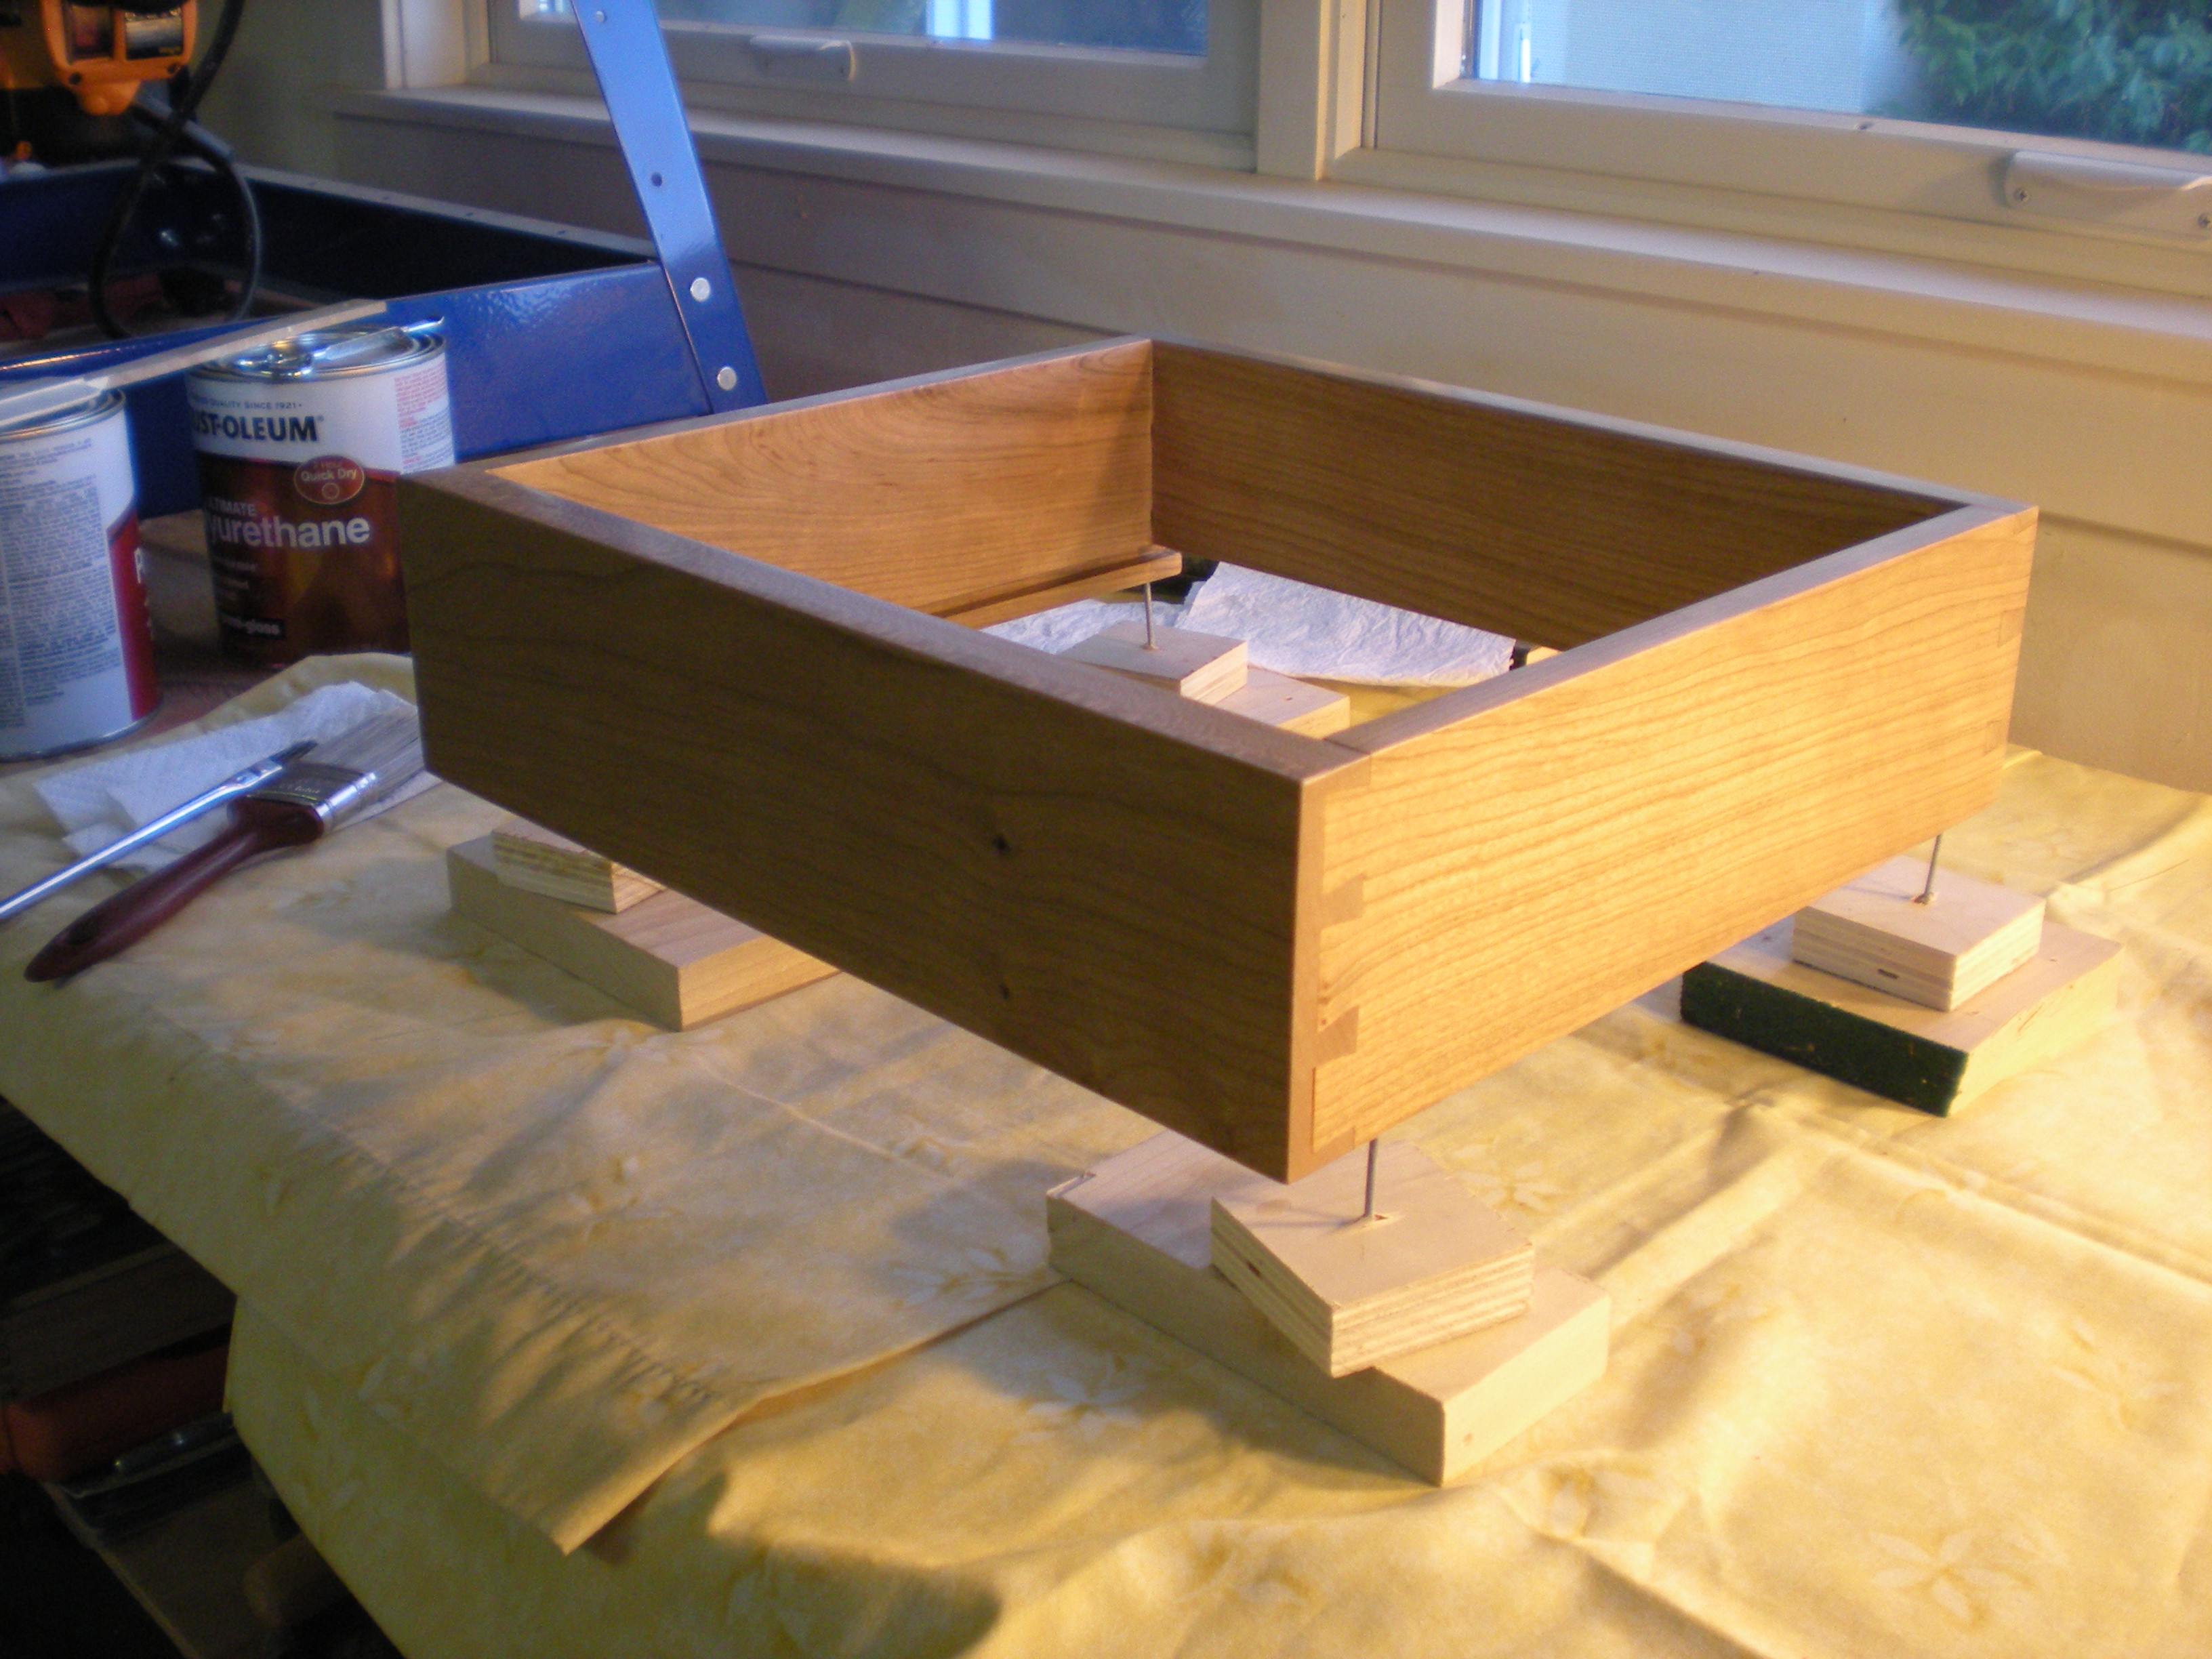
 Now, the drawer has the same finish as the table – three layers of semi-gloss poly, and one layer of matte poly.
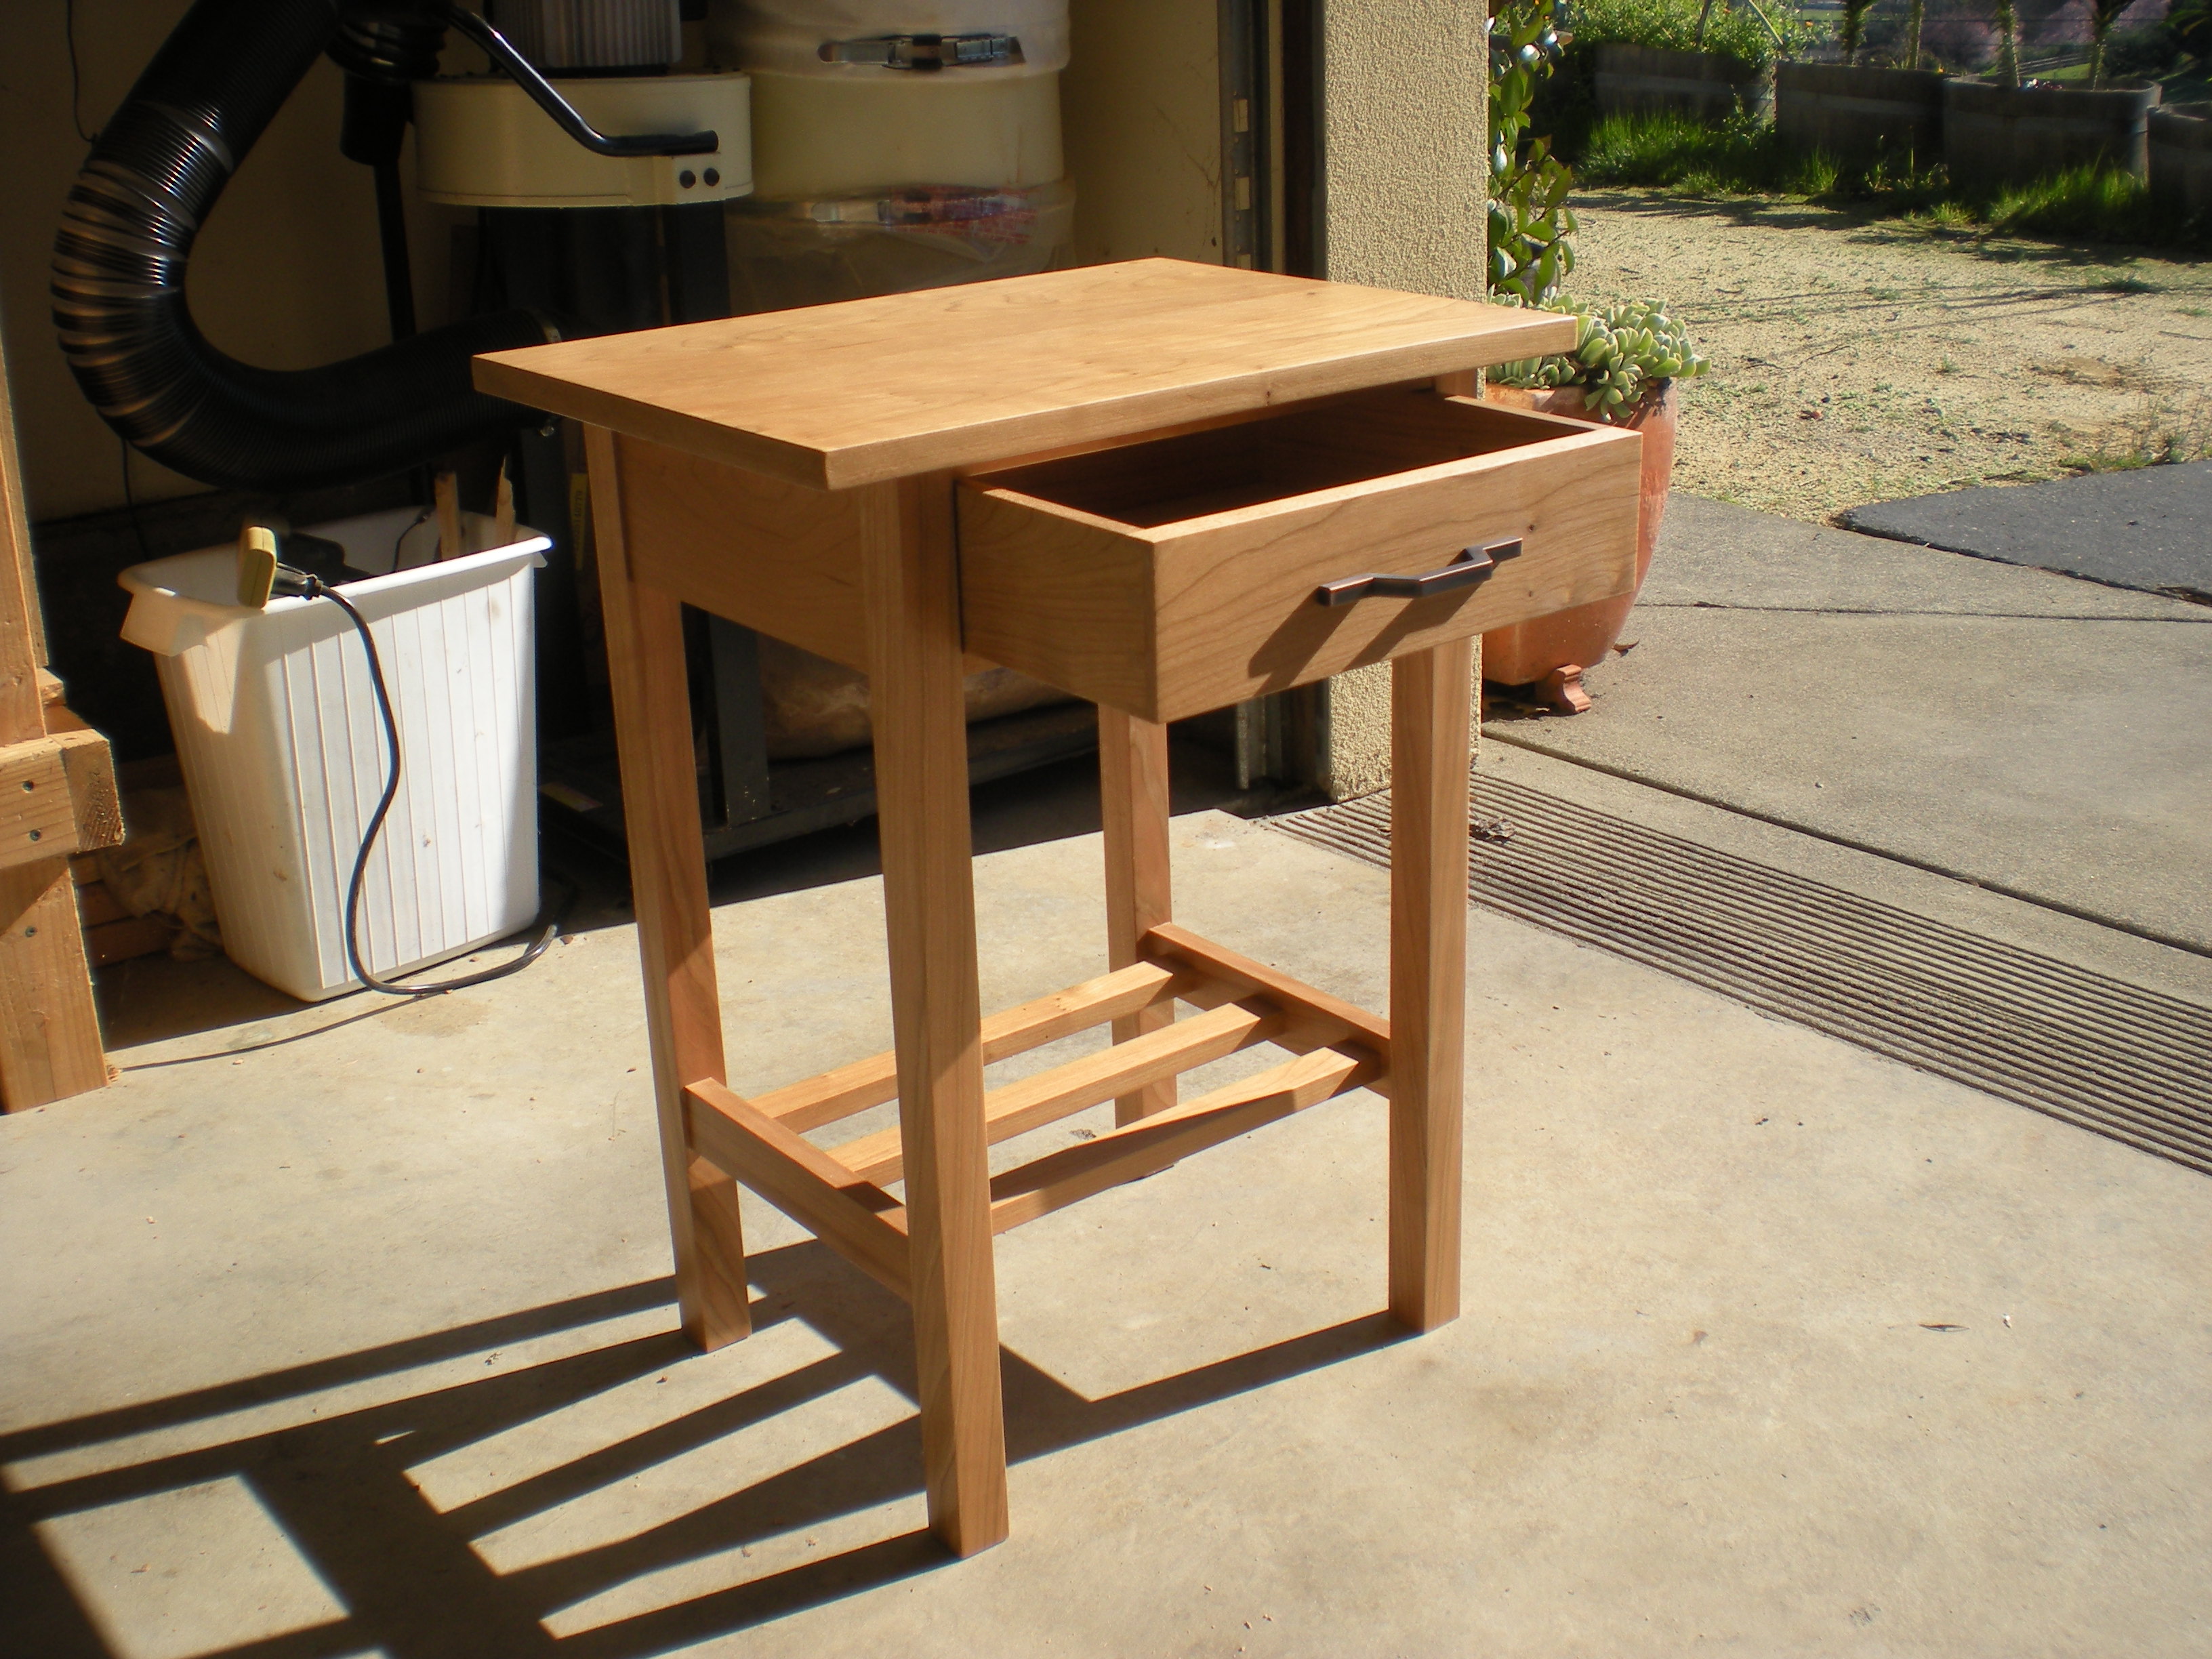
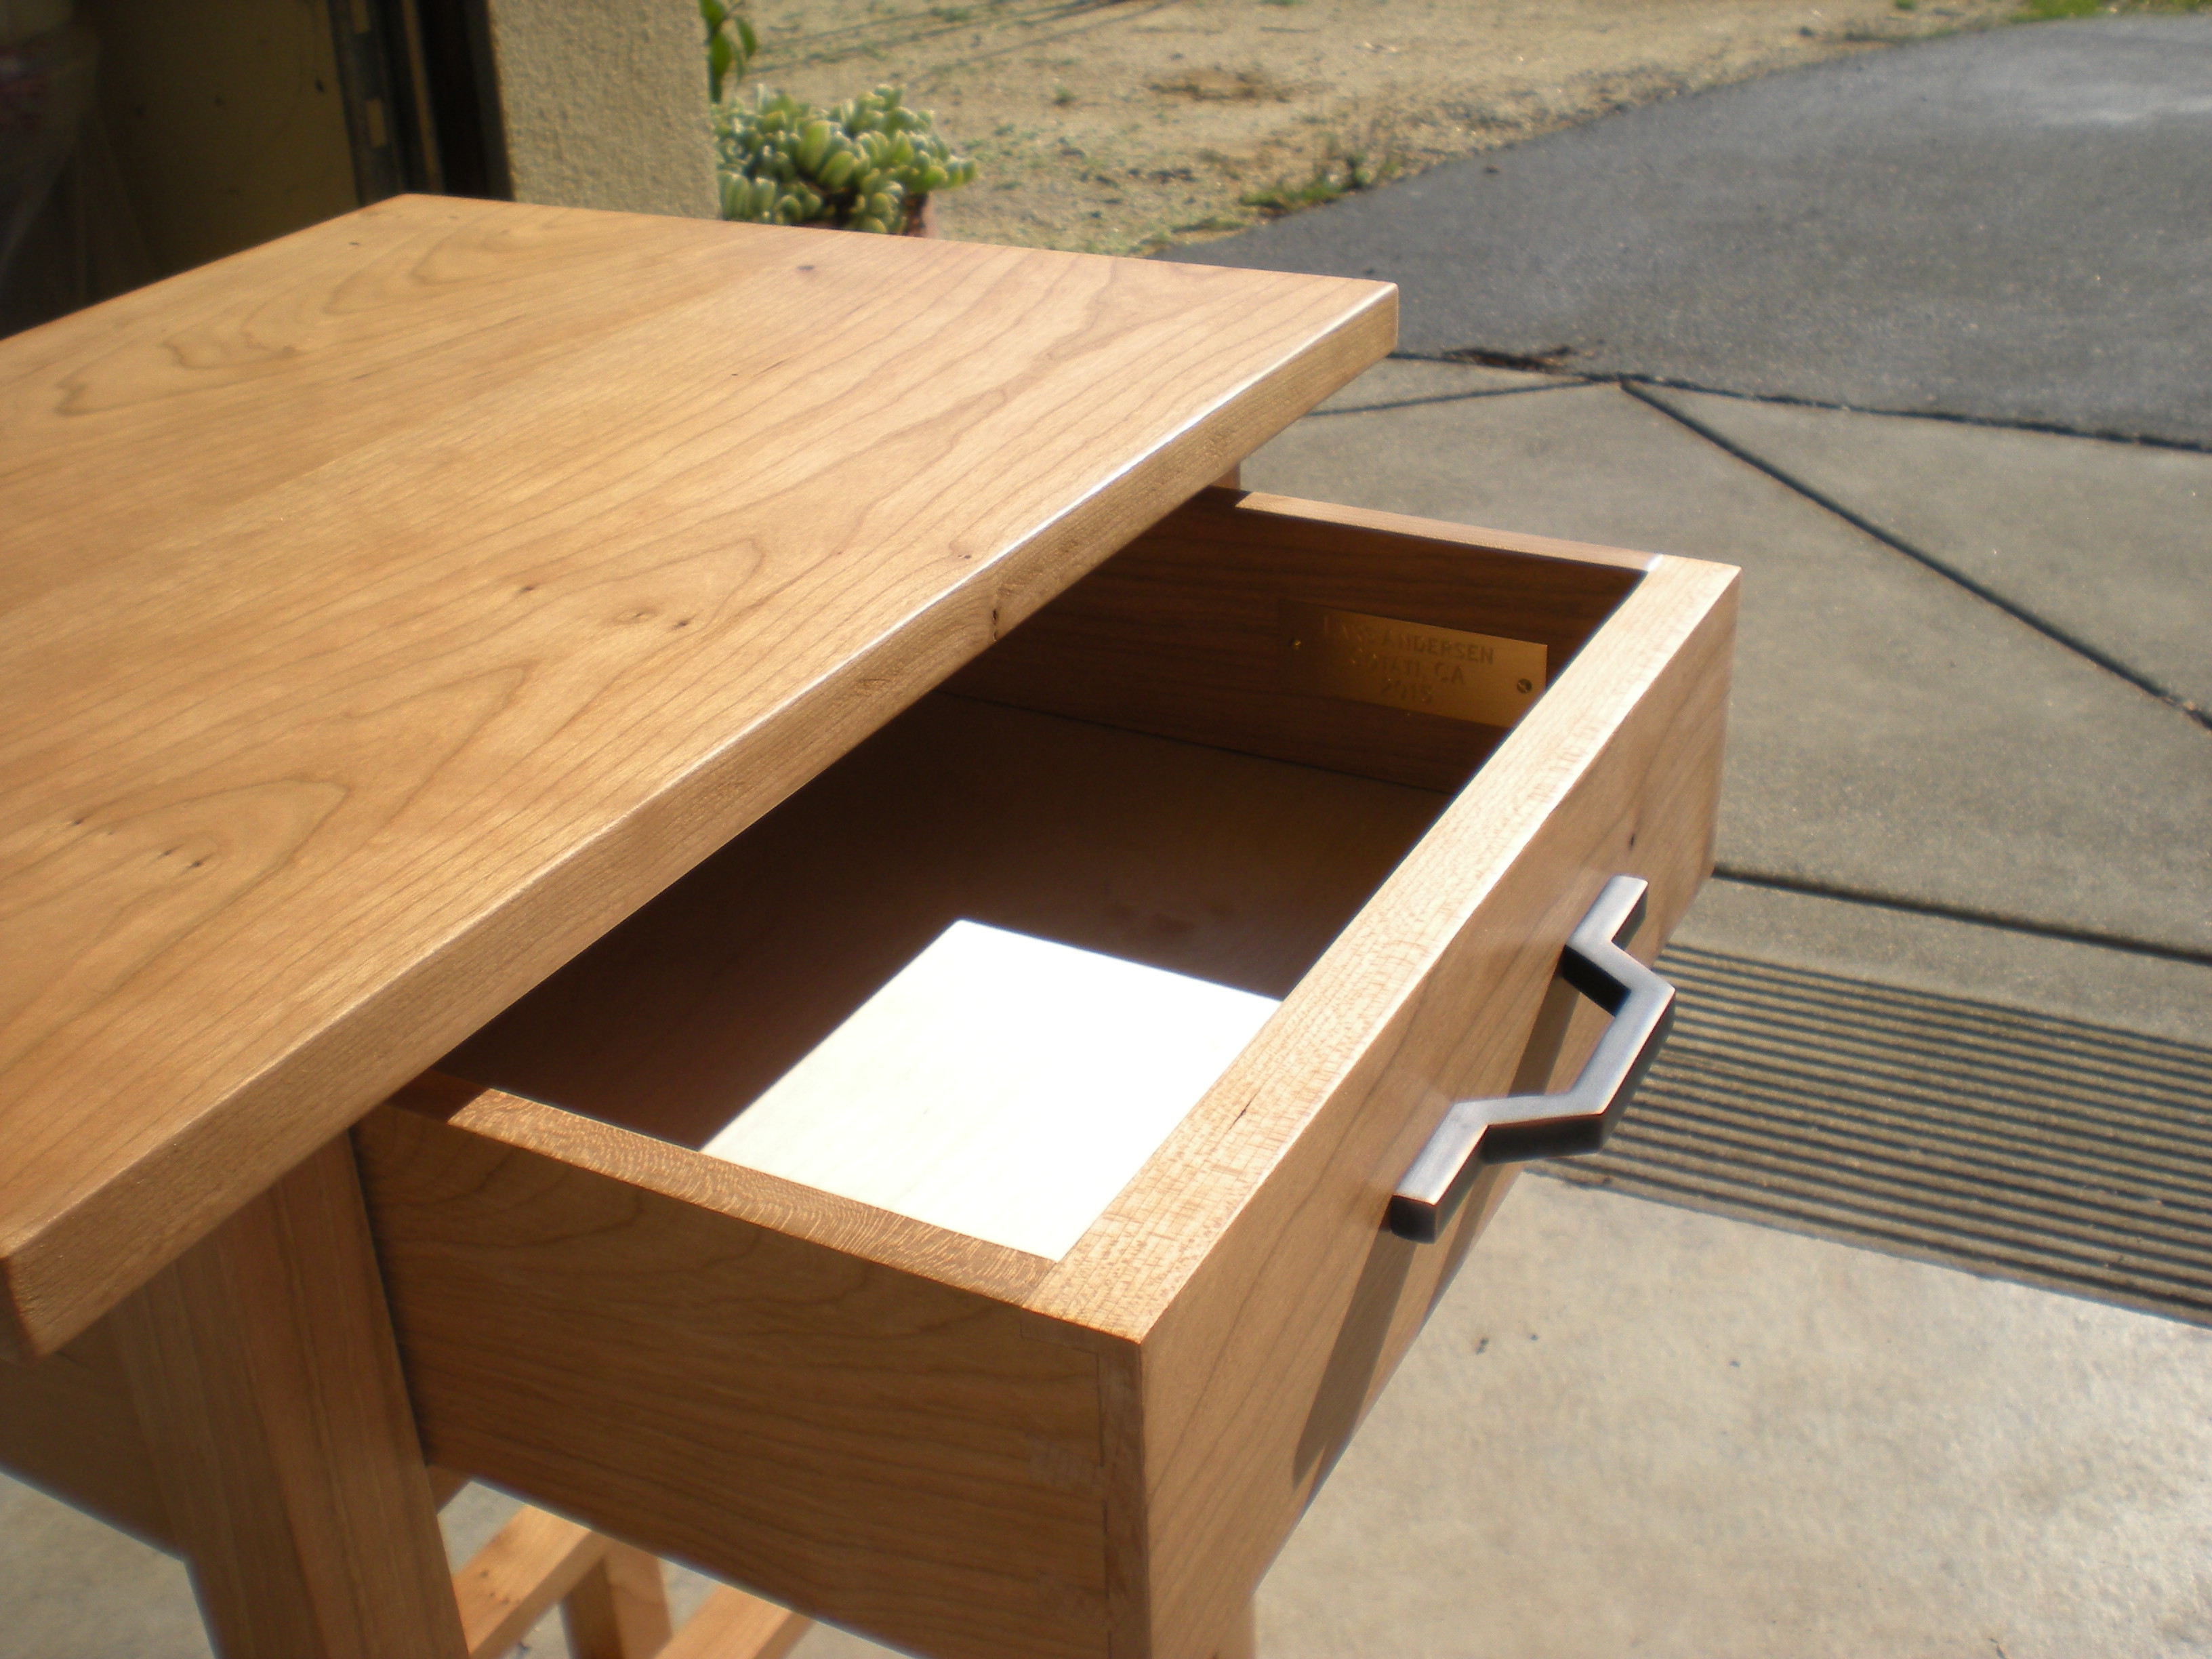
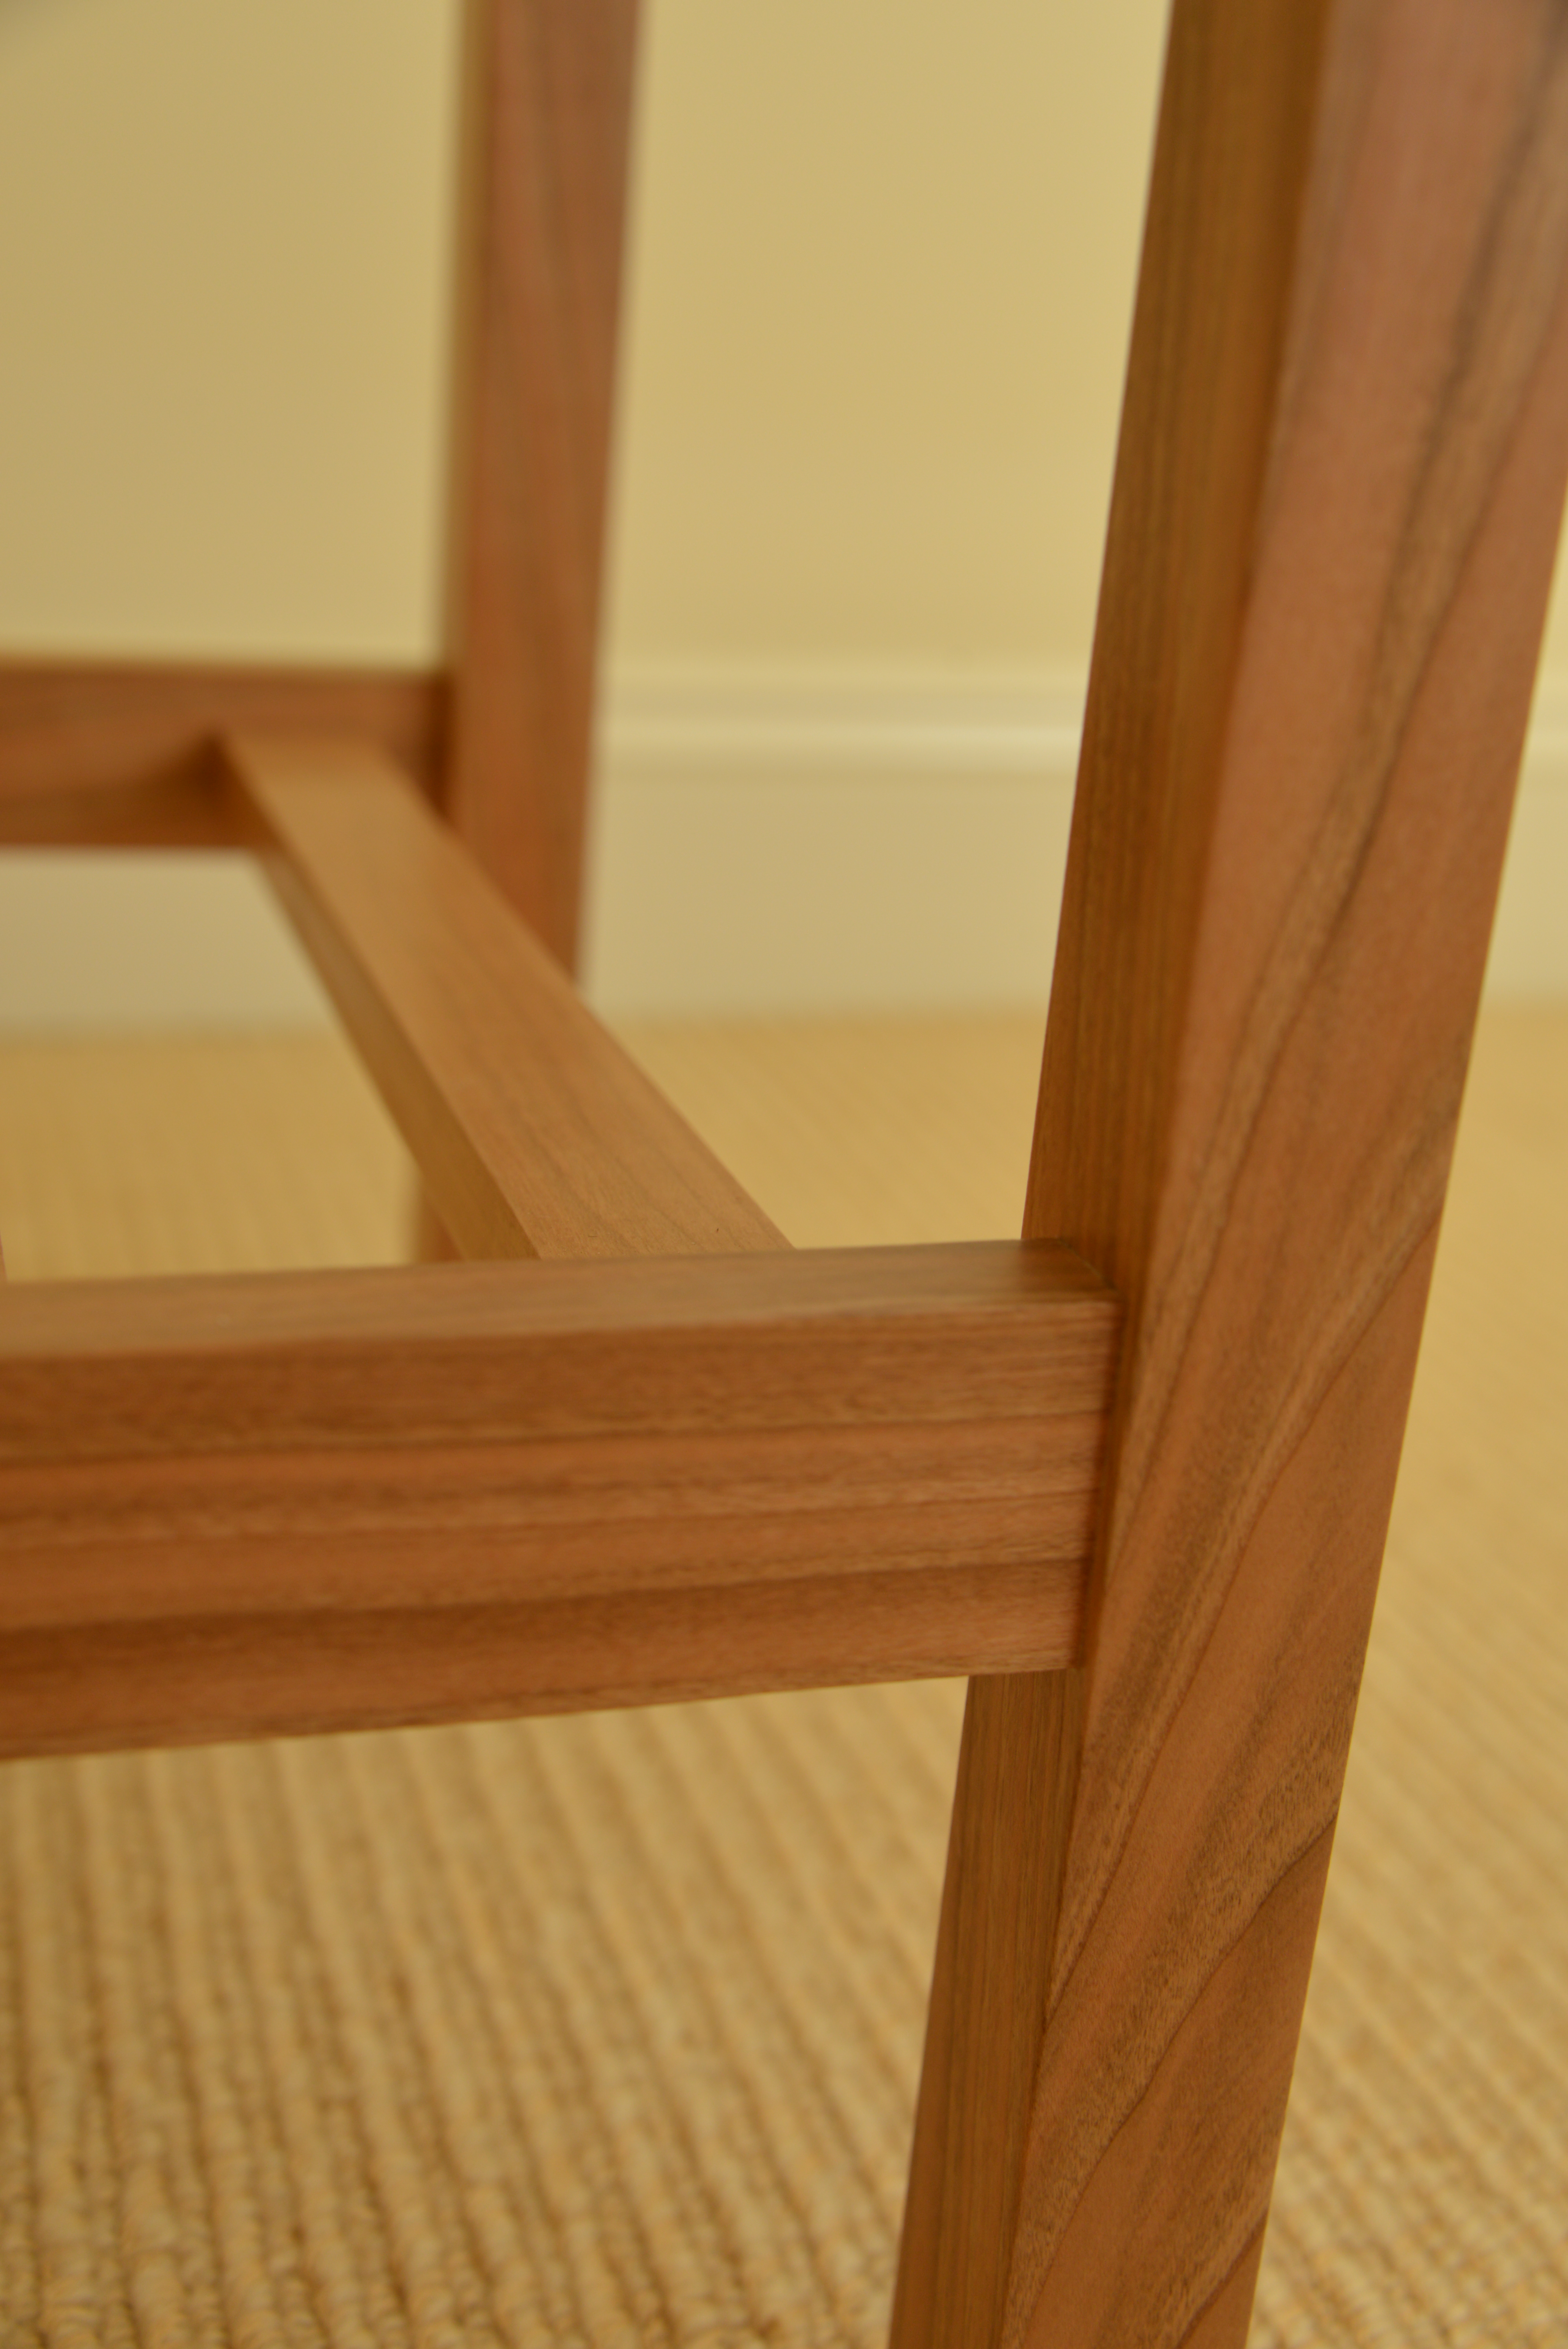
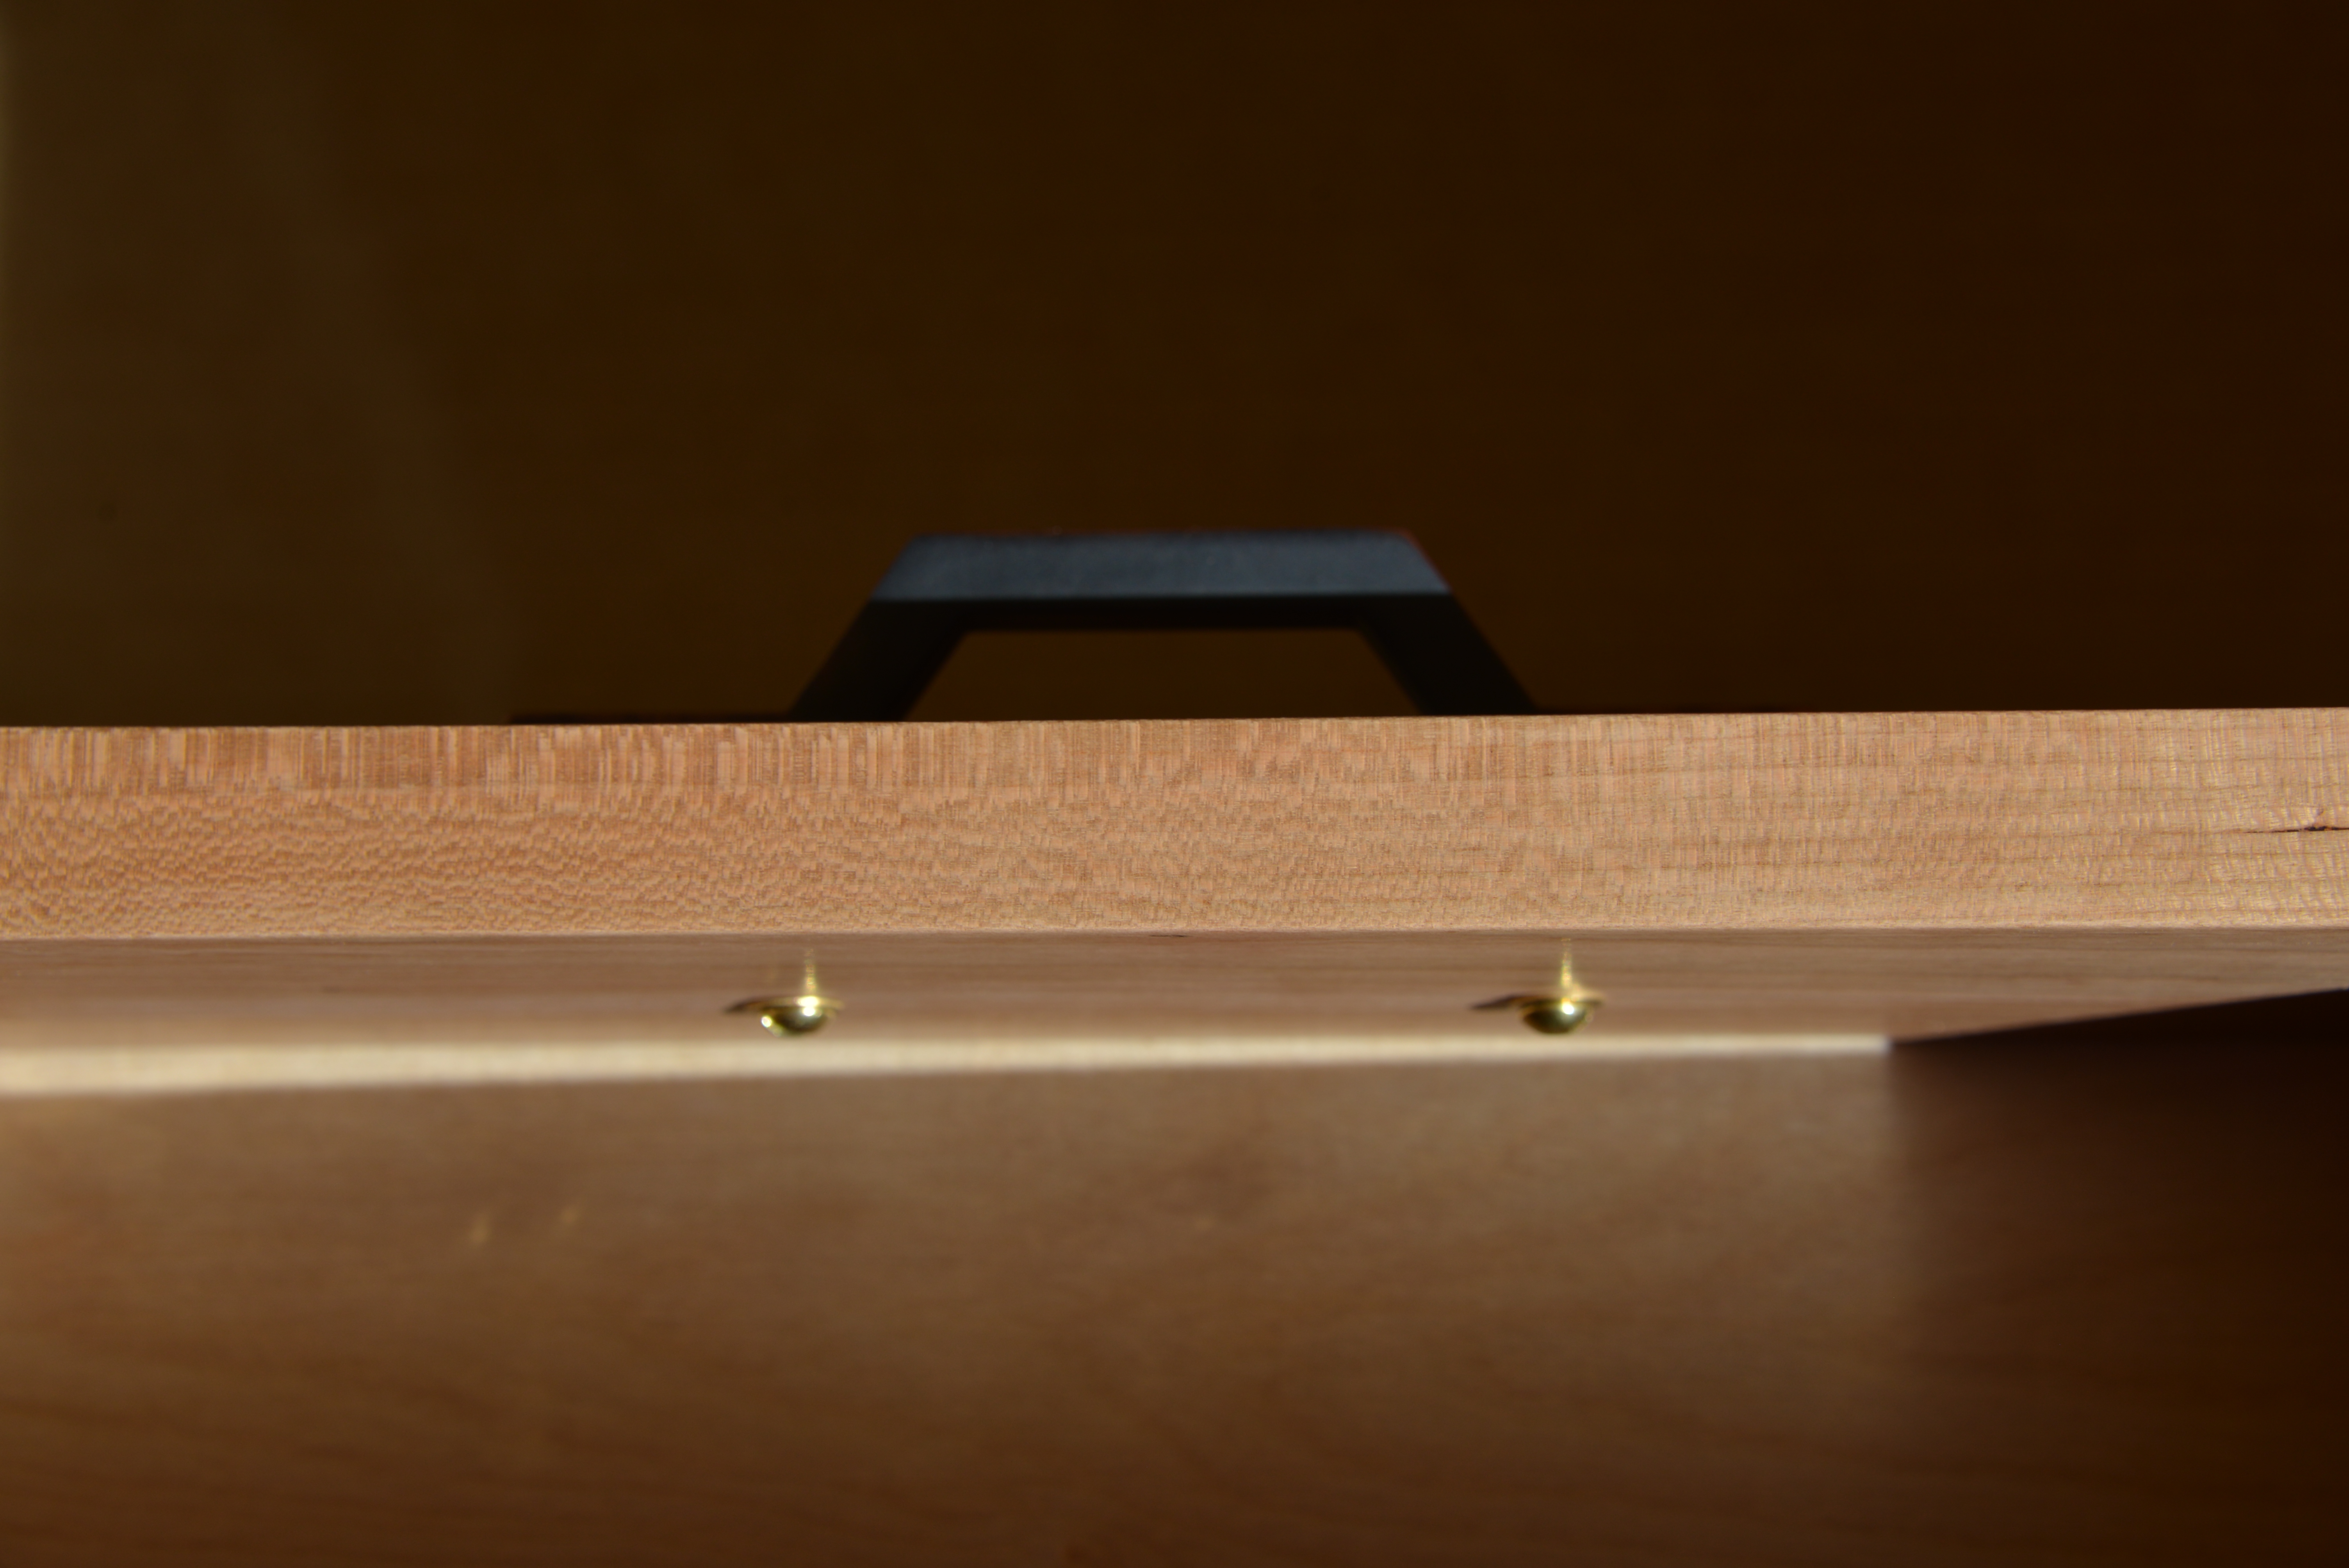
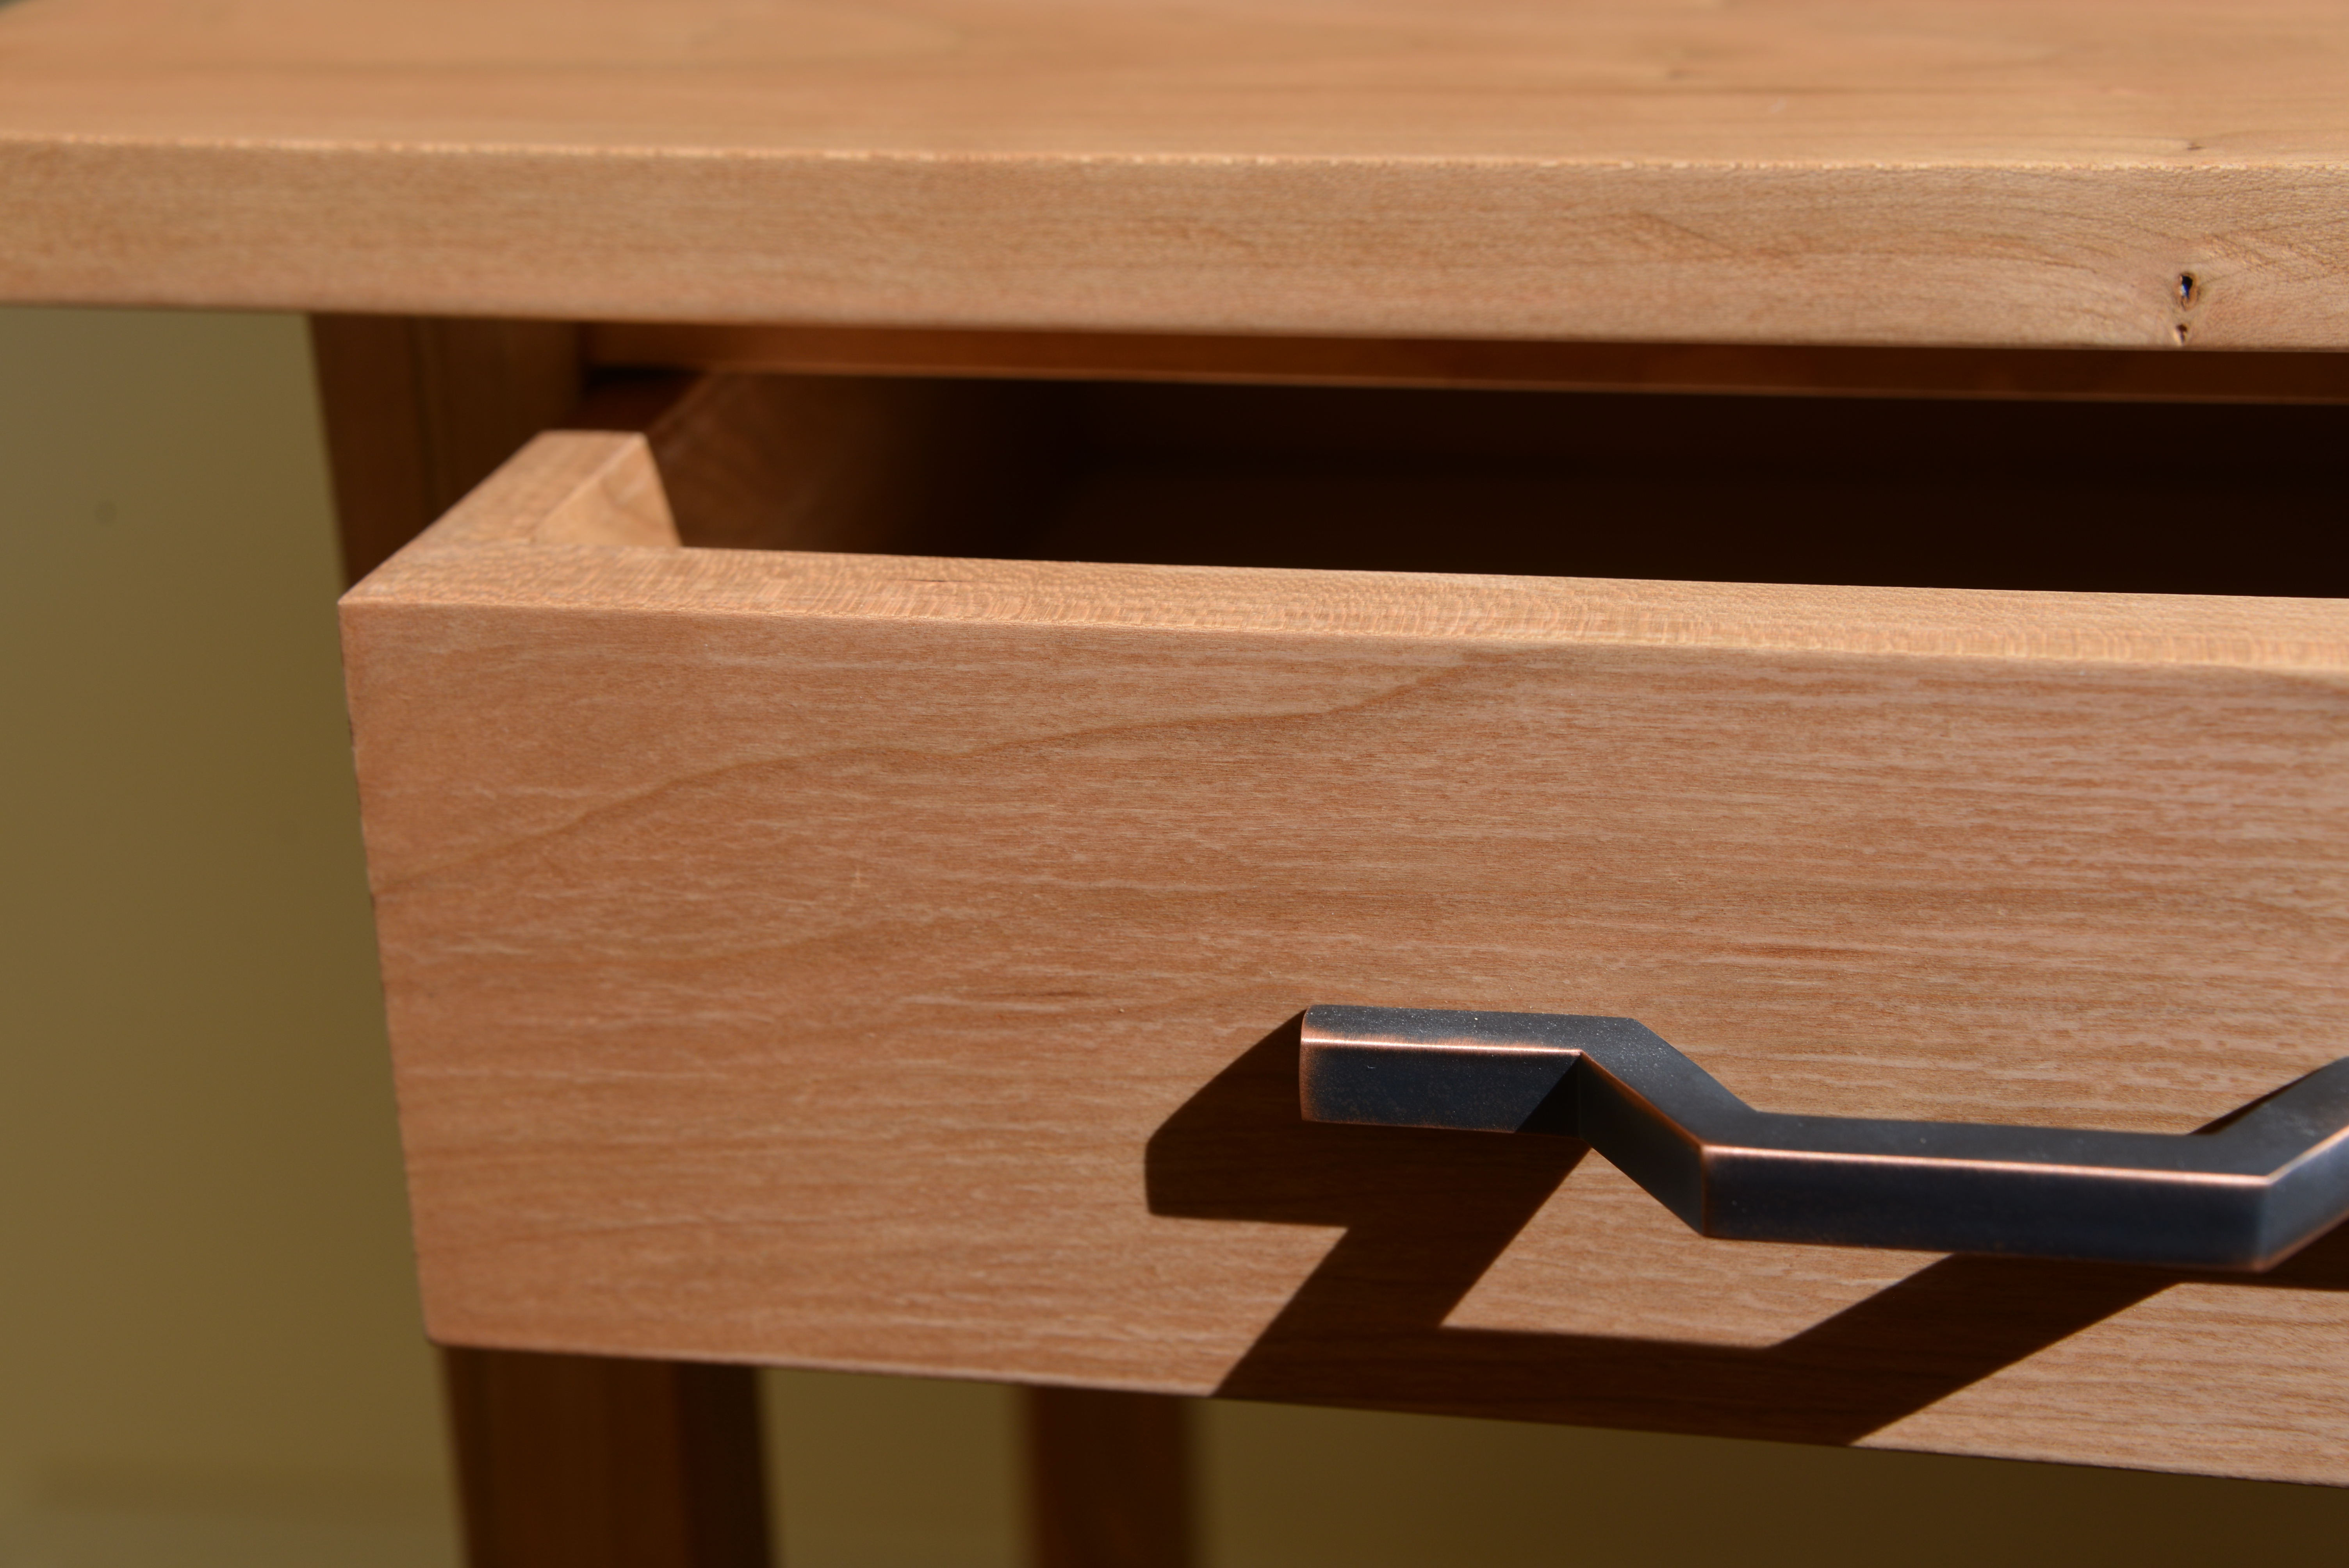
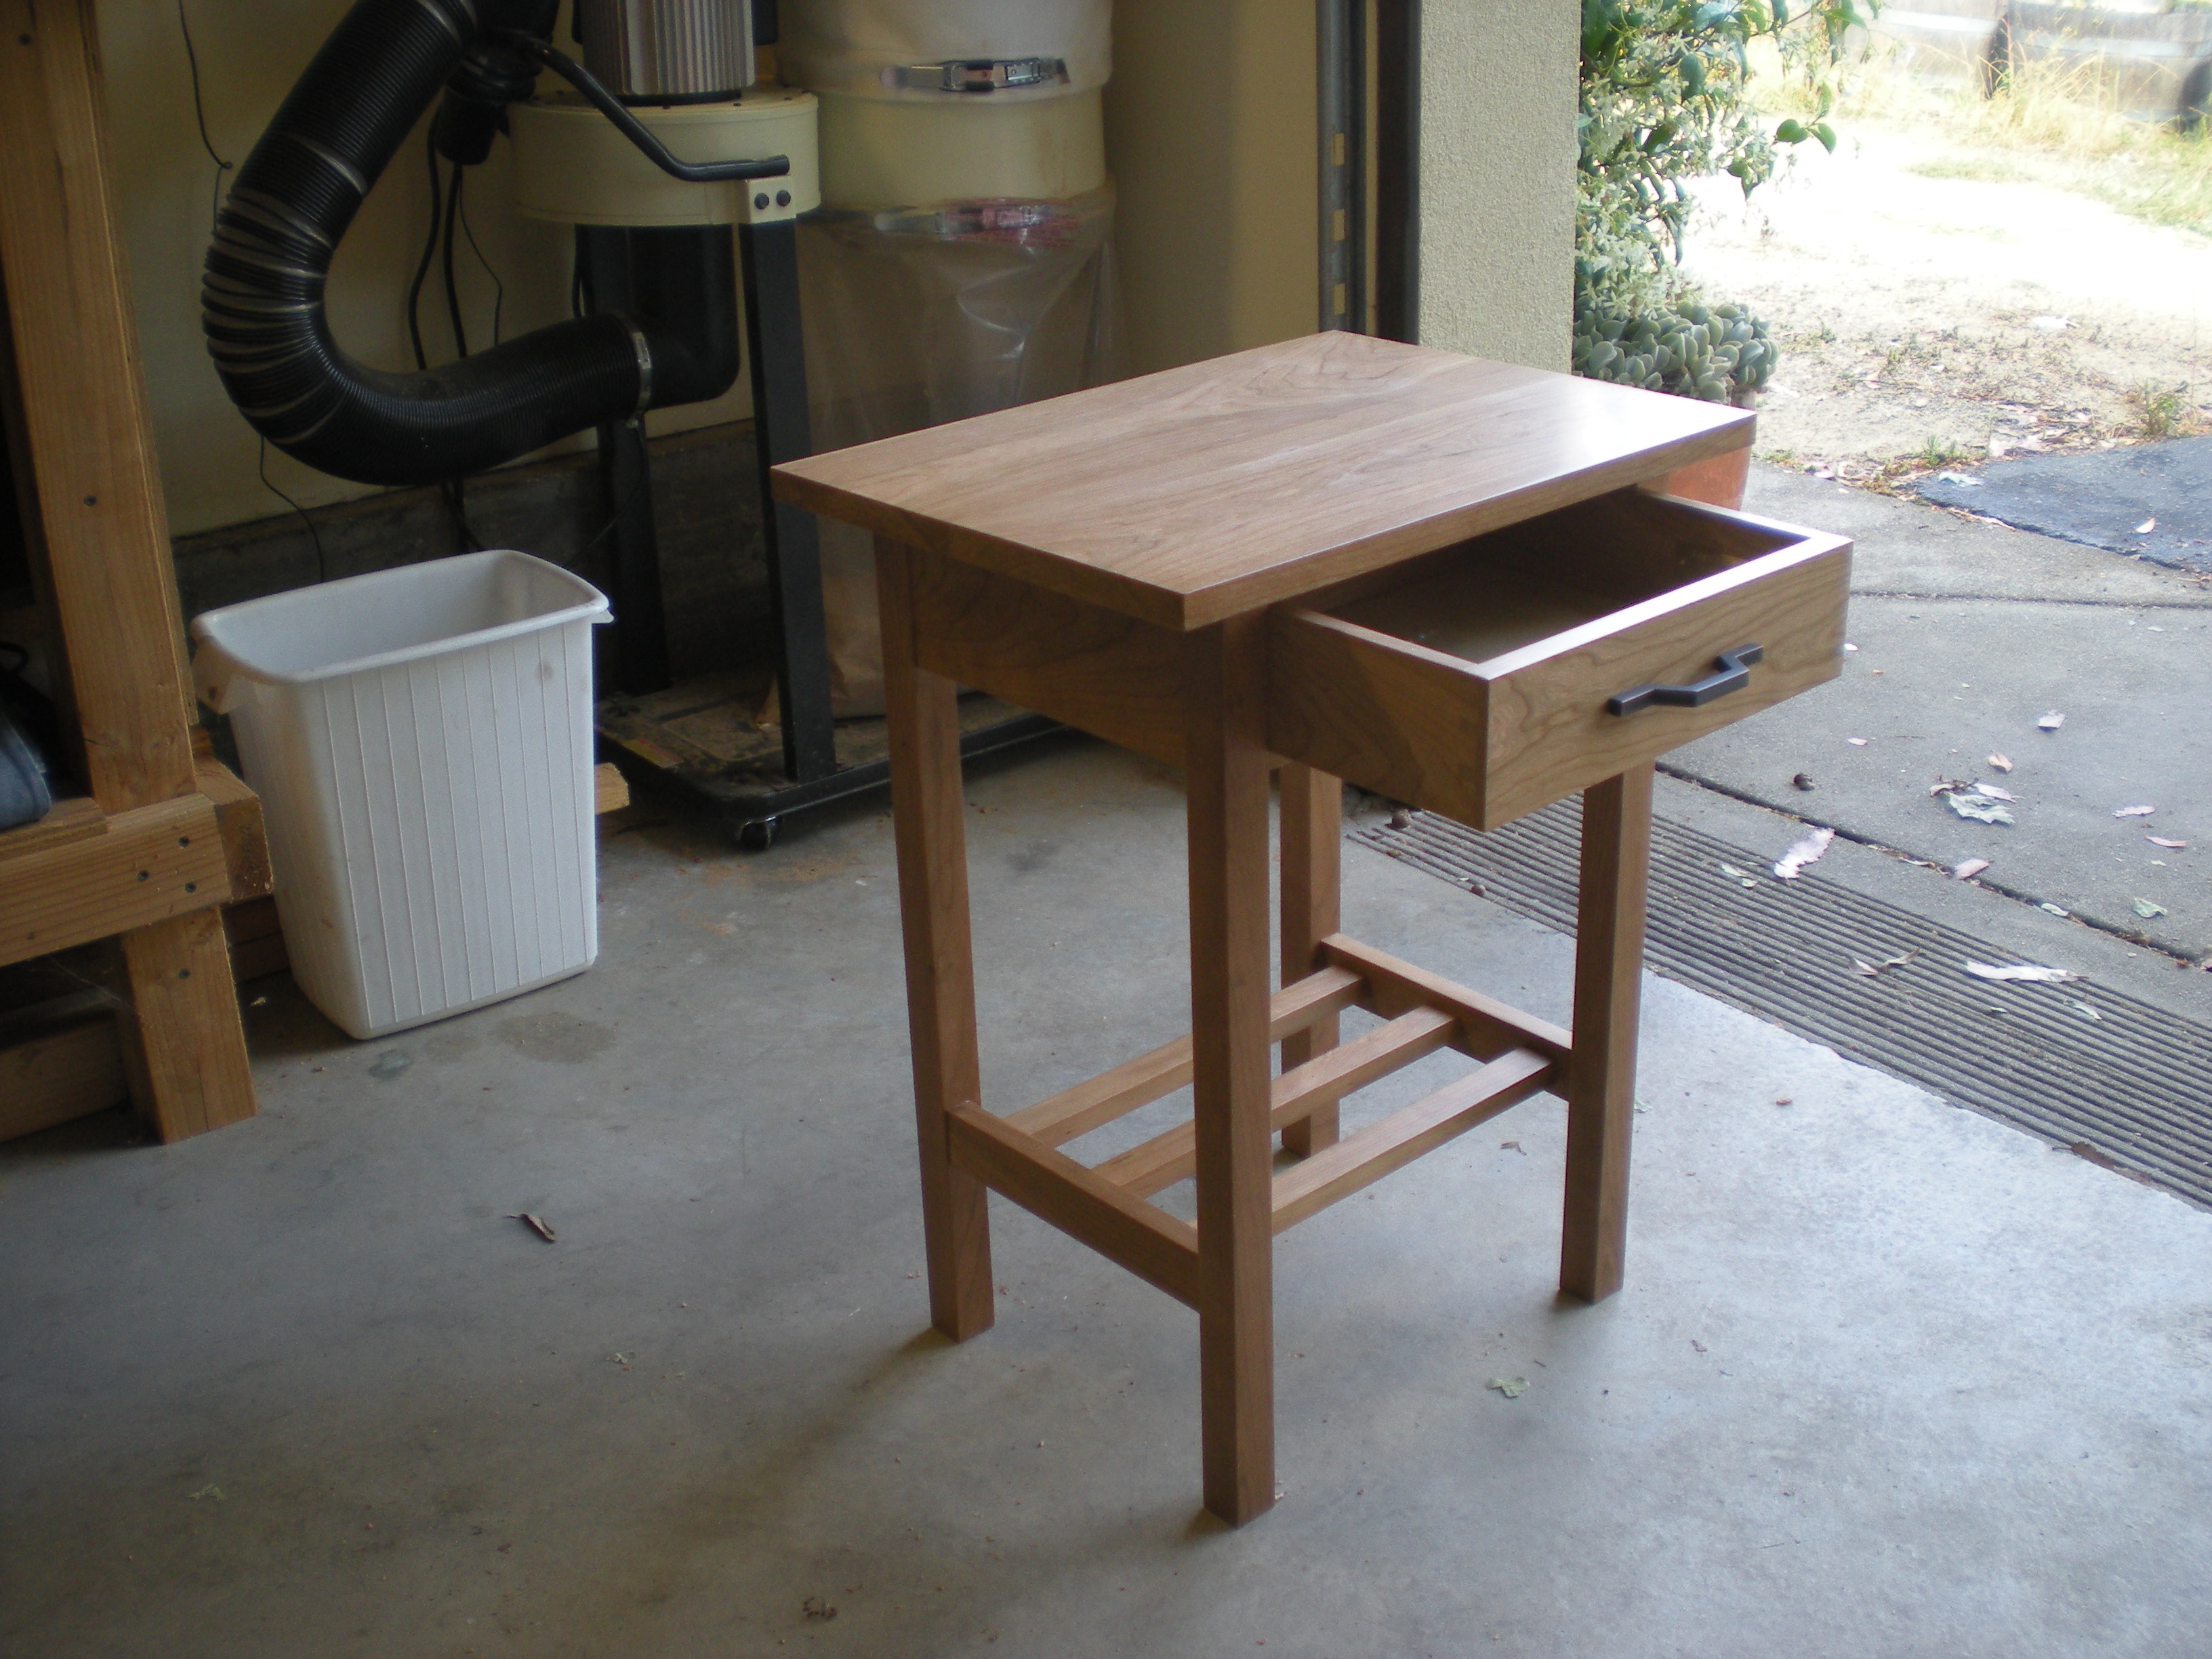
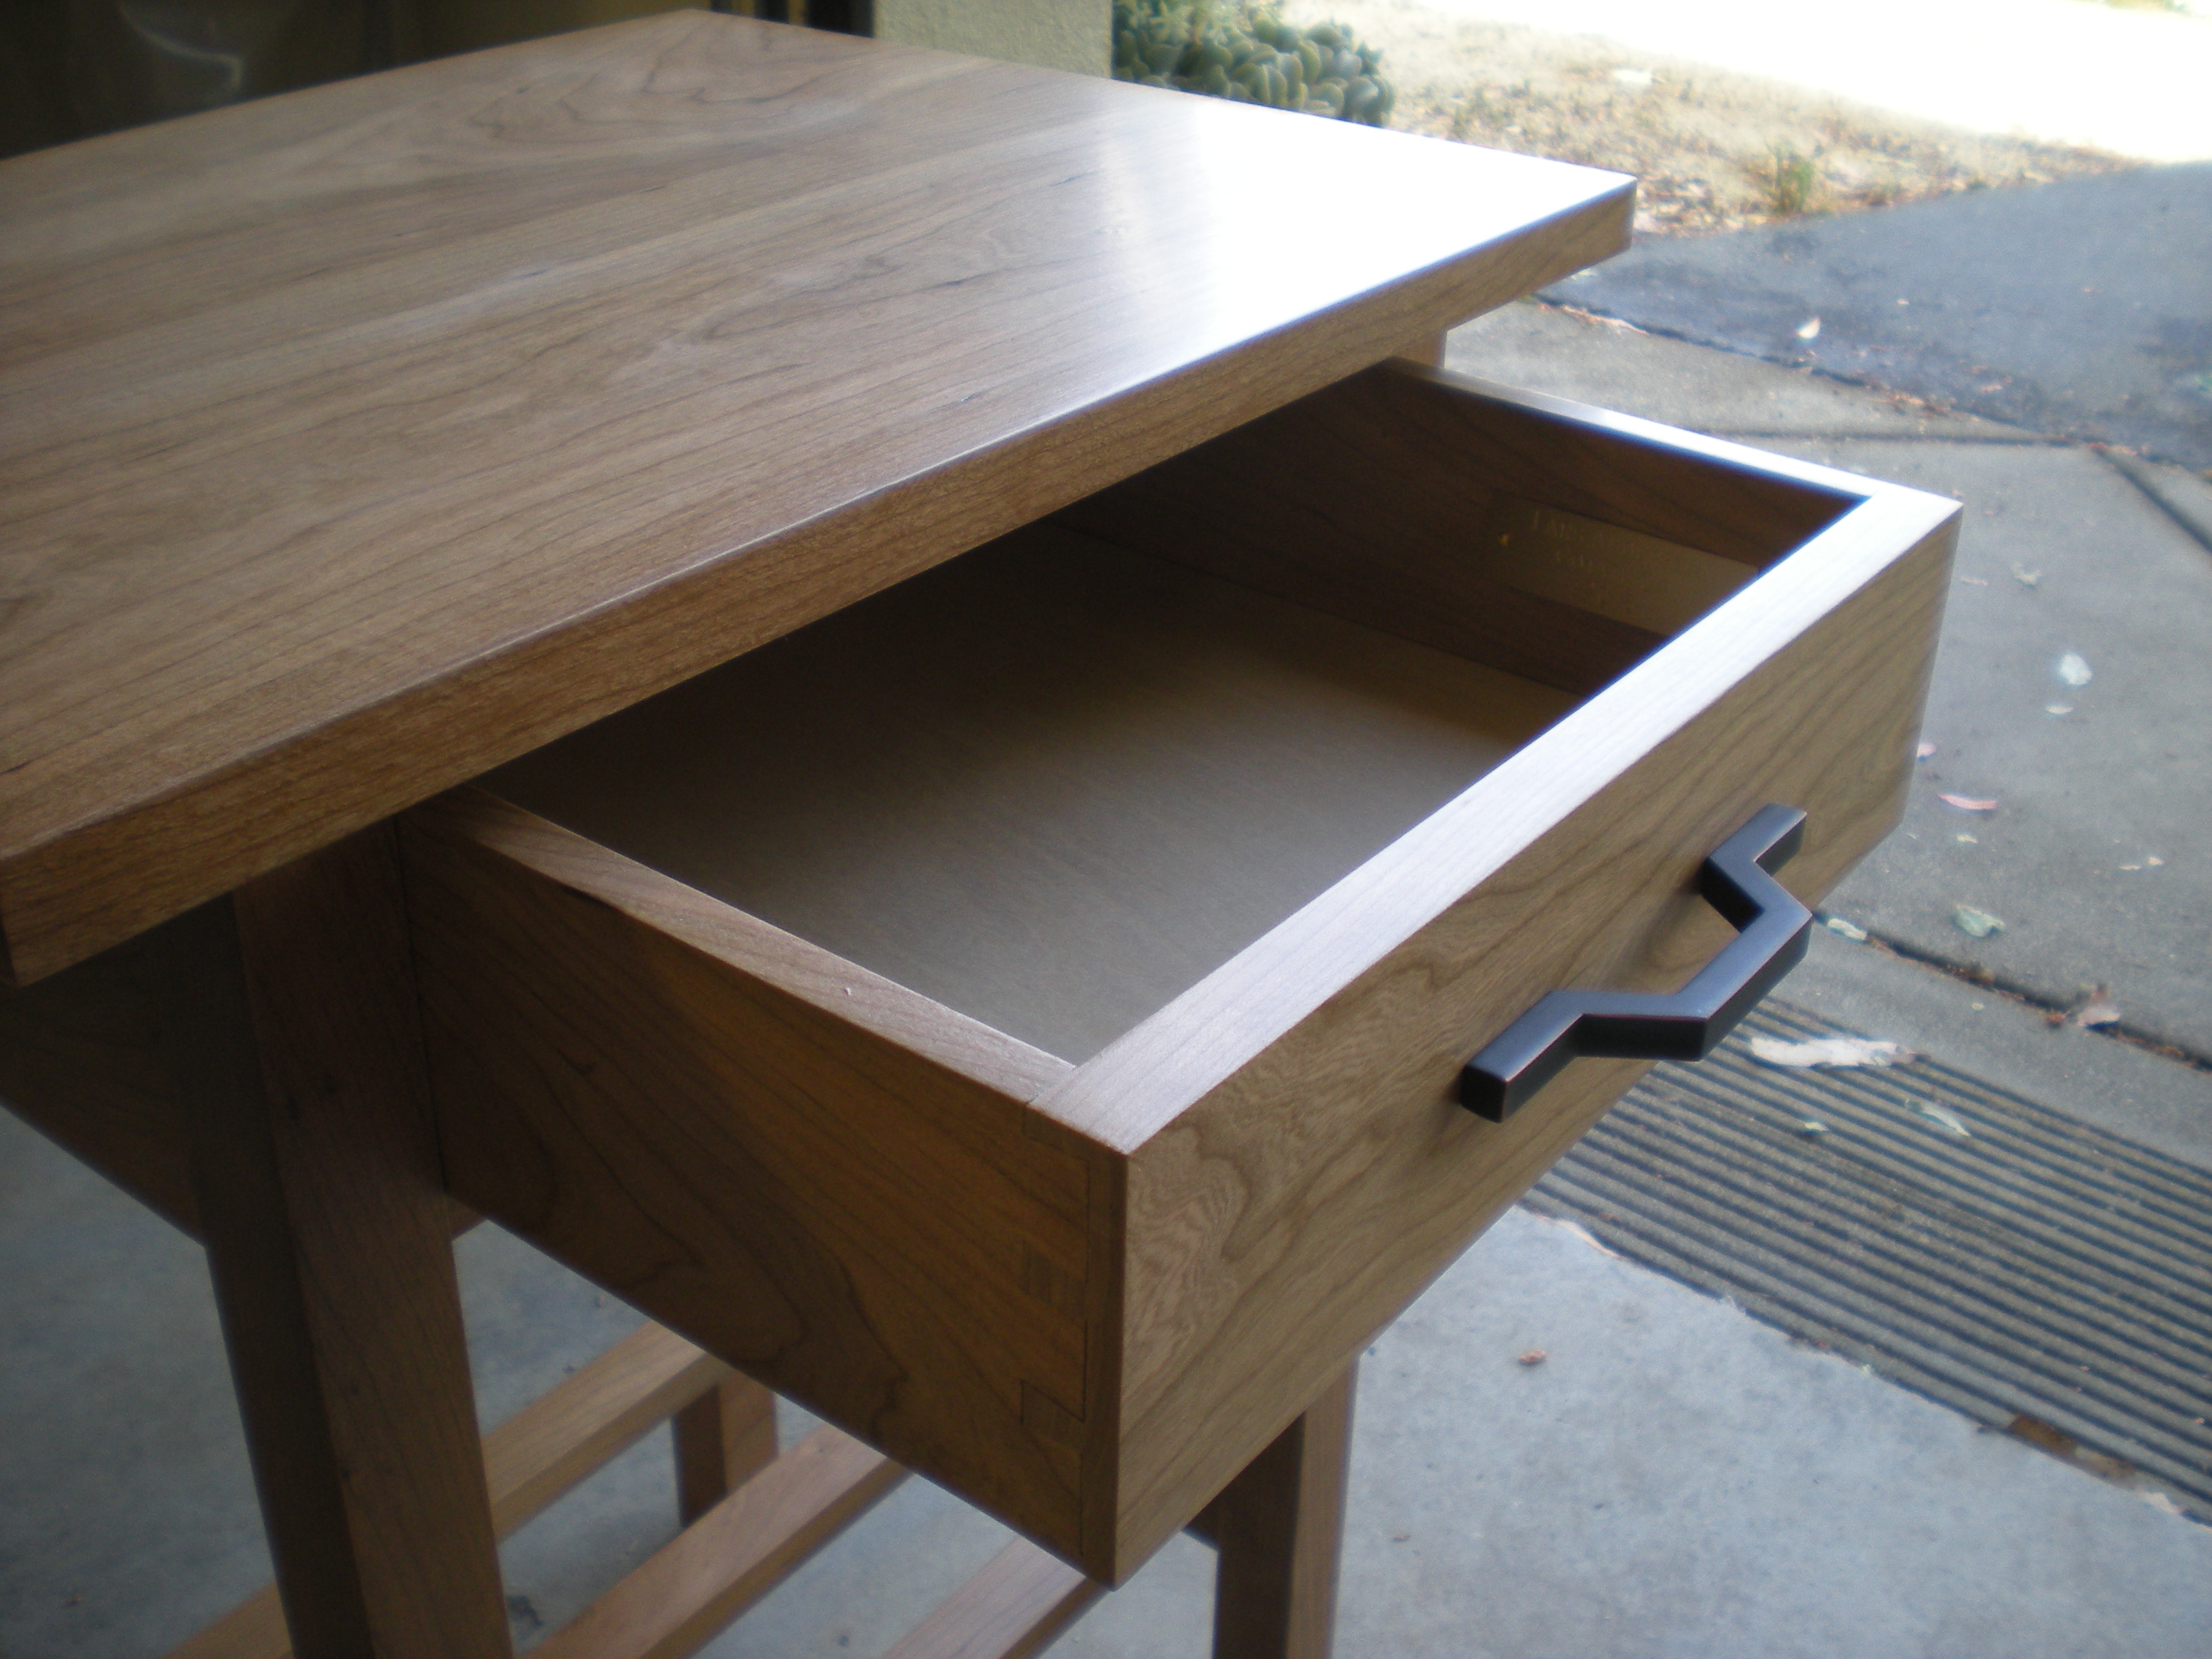
 After screwing the top in place, sliding in the drawer bottom, tapping in a nail to hold it in place, adding drawer pull hardware, and “signing” the work by adding an engravde brass plate on the inside of the drawer, here are some photos of the finished table.

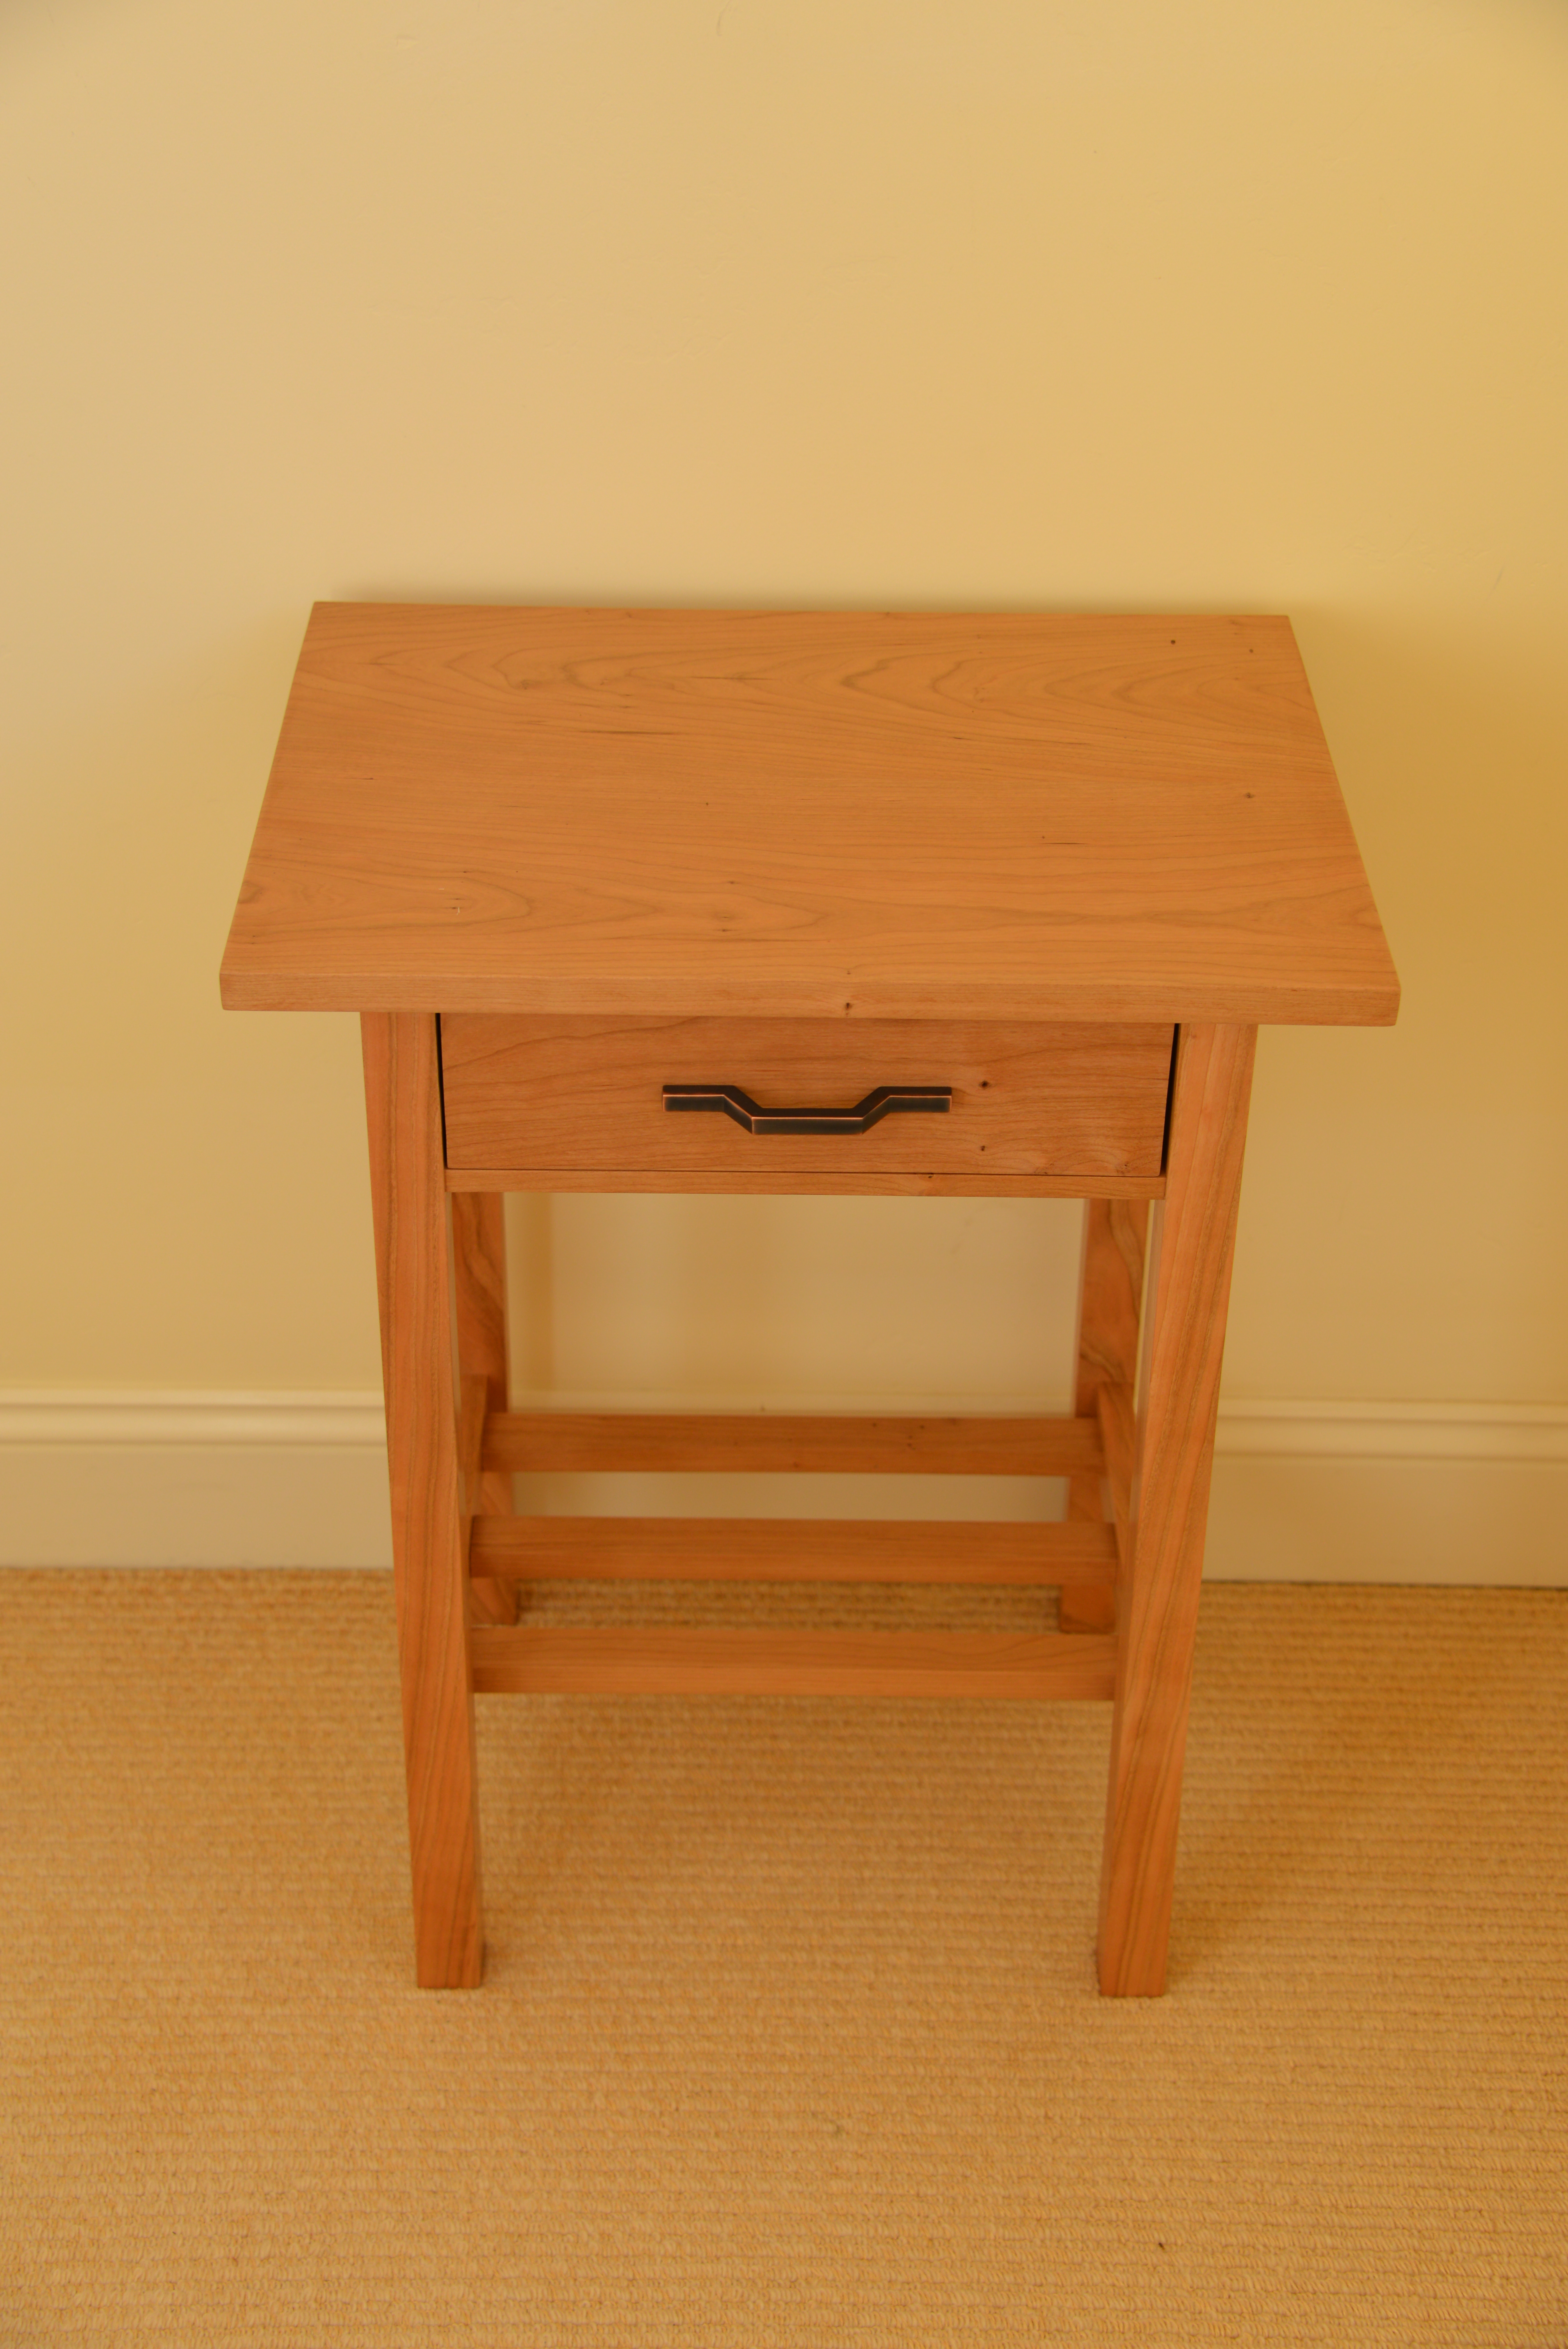
I gave the table to my wife on our anniversary, with flowers and a card. She took a few pictures before we moved it to our bedroom and she started using it.


I want to thank Rollin Ghering and Bob Moyer from the Petaluma Adult School for their guidance and patience while I was building this piece. It wouldn’t have come together without them.
Next, a second/matching nightstand. Here’s a few pictures of the finished product.
This is really a superb piece of art. Love the lines!!
Great job!! Well done!!!!