My wife wants a foot stool for her office, and I’m excited to build one. The office has a few walnut pieces already, so I decided to build it out of walnut. I’ve not yet worked with walnut, so this should be a good chance to see how it behaves.
The design is simple and timeless – two legs and a top joined with two sets of half-blind dovetails, and a stretcher for stability joined with two full-blind mortices and tenons.
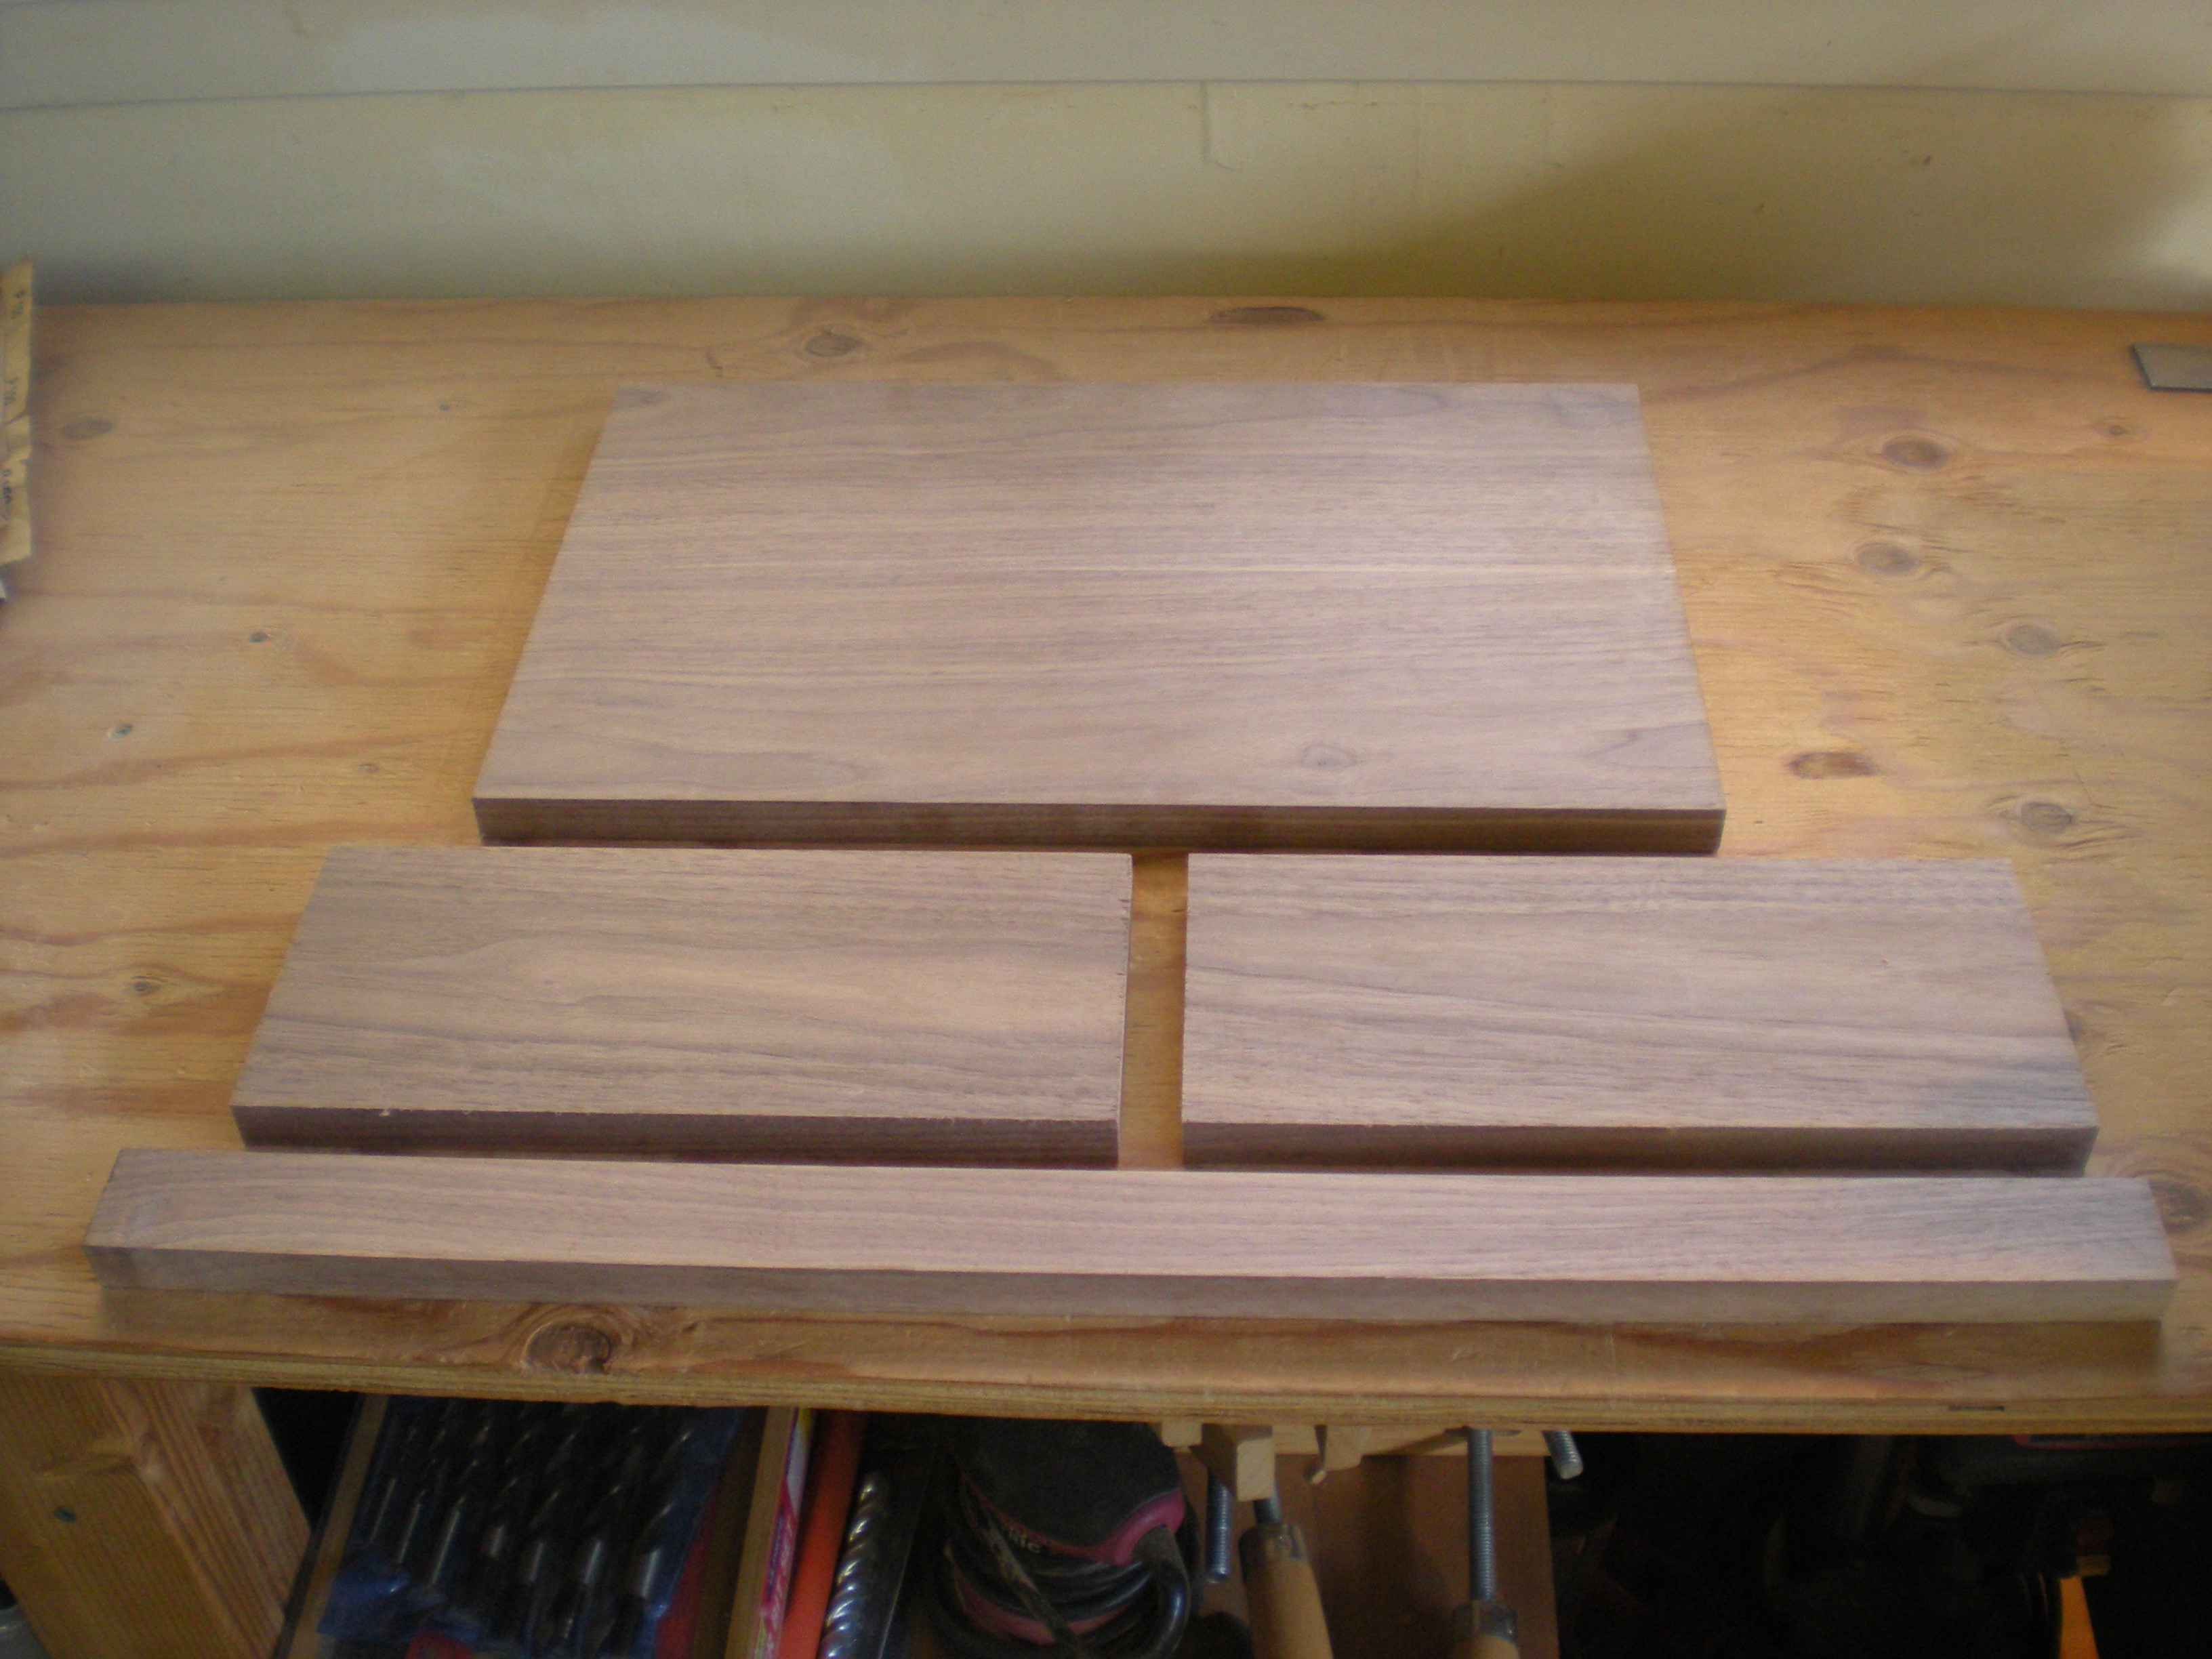
I bought a piece of 1”x6”x5′ walnut. I cut it into two 1′ pieces and two 1.5′ pieces. I edge-glued the two 1.5′ pieces. I also bought a 1”x2”x2′ piece for the stretcher. This gives me my starting material before cutting joinery.
 Next, time to lay out the dovetails. The stock is .75” thick and I choose a 0.35” web, so the tails have 0.5” shoulders. After final milling the top is 10 7/8” wide. Let’s work with 11” for now. I choose two outer pins at 0.5” wide at the base, and five more pins at 1” at the base. That’s 6” at the base for tails, that leaves 5” at the base for pins. With seven tails there’s eight pins, so each is 5/8” wide at the base. Now, we correct for the extra 1/8” by subtracting 1/16” at each side, making the outside pins 9/16” at the base. I believe this is larger pins than customary, but I’m developing my dovetail skills and don’t want to get too “fancy” too soon.
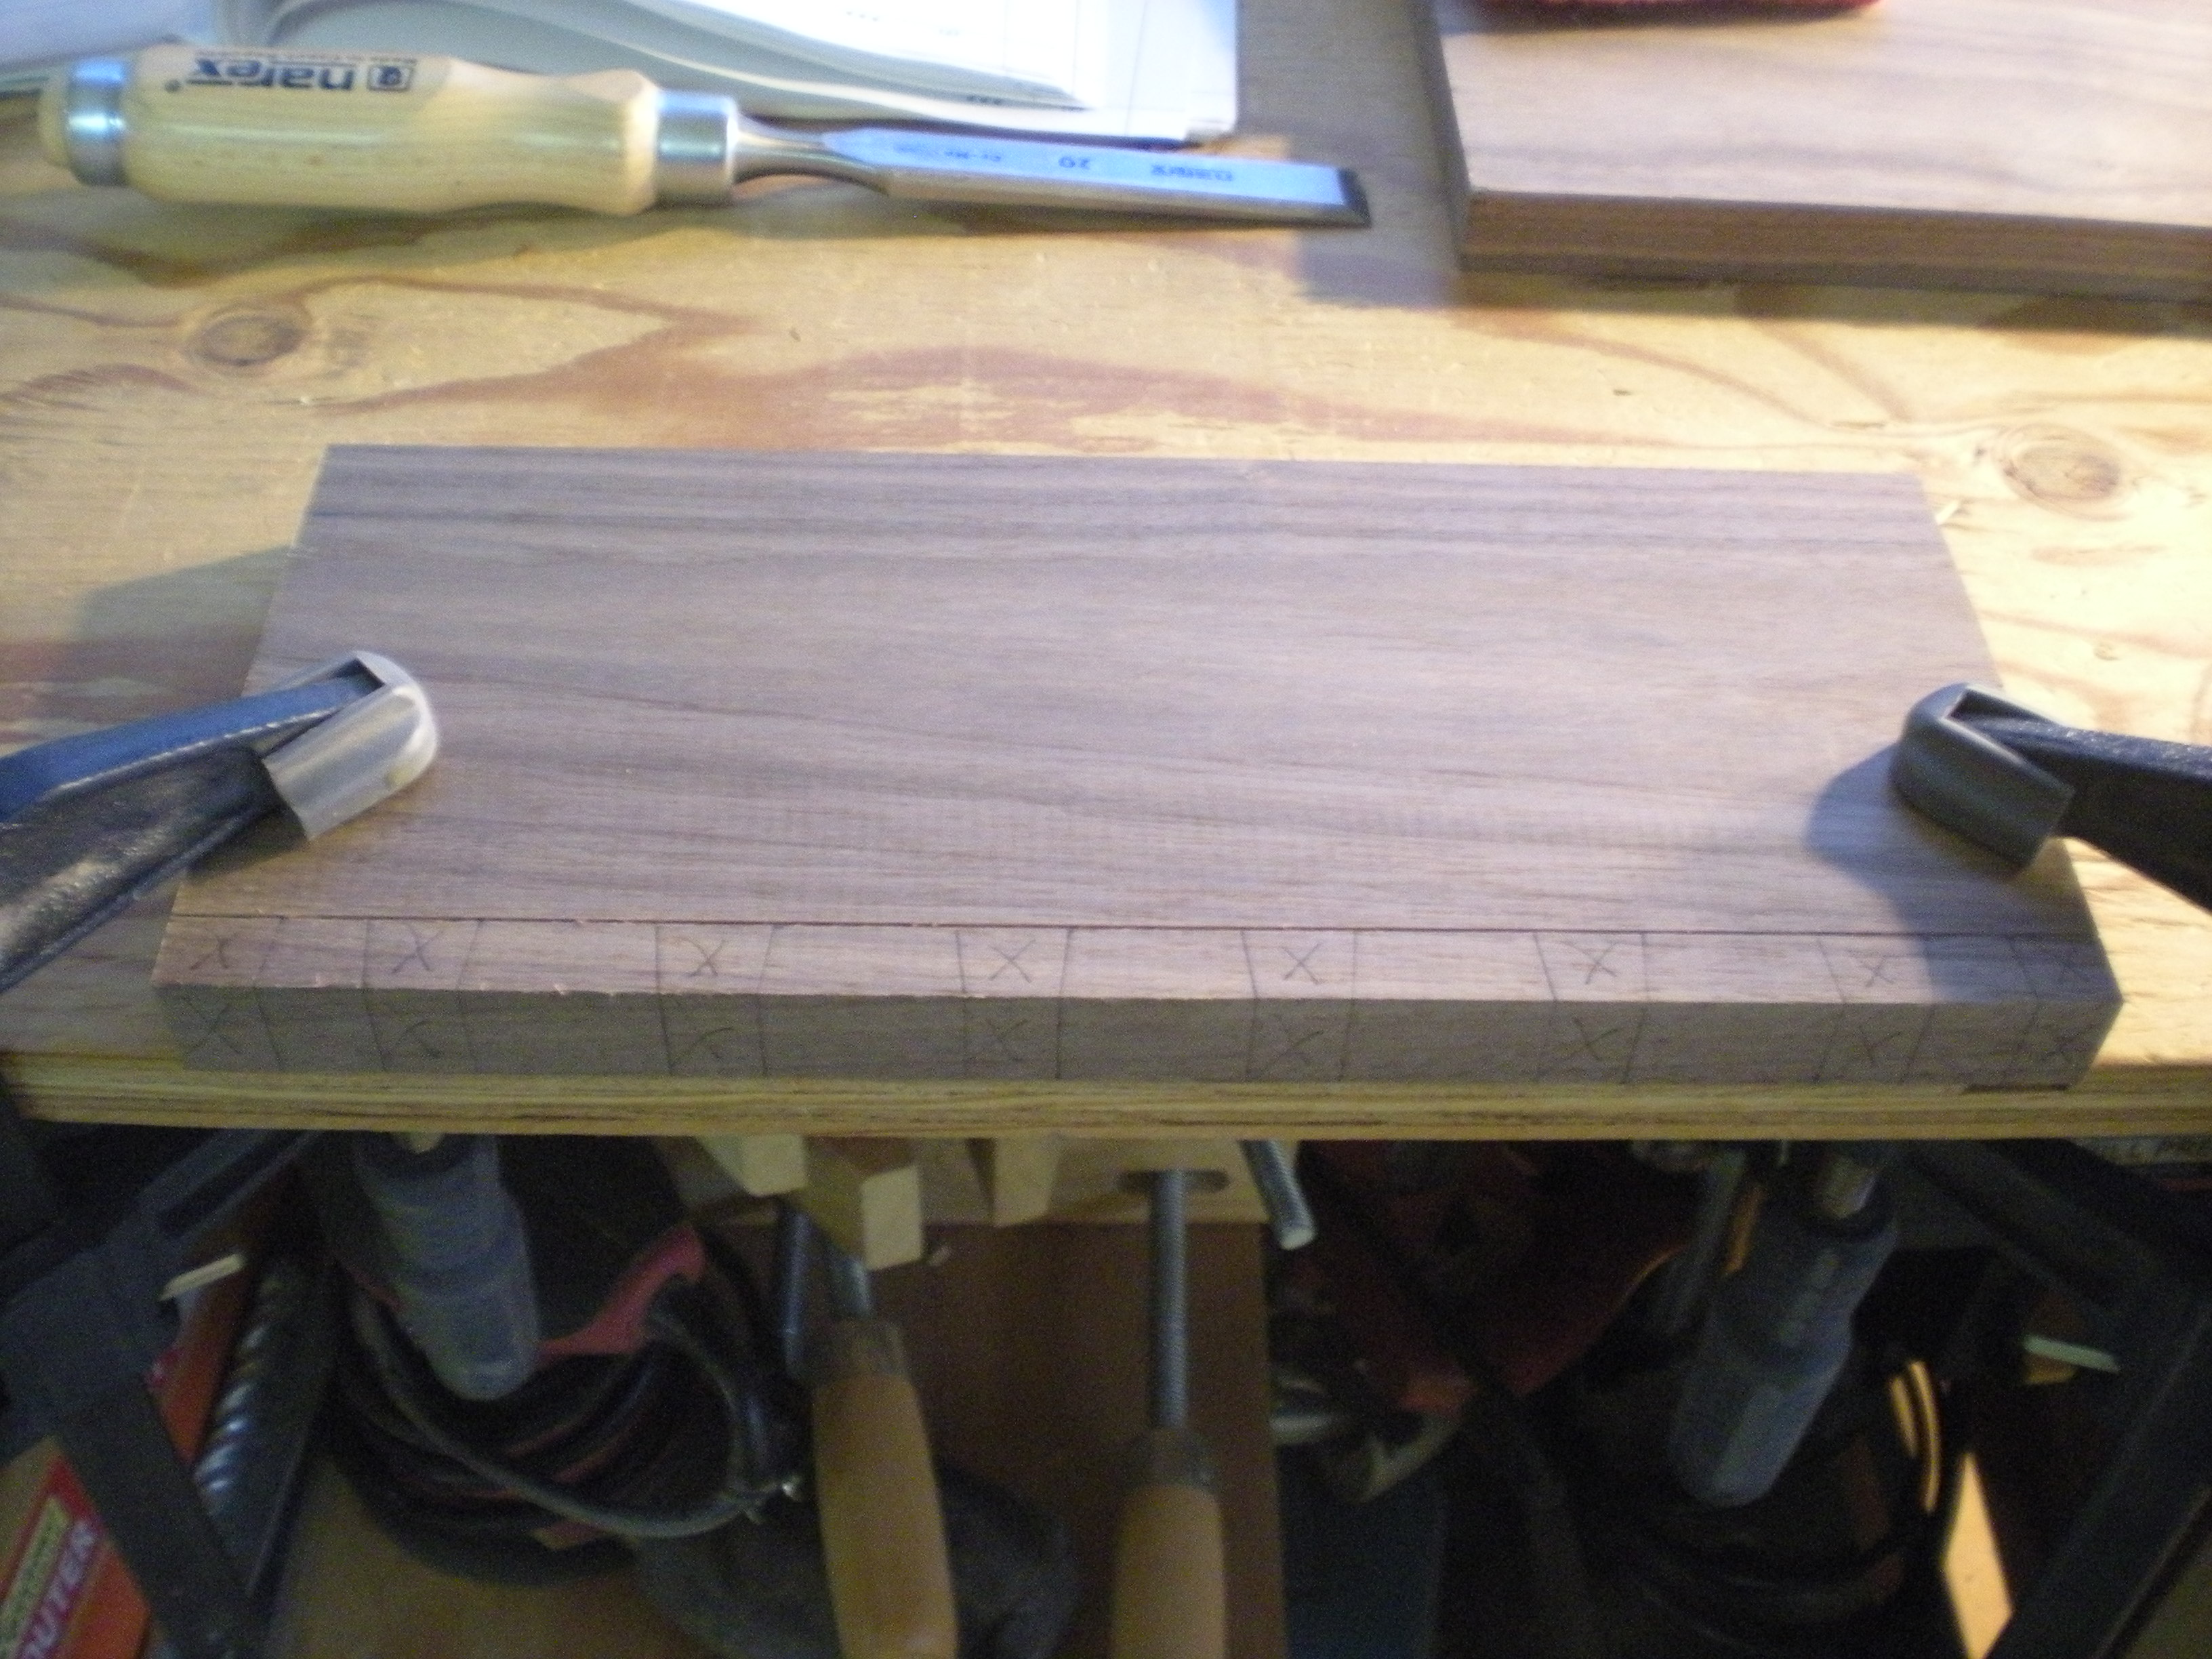
I scribed the shoulders with a marking gauge, laid out the spacing above on one side of one board, used a 1:6 dovetail ratio to lay out the tails on one side, transferred them across the end grain and down the other side, and marked all waste areas. Then I mated the two board, transferred the lines at the end grain, and then transferred these down each side to get identical tails on the second board.
Next, I pared all waste areas to the scribe line with a chisel.
I sawed the tails just inside the lines, and cleaned out the waste. Now, the tails are done.
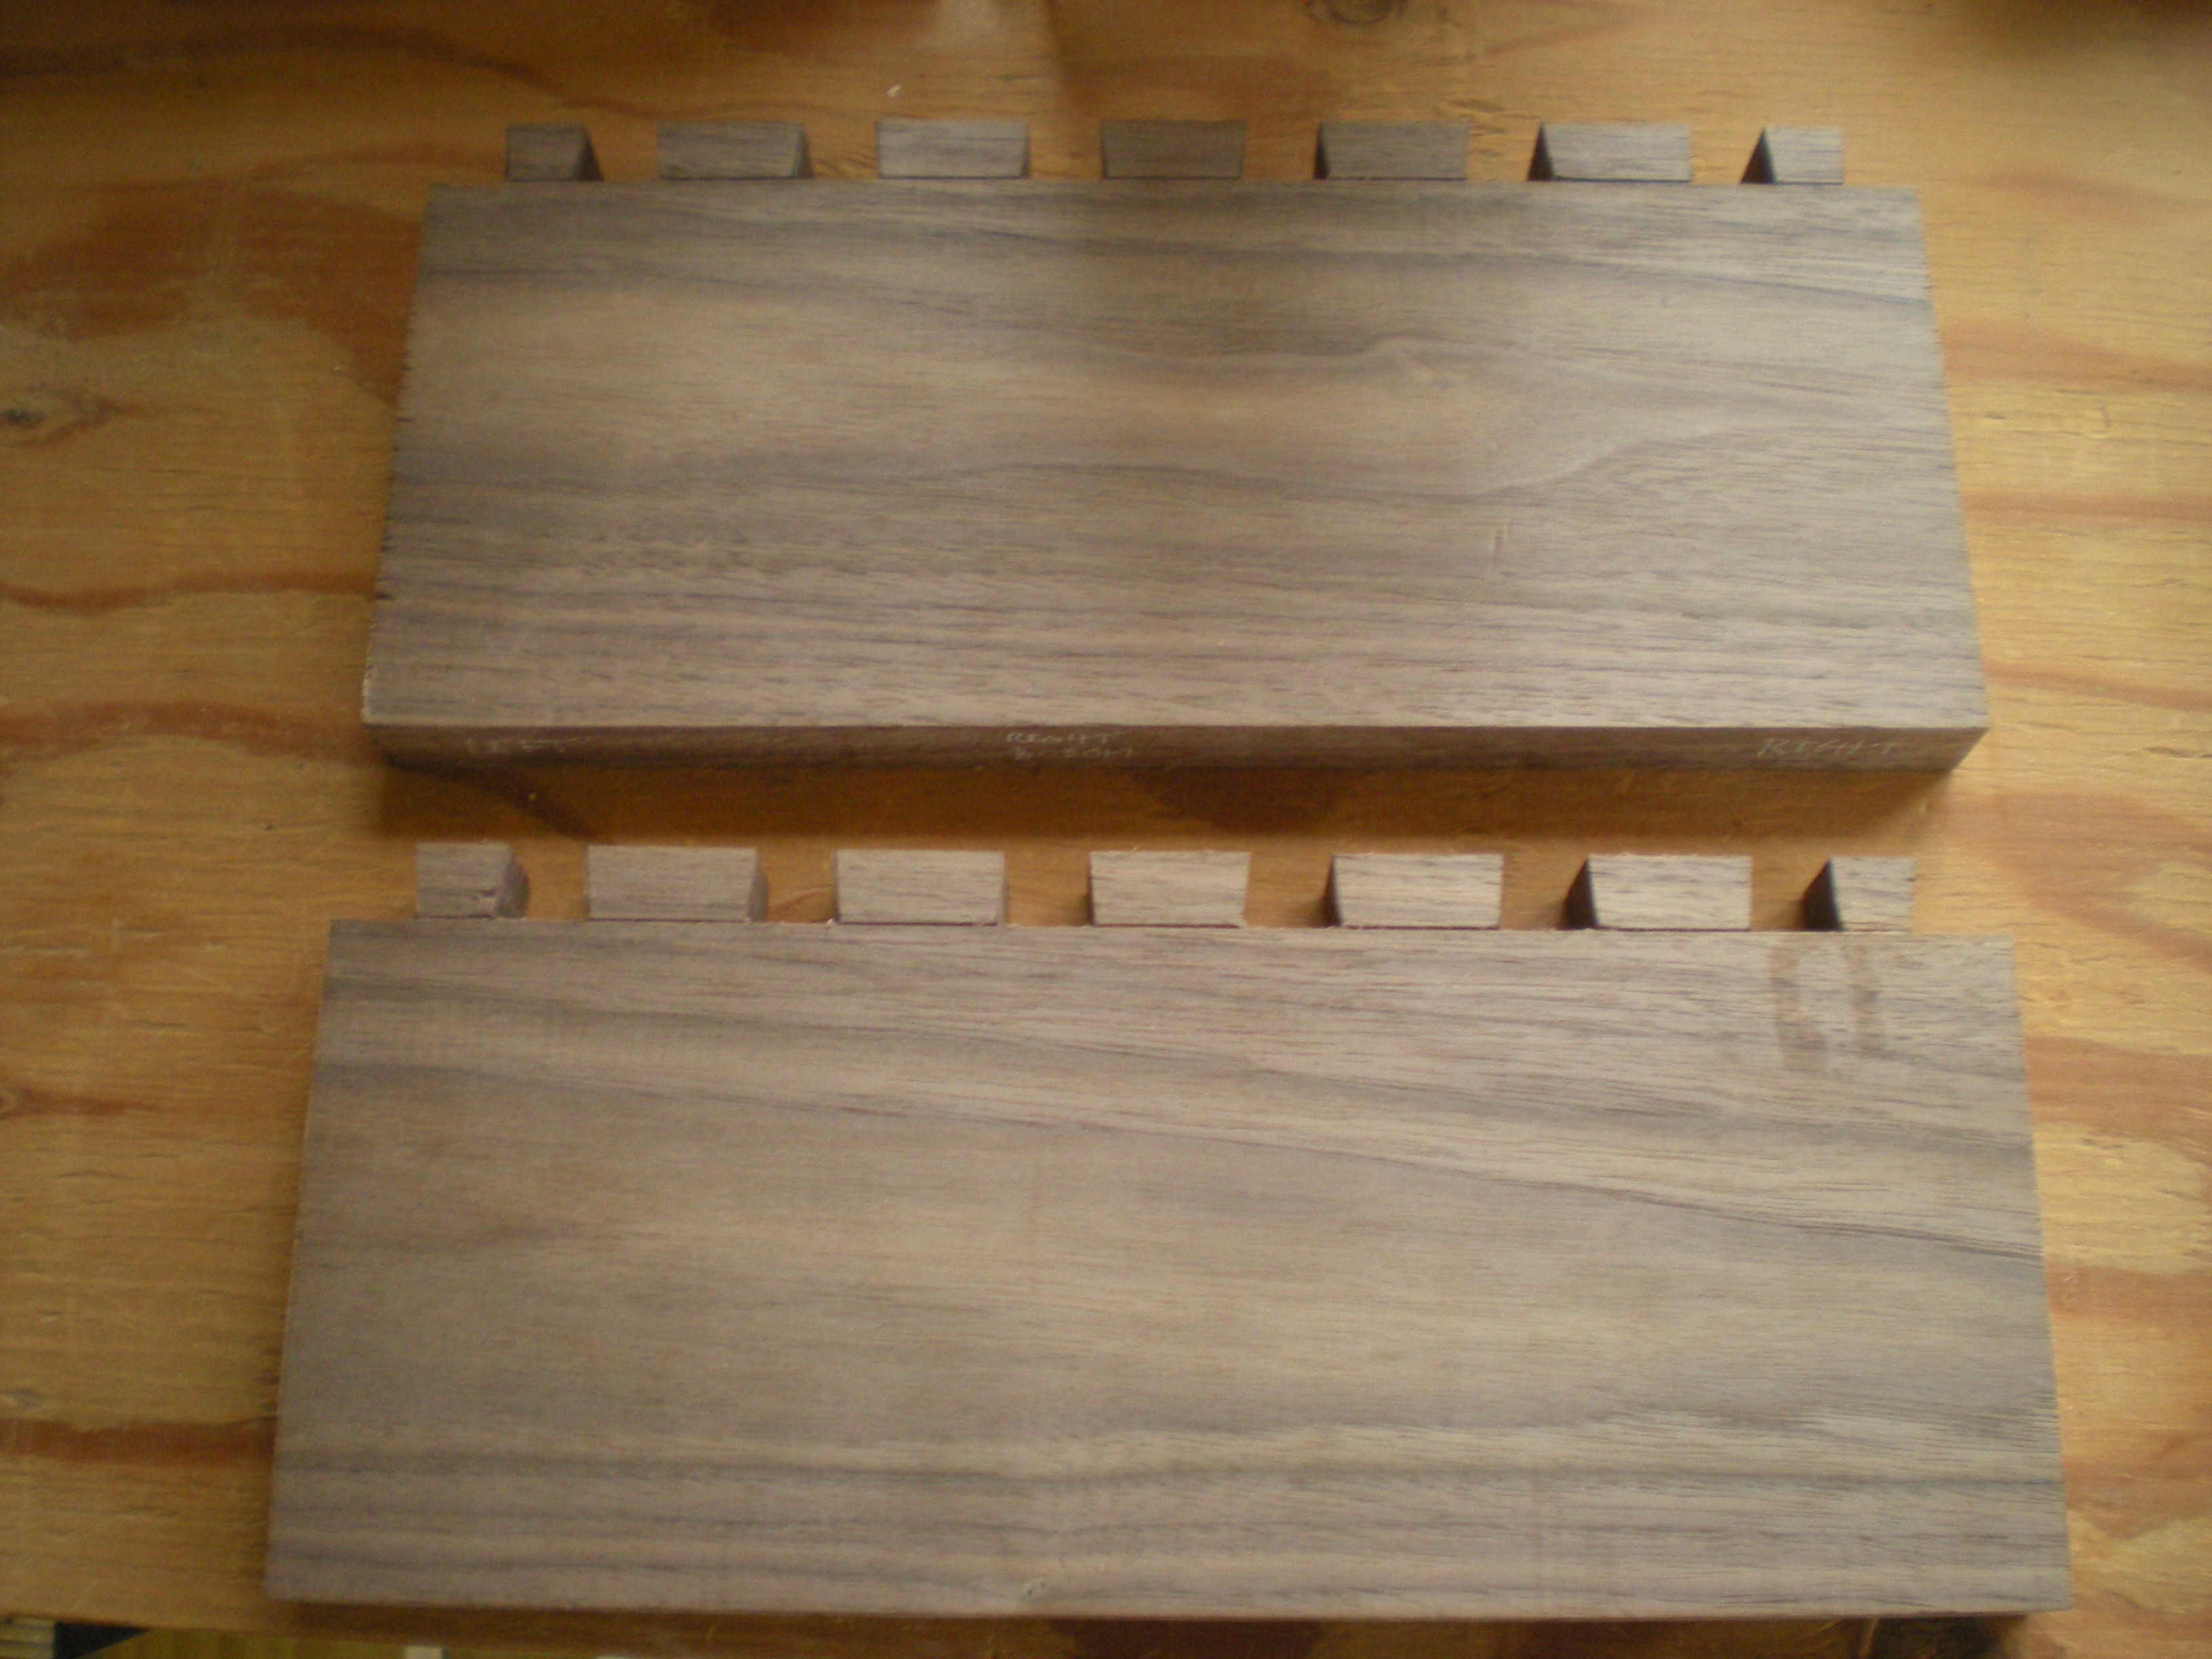 Next, the half-blind pins. They are shown below, along with the tails and also I cut the two mortises and tenons for the stretchers.
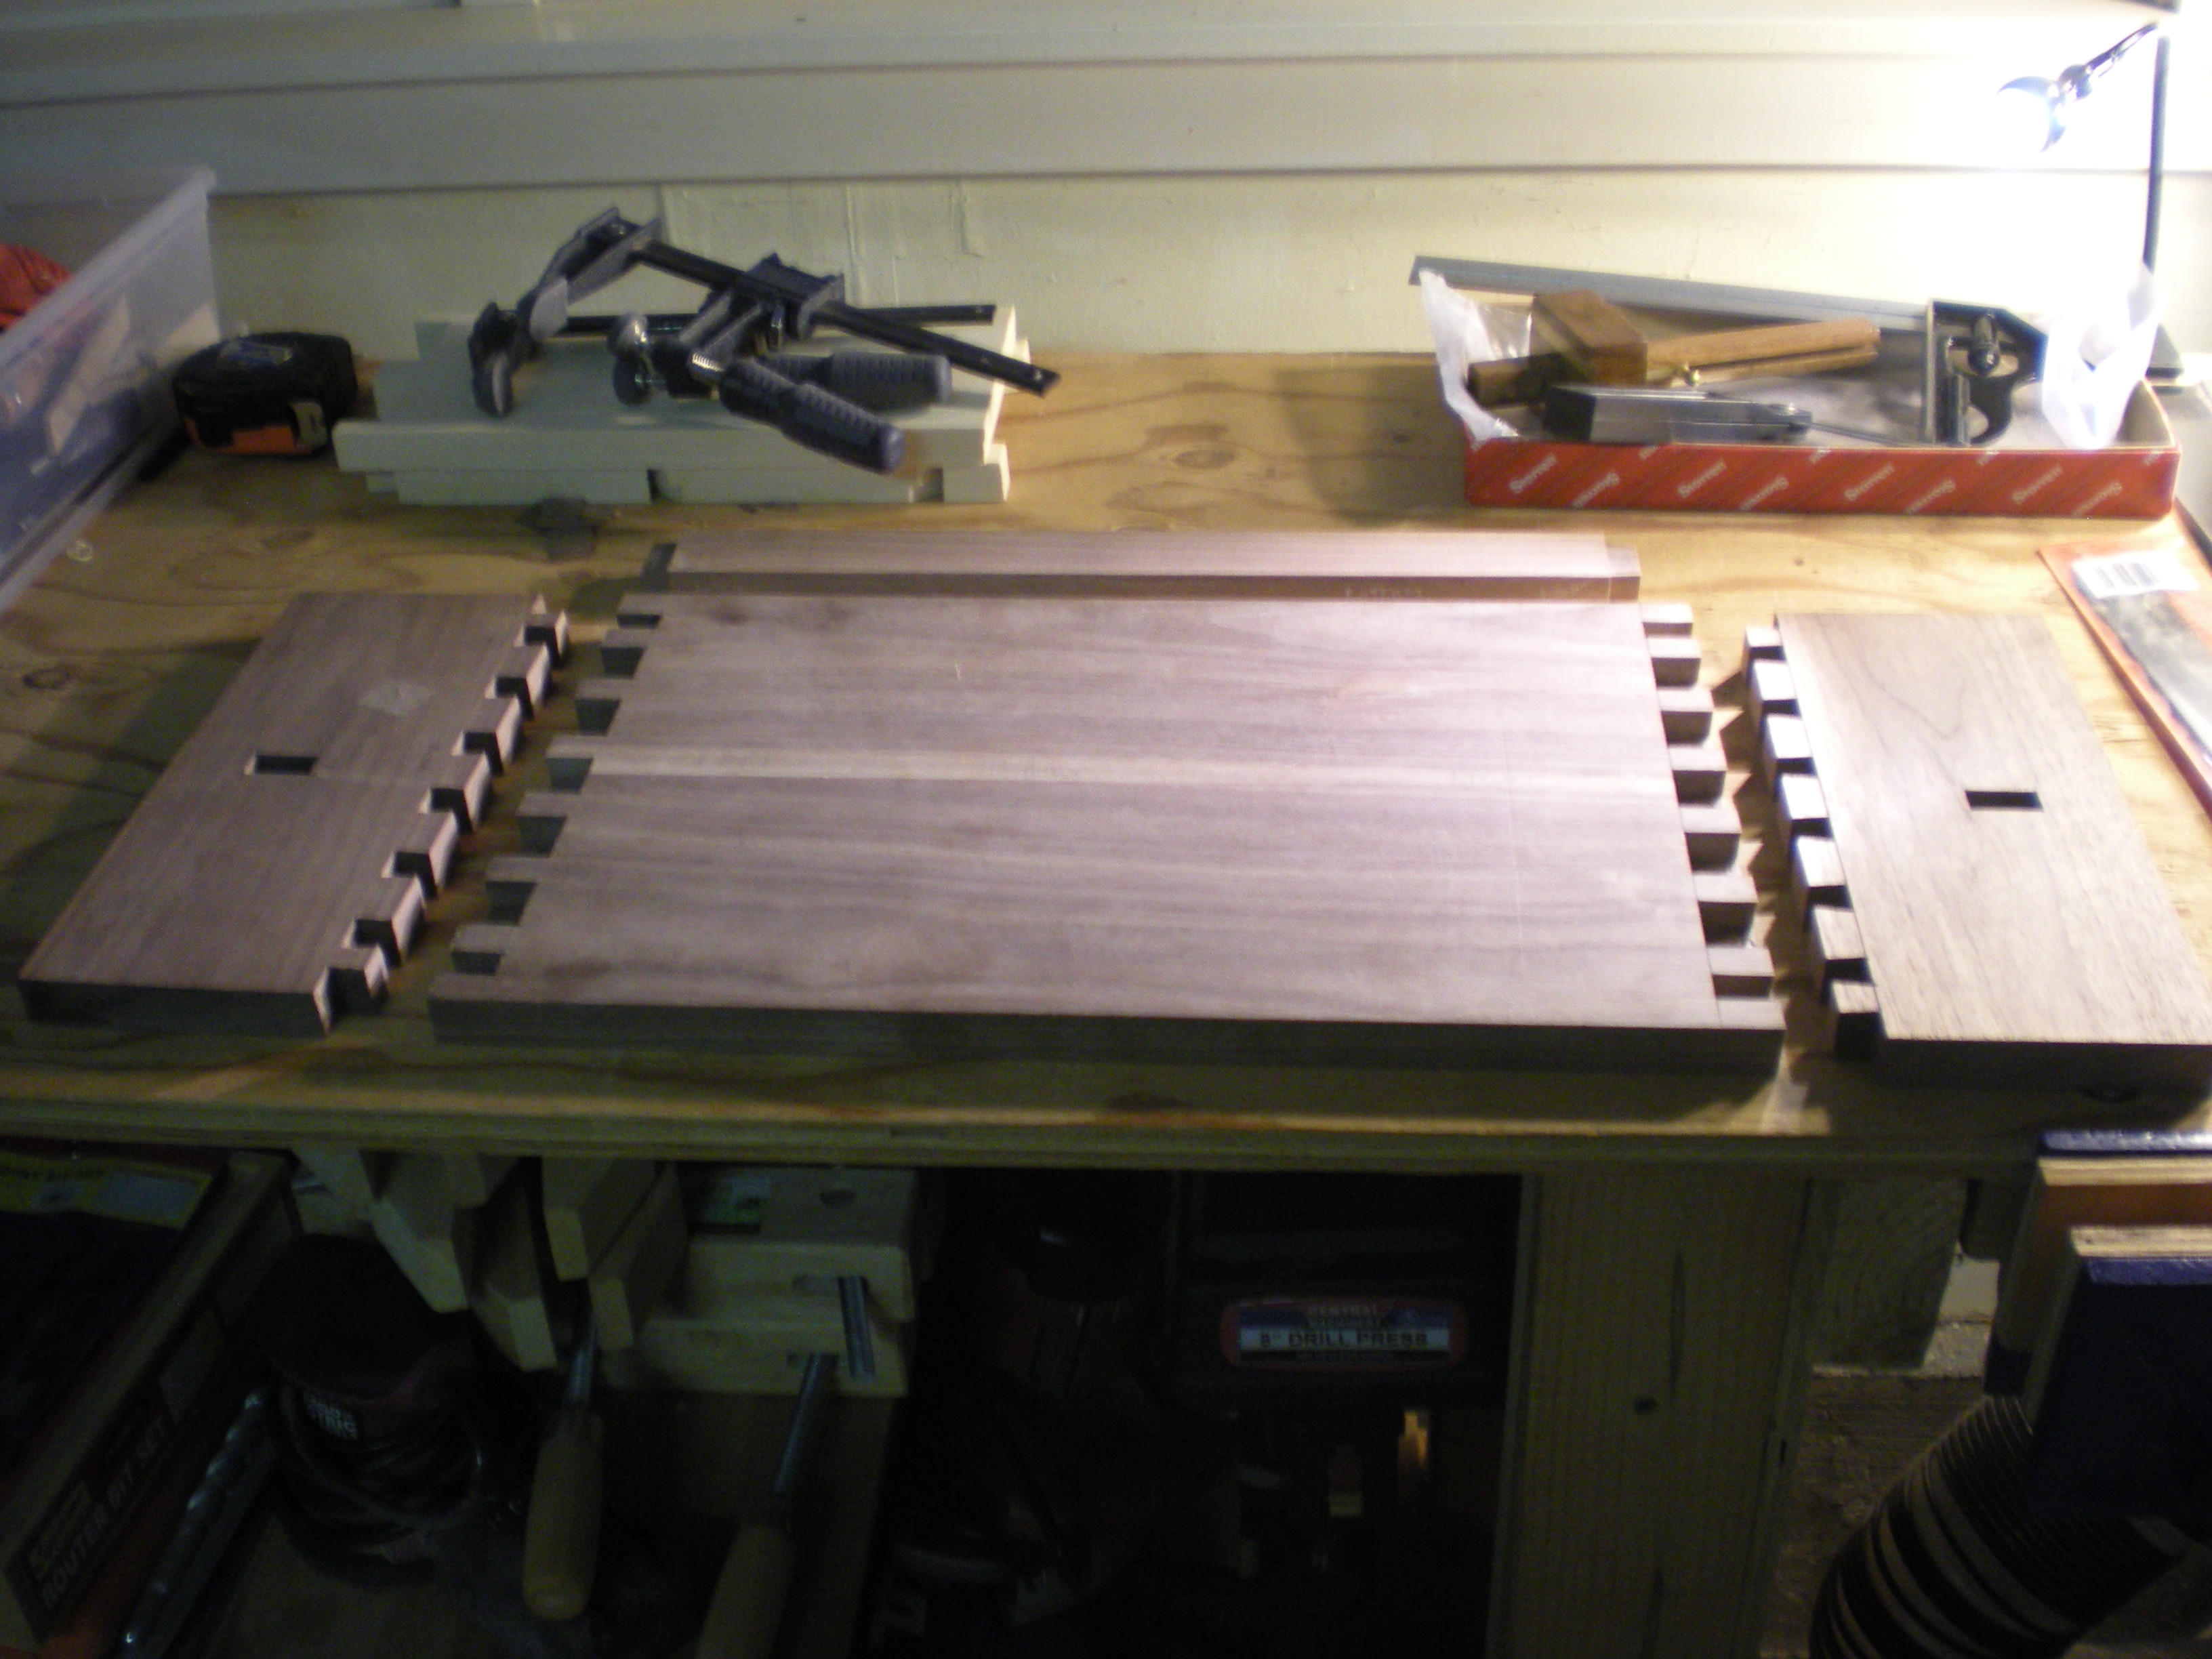 Now, the initial dryfit. I needed to use a mallet, but it did go together.
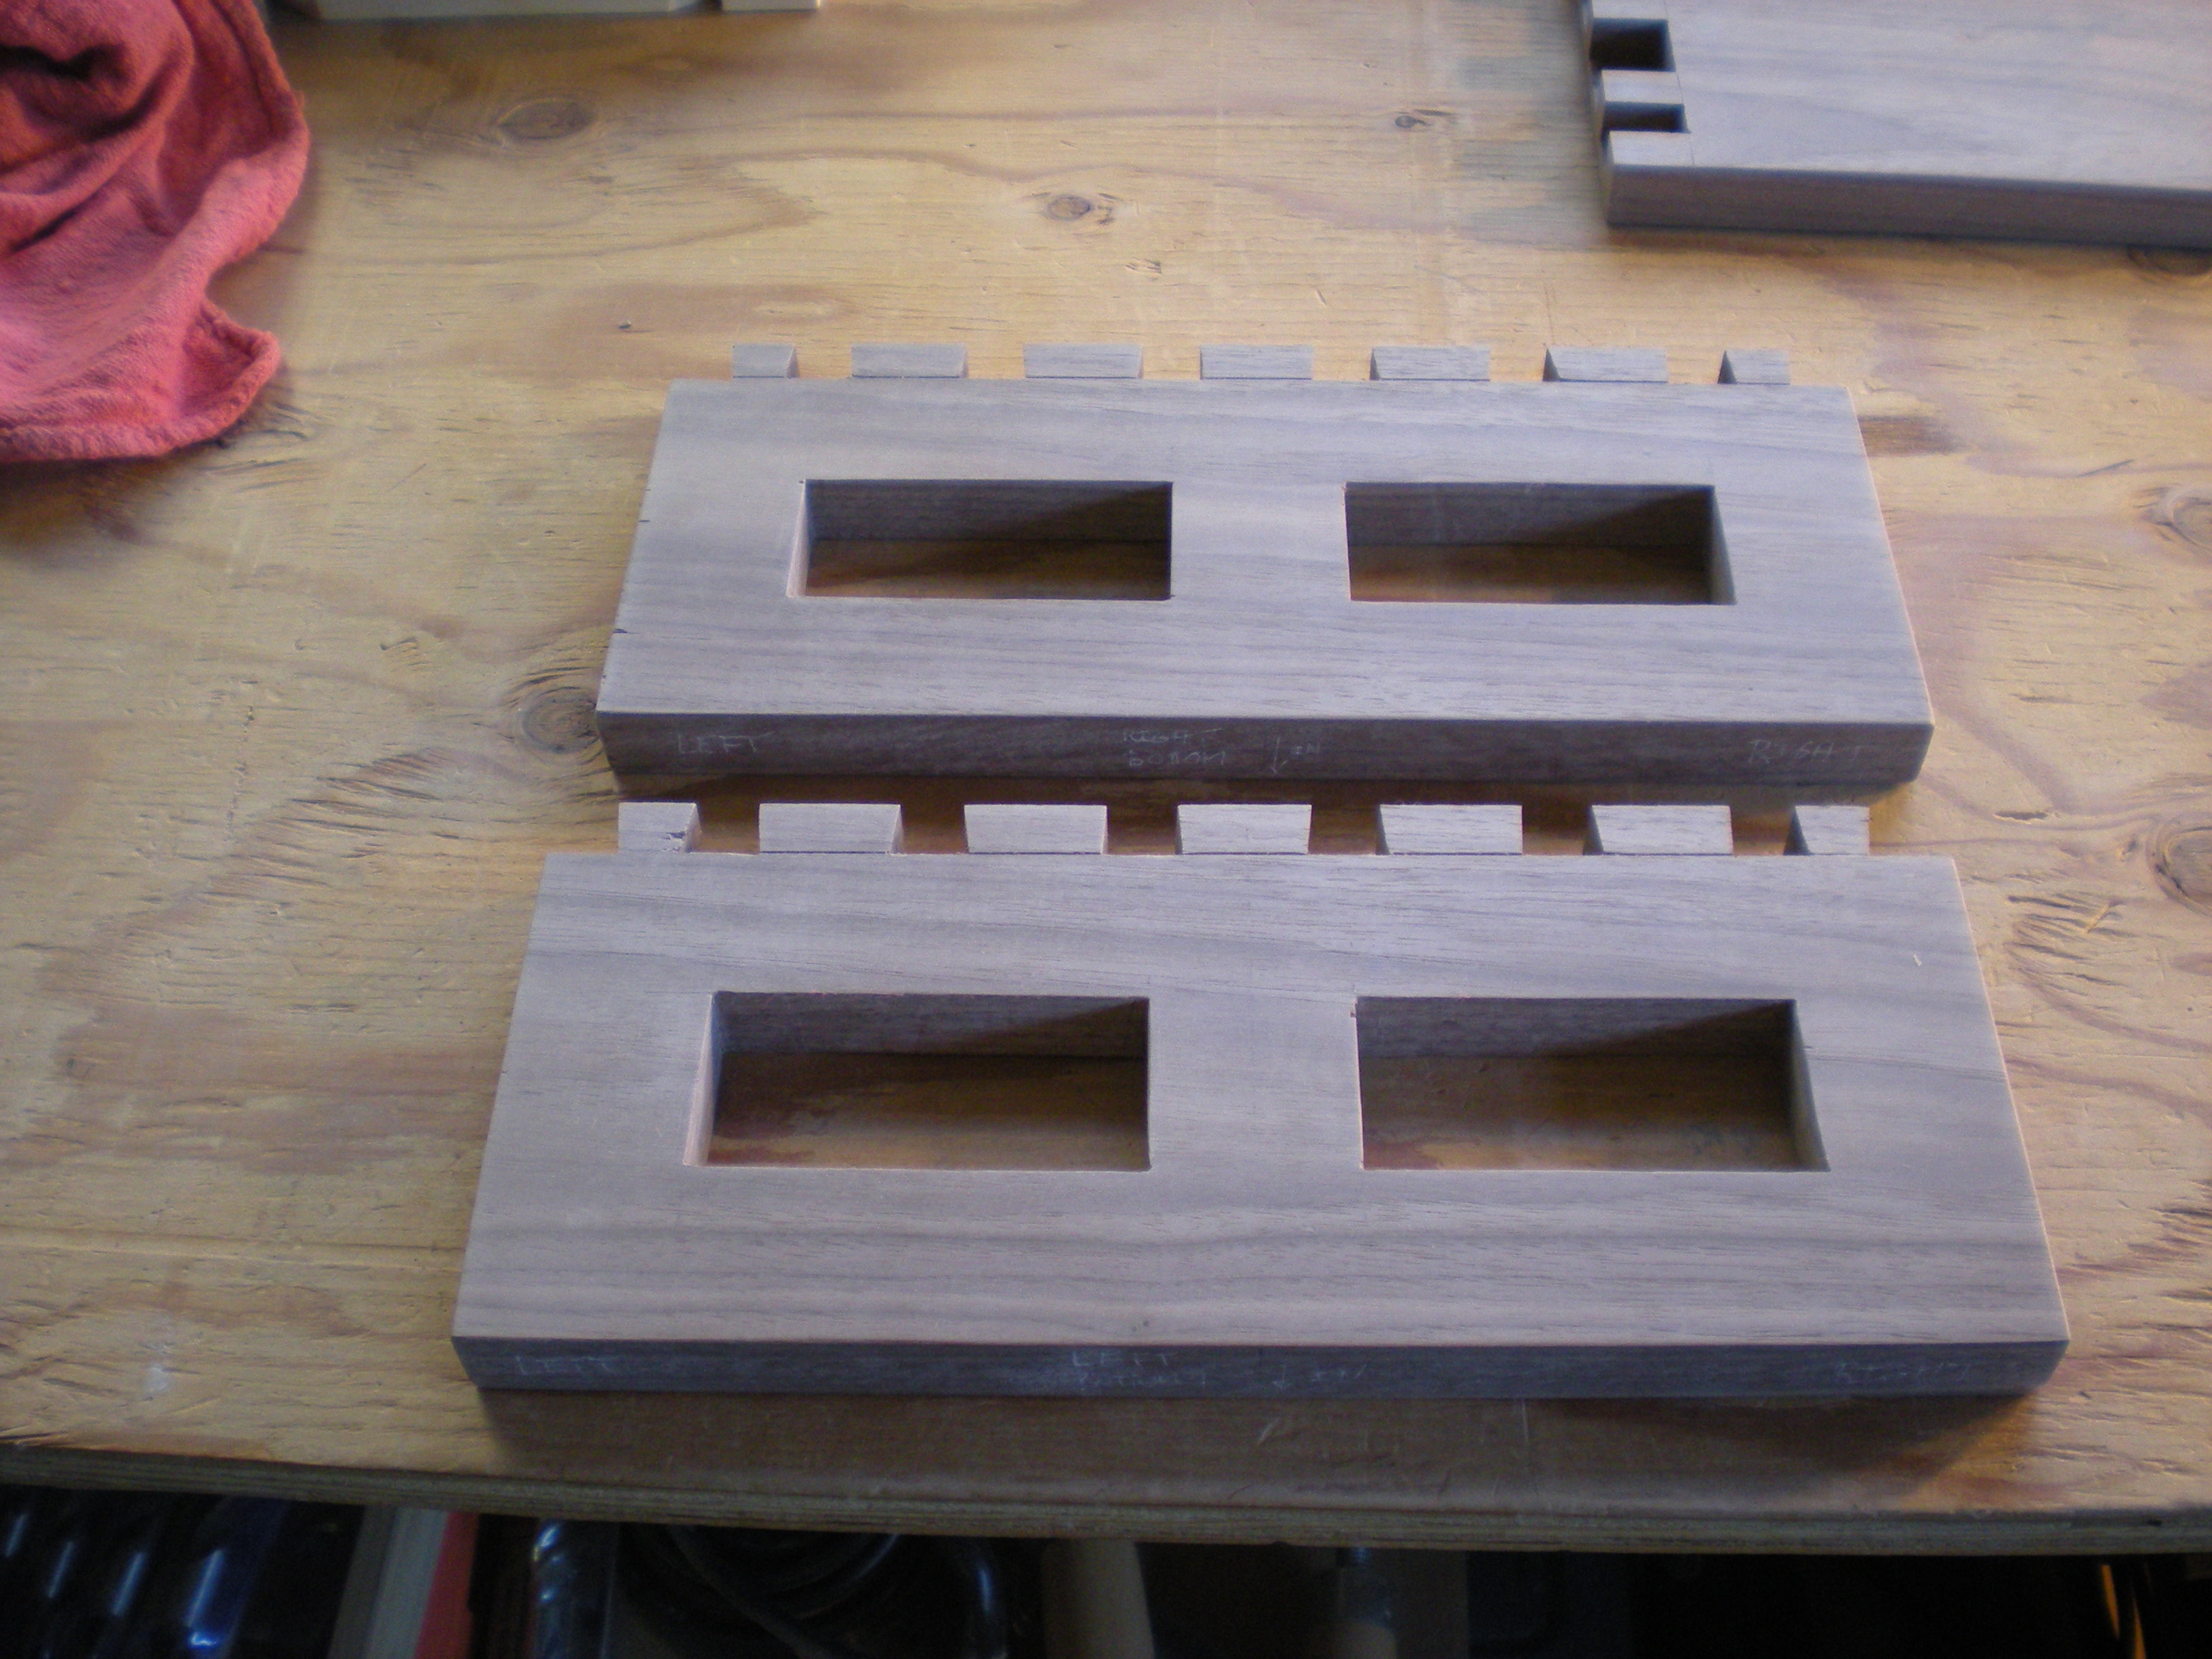
 My wife and I decided to add a little interest to the sides, and settled on two square openings in each side. In hindsight, I would have probably aligned the stretcher with these squares, but the mortises are already cut – the danger of an evolving design instead of thinking it thru up-front.
 As I was dry-fitting it again in preparation for the glue-up, one of the outer/narrow tails broke off! This makes sense. The fit was tight, and for this particular orientation of the boards the grain runs across so the tails are very susceptible to breaking this way. This won’t happen if I make a drawer where the tails are cut in end grain, but as I think about it I’m surprised they didn’t break sooner. Definitely a lesson learned – think about the grain orientation, and cut looser-fitting joints when this can happen. Better yet, I should have cut the 5′ board into two 2.5′ boards and edge glued the whole thing, and then cut the sides. The sides would then have been edge glued and the side grain would have run in the opposite direction, which would have been more stable.
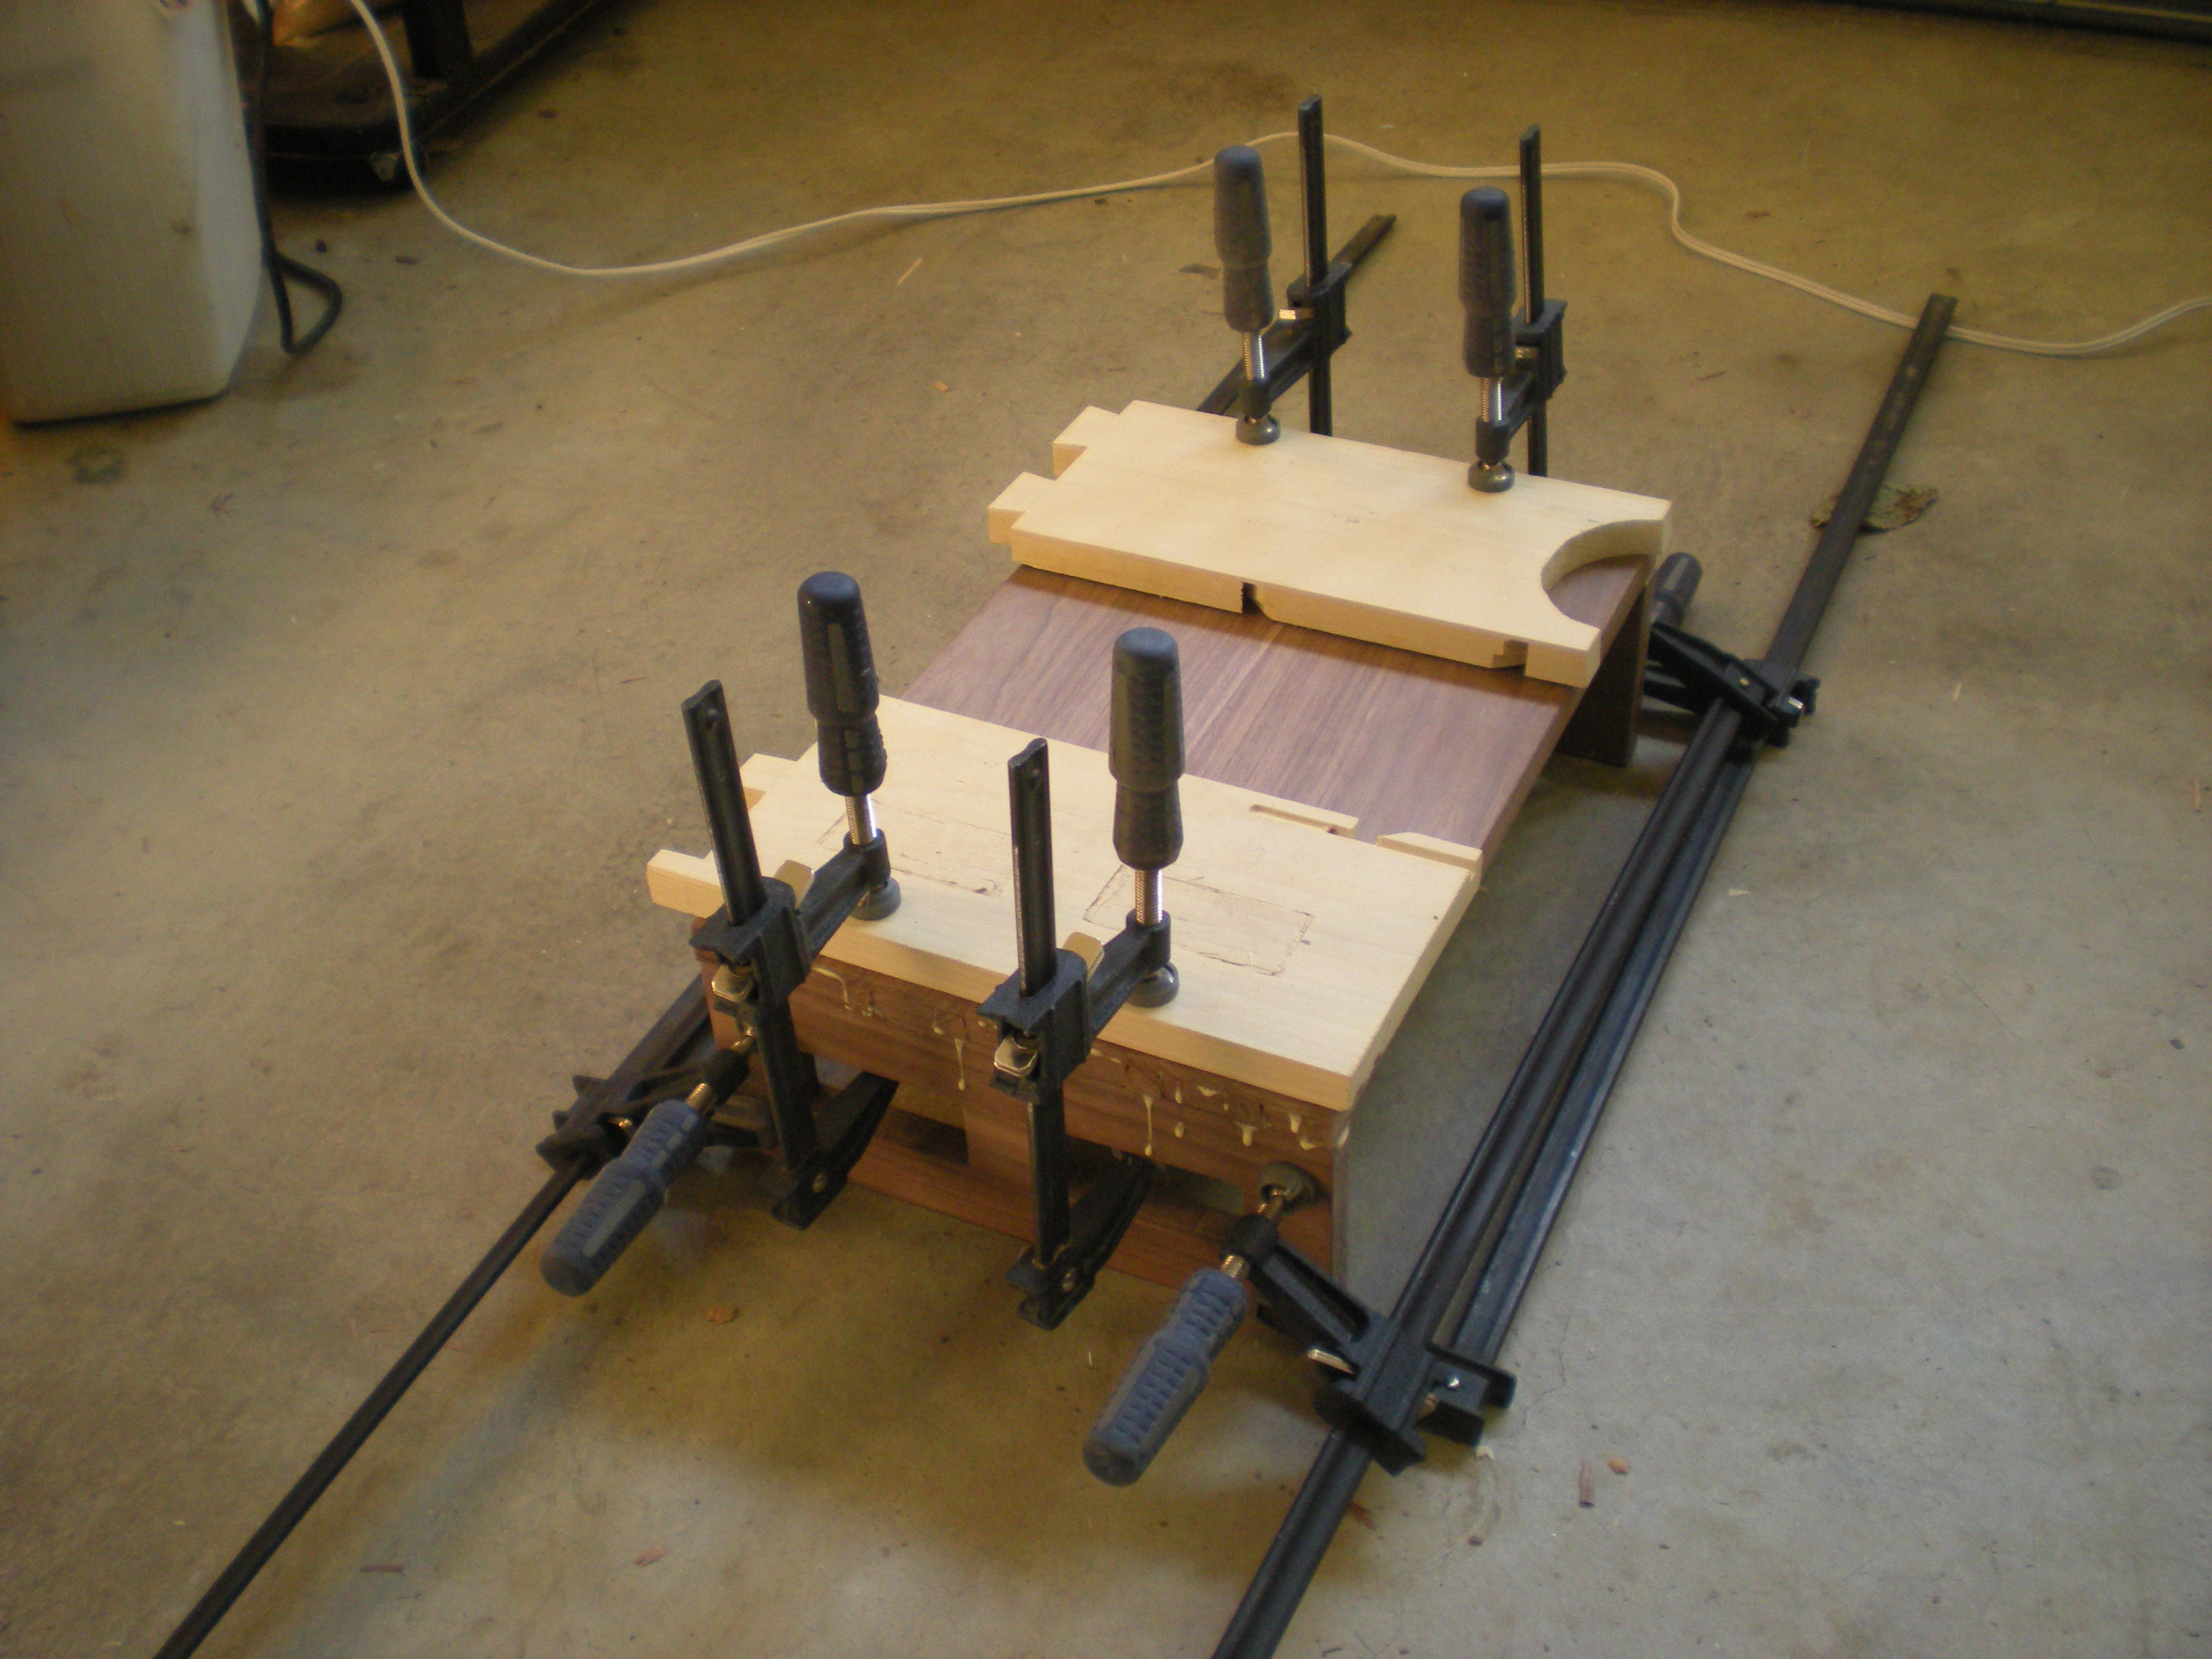
After some sanding, now the glue-up.
 Next, cleaning up the stool – removing glue, planing the dovetail pins smooth, final sanding down to 220 grit.
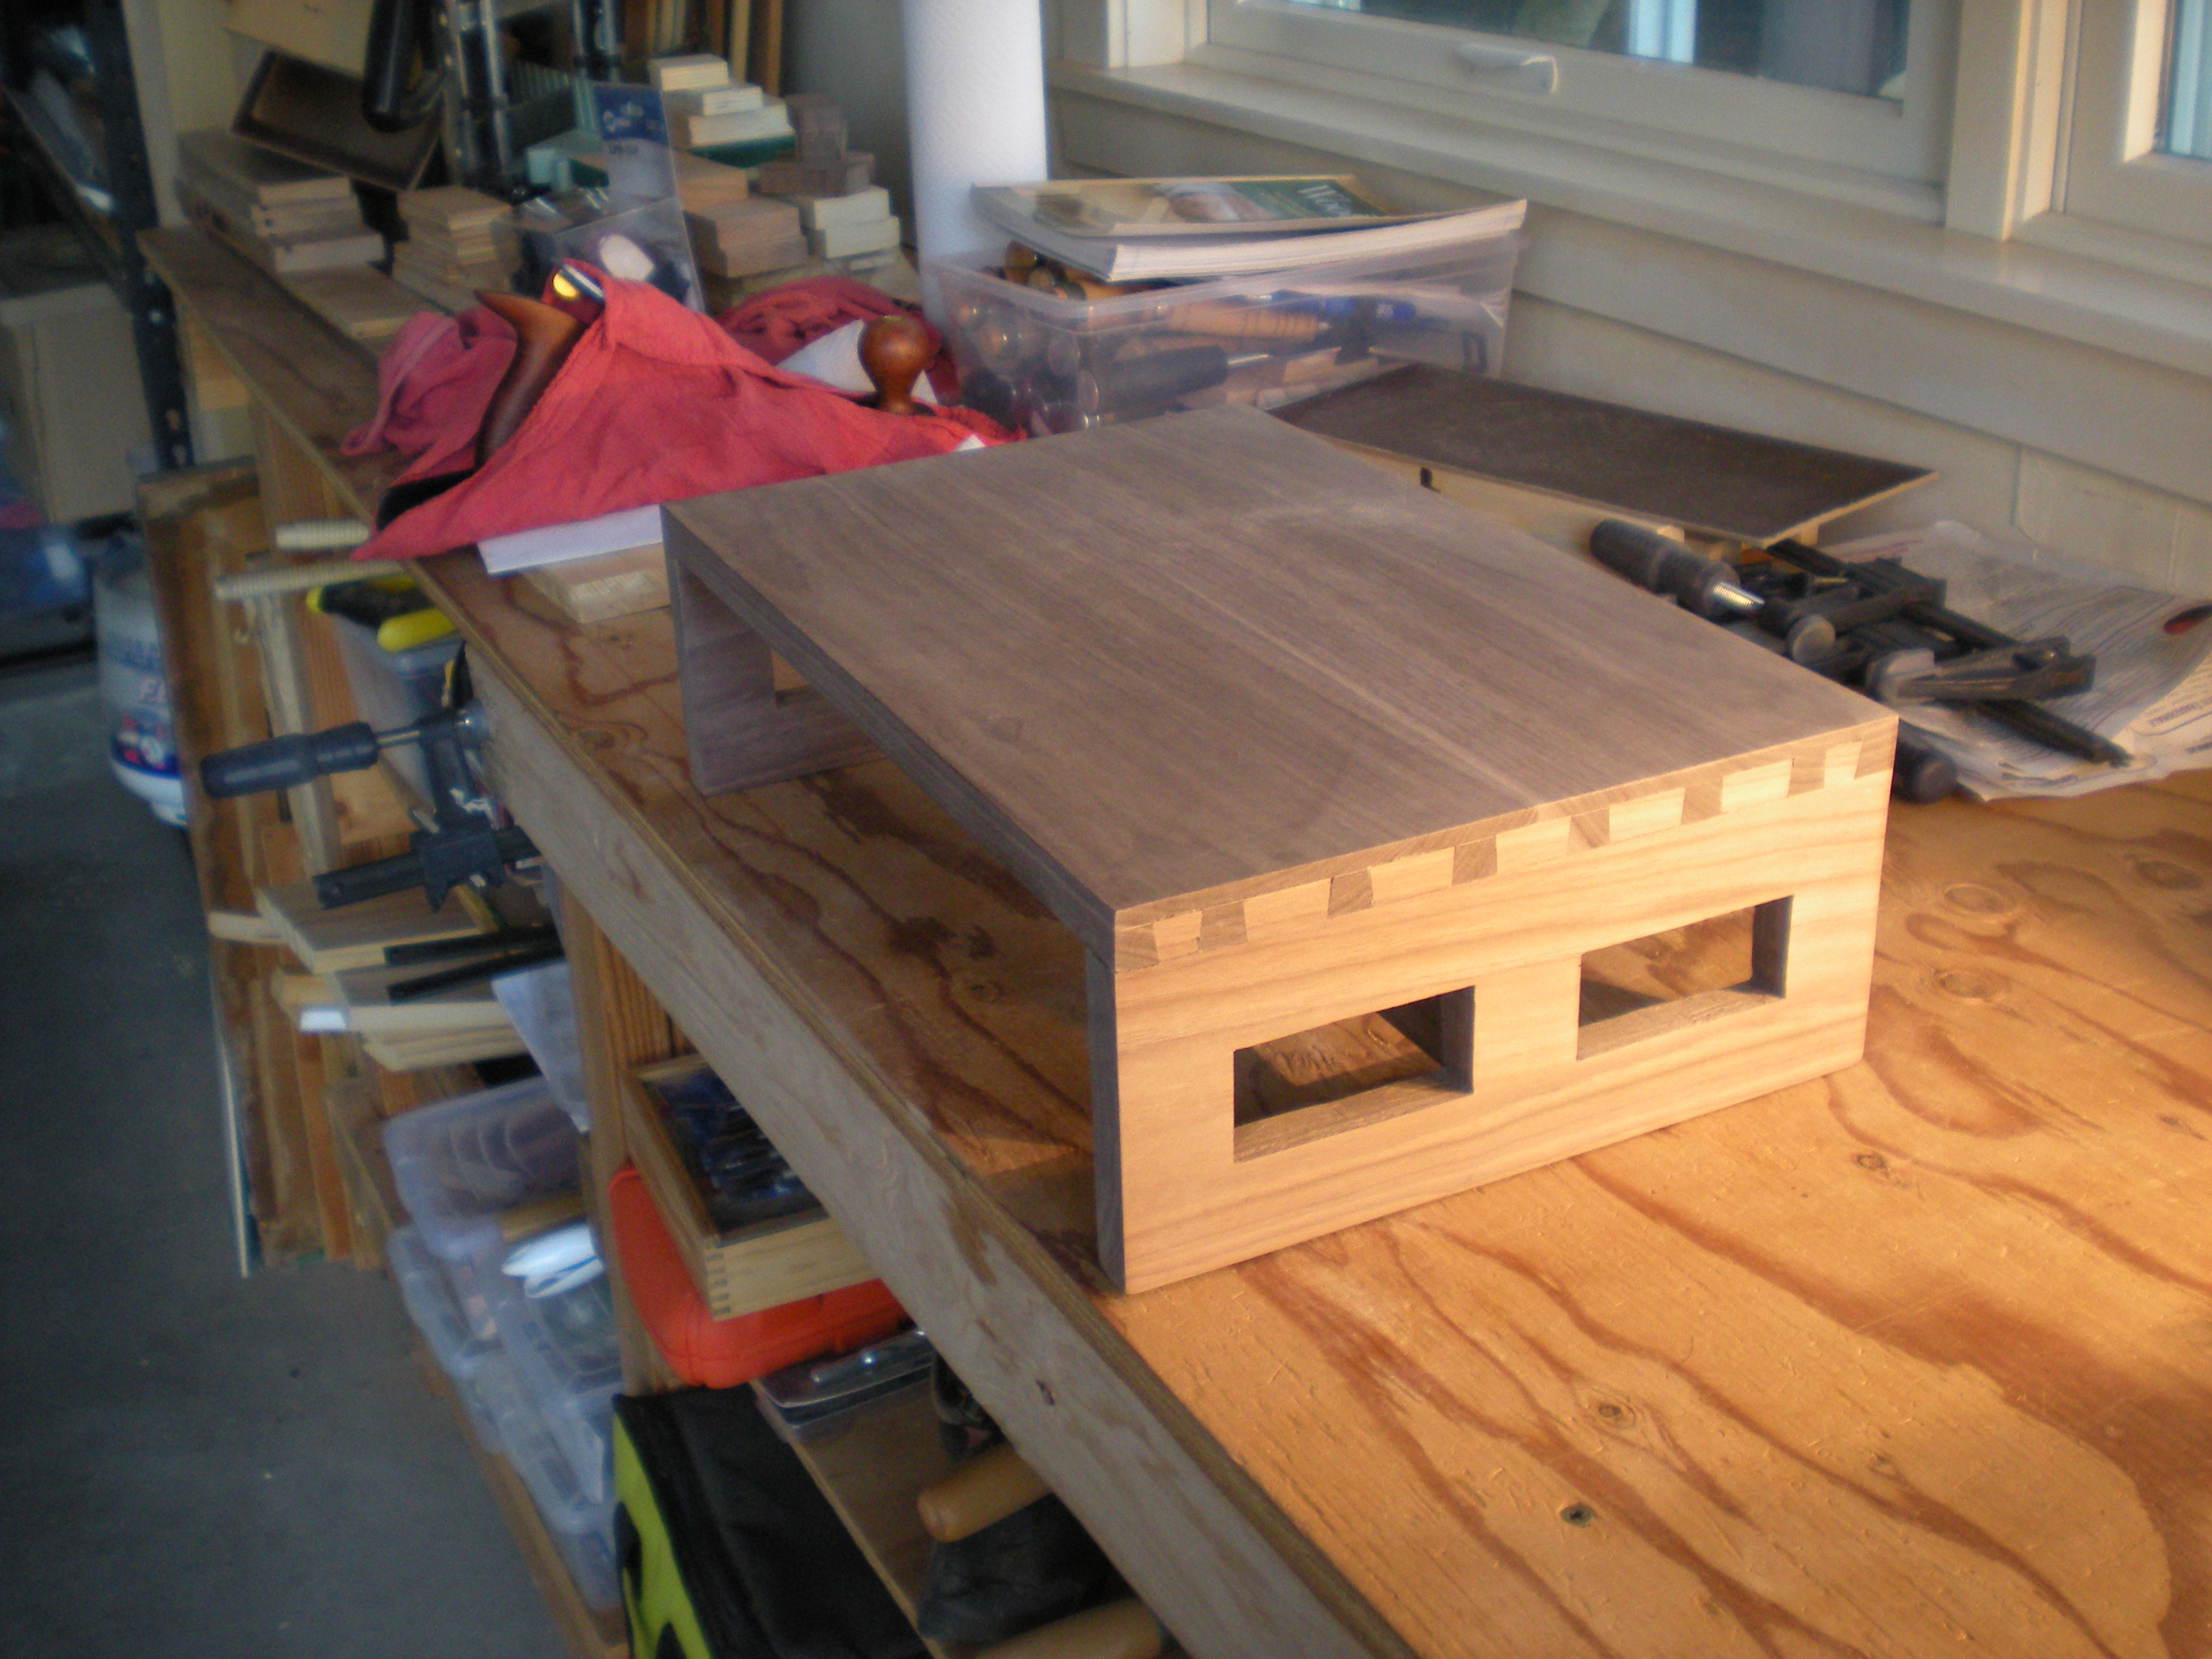 Next, two layers of Watco Danish oil to finish the piece. I sanded to 600-grit in-between, and 800-grit after.


 This was a good little learning project. I got to learn how walnut behaves. I got some practice cutting half-blind dovetails. I left the scribe line on the tails since I read that some craftsmen leave those, and I have decided that that’s not for me and I’ll plane/sand them off in the future. I learned some things about grain orientation. I learned that left-over glue which doesn’t get removed can really mess up your finish. I learned that making a clean rectangle with a coping saw and chisel is harder than it looks.
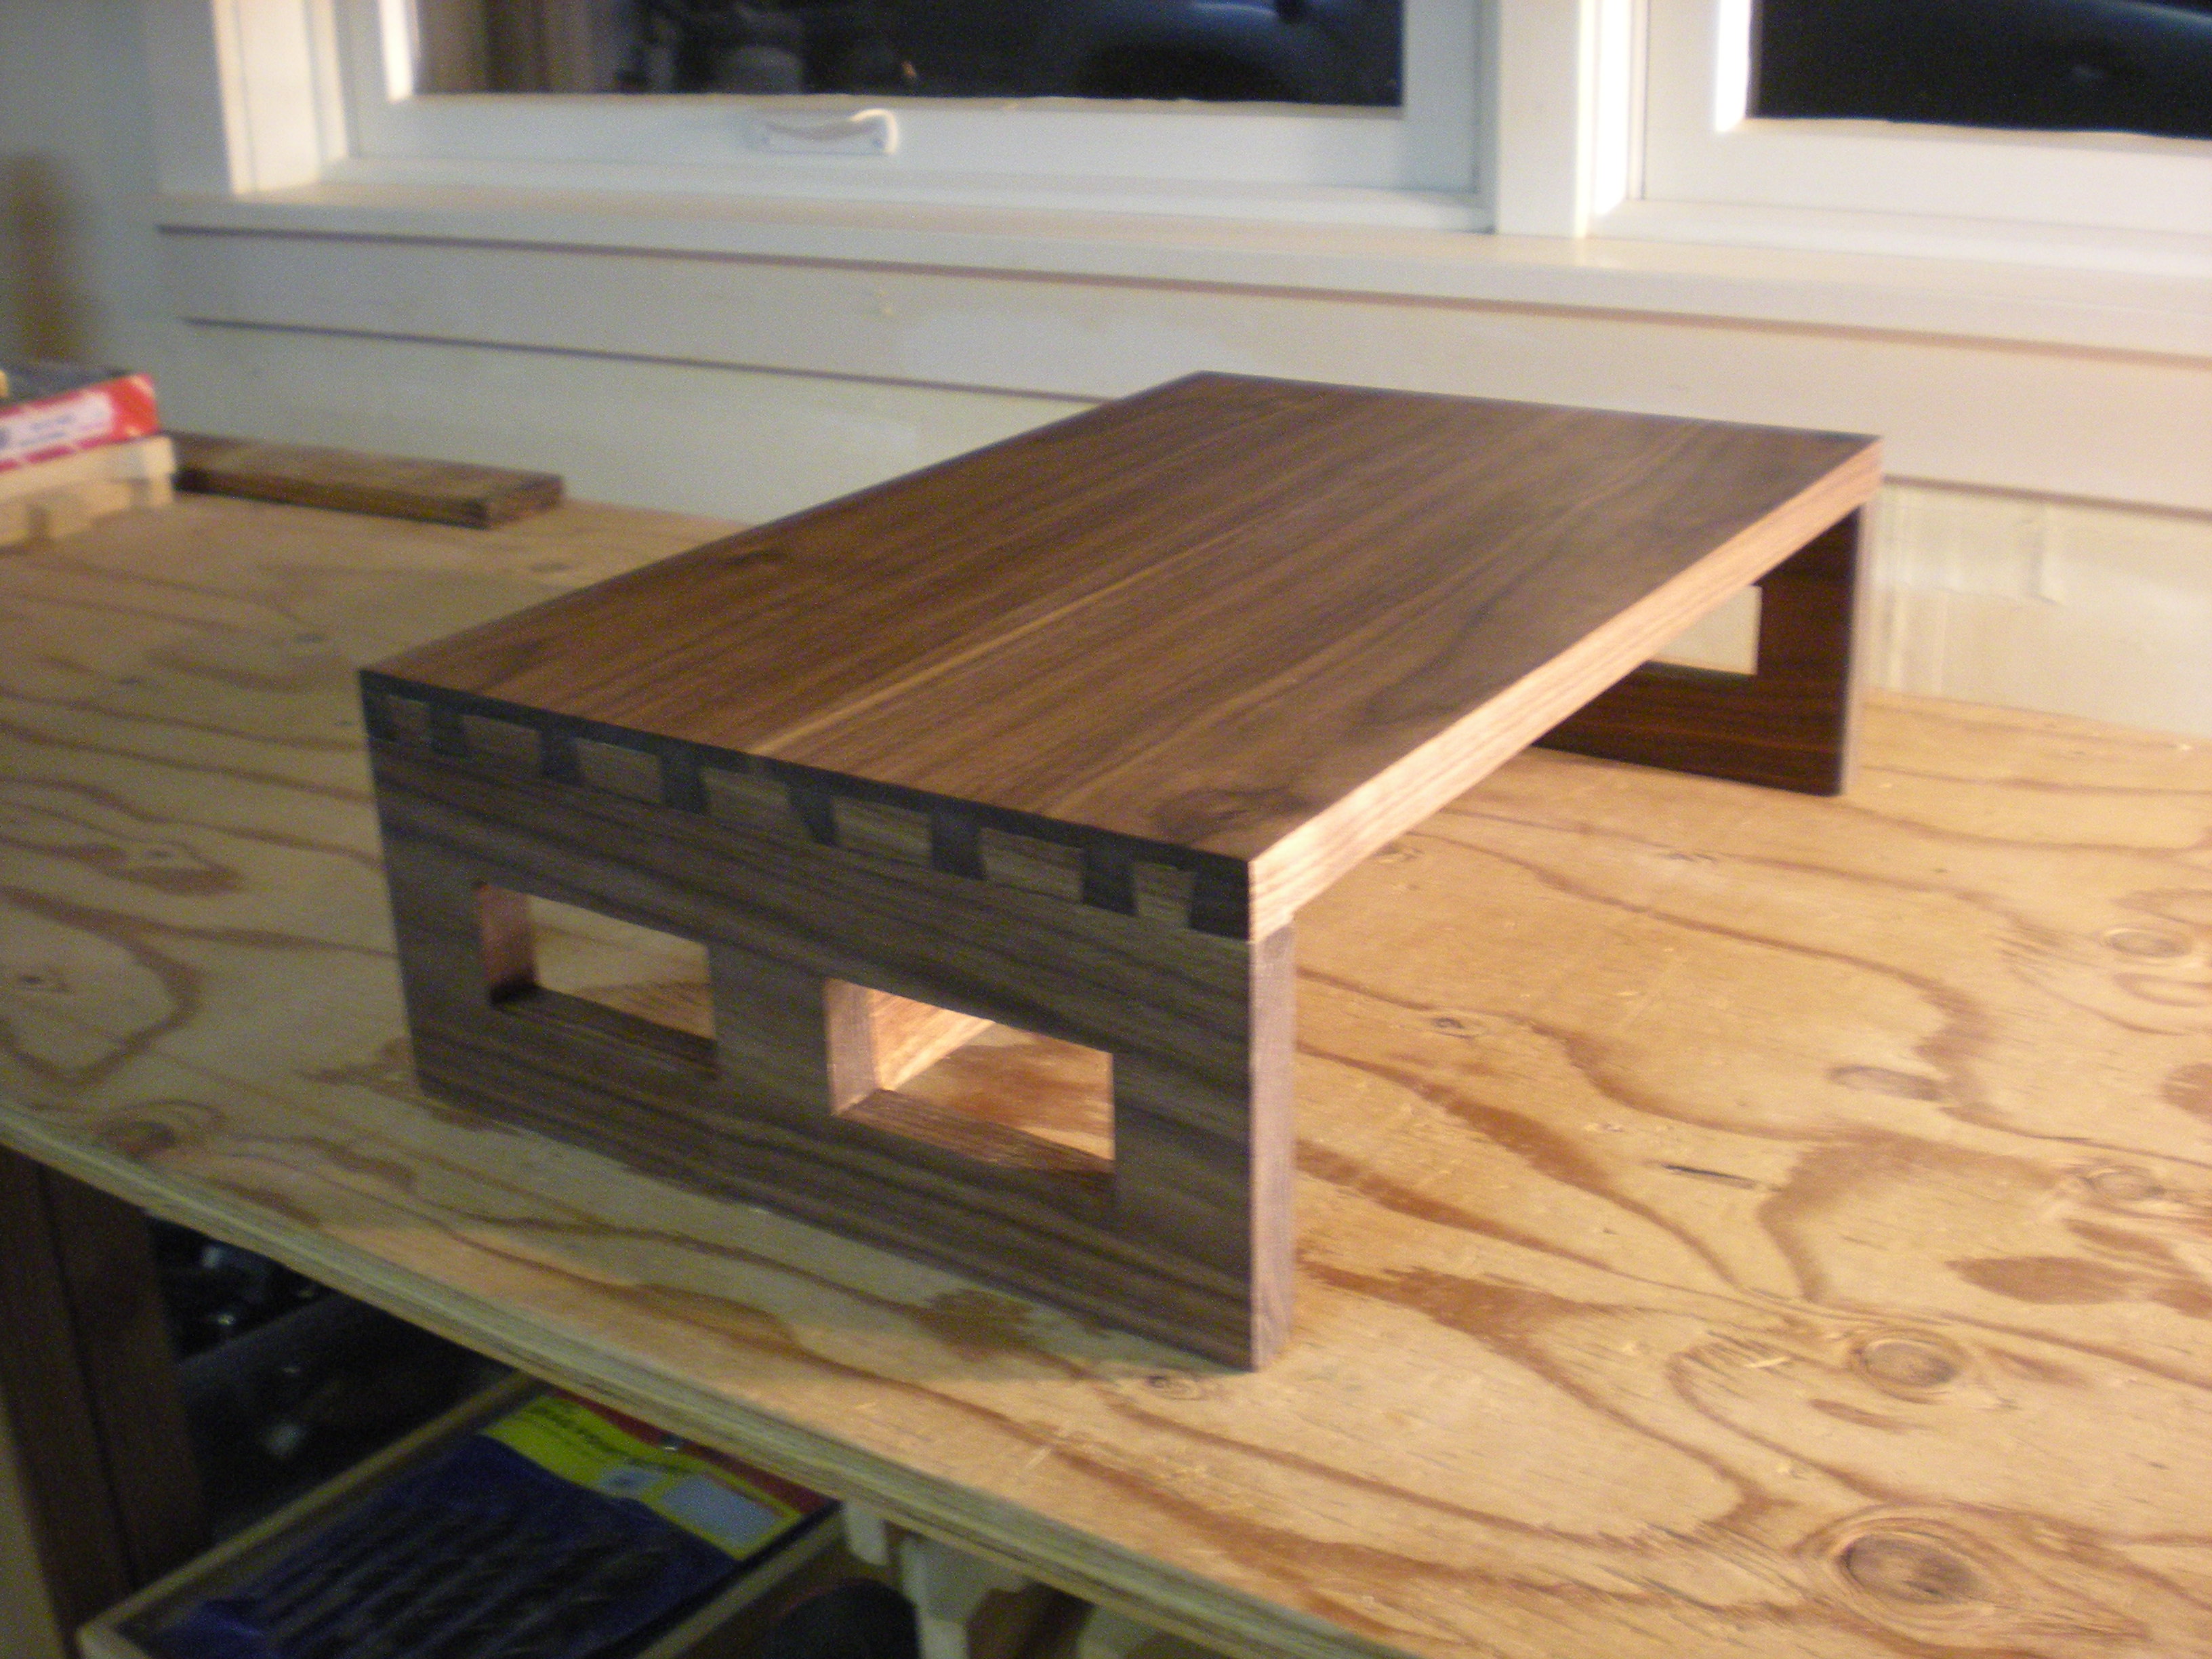
This piece is far from perfect. It has many flaws. The half-blind dovetails have gaps. The four rectangles are a bit crooked. There are some spots where glue messed with the finish. But it will replace a cardboard box with printer paper in my wife’s office, so it’ll be a step up for her – literally! ![]()
To quote Rollin Ghering, “I don’t believe in good enough, but this is good enough.” I’m going to give it to my wife.