On 30 Nov 2013, we picked up six baby chicks. Building their housing was a nice little carpentry project. I’d never build a shed before, so building their permanent coop was a nice challenge. It was mostly completed over the Christmas holiday, 2013 with some finishing touches spilling into the first few weekends of 2014.
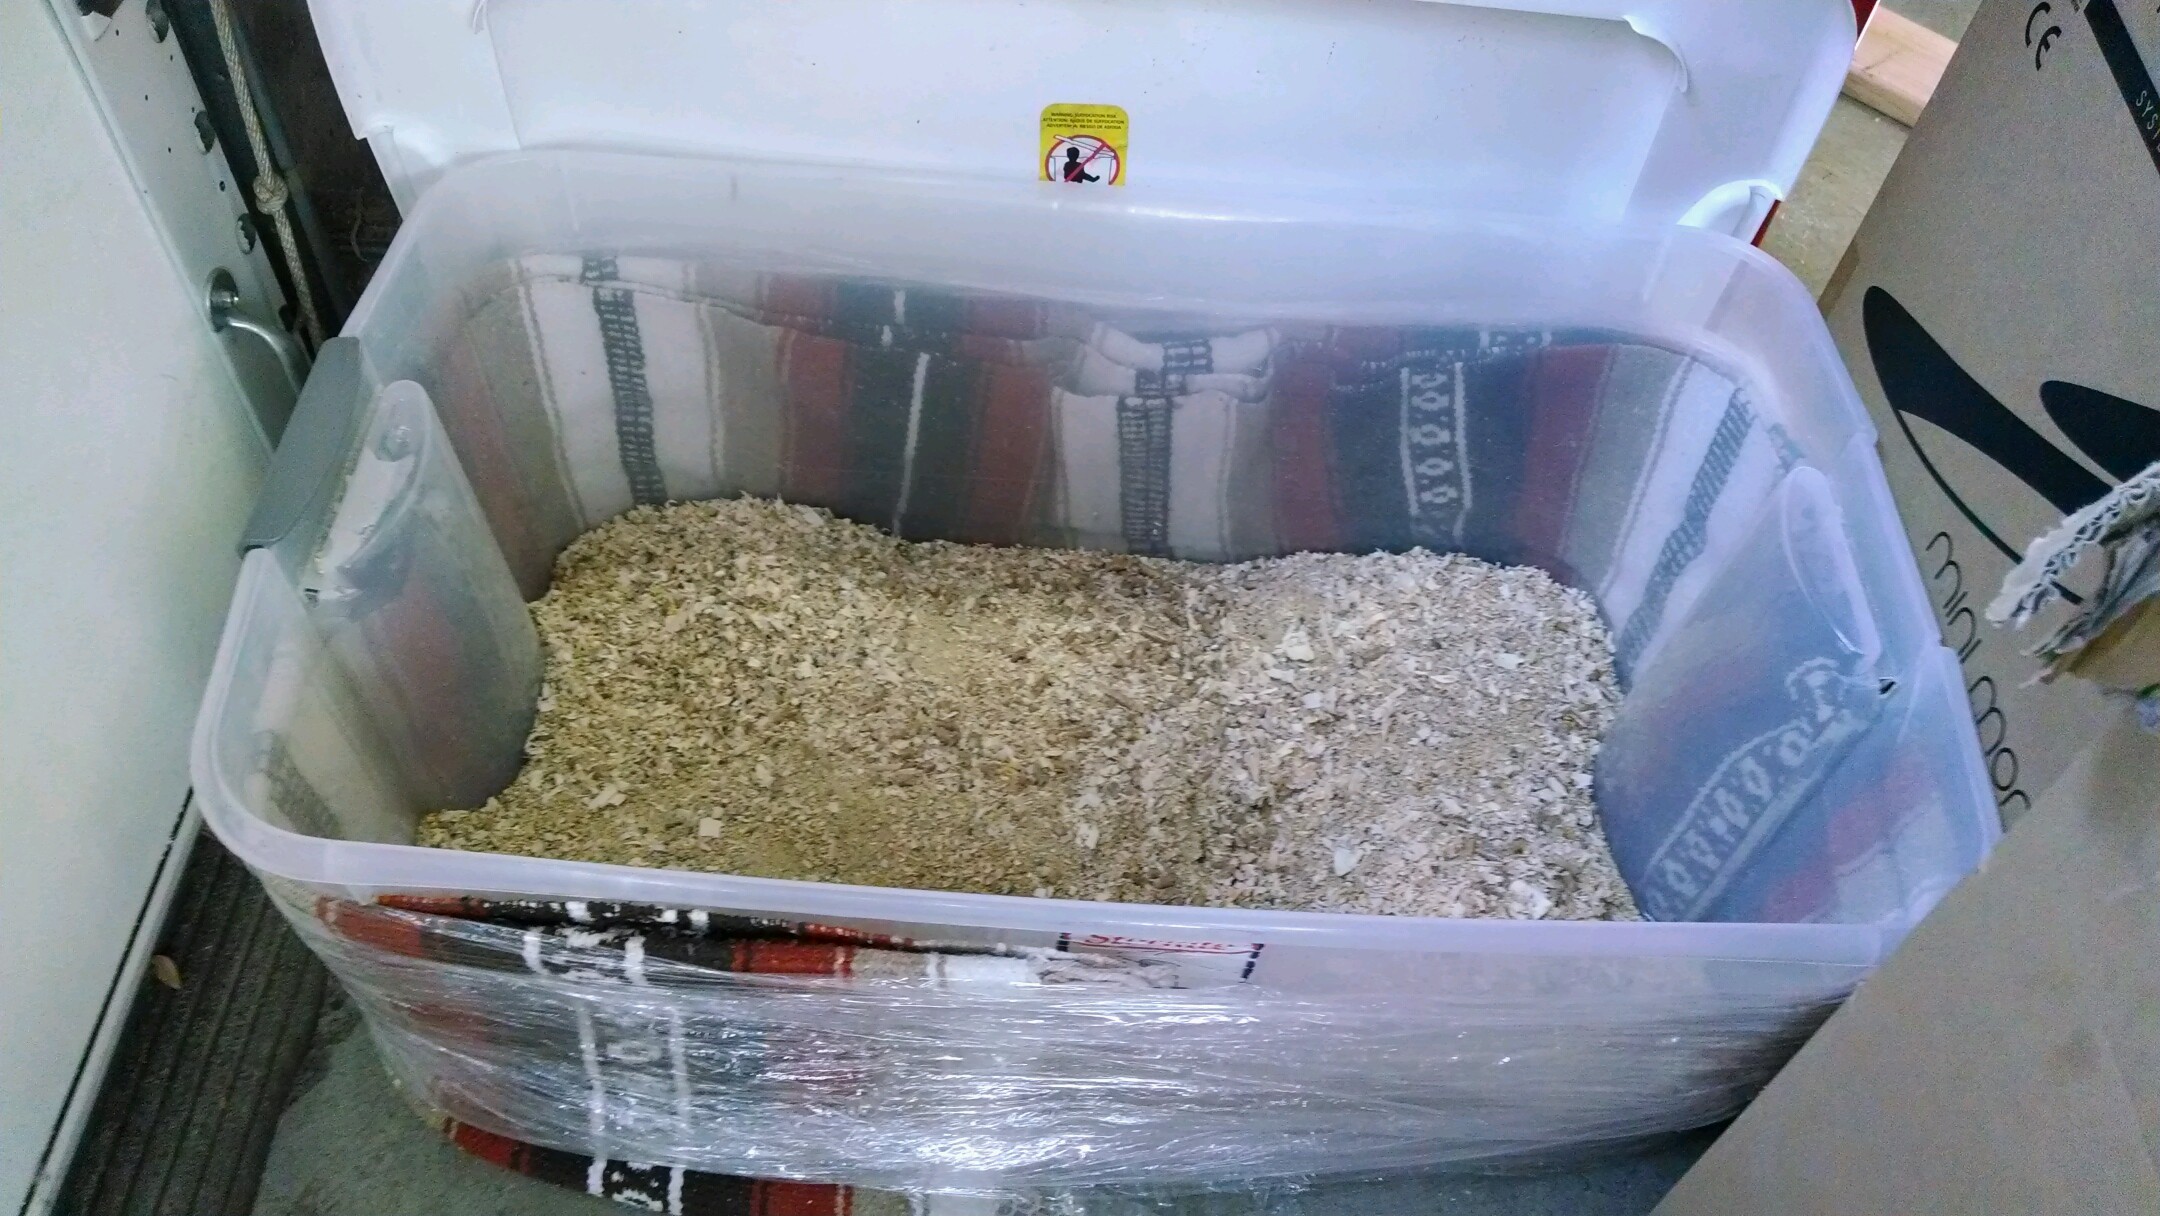
The chicks’ home for the first couple of weeks – a plastic bin. It was fine in the beginning, but chicks sure do grow fast and they needed something bigger.
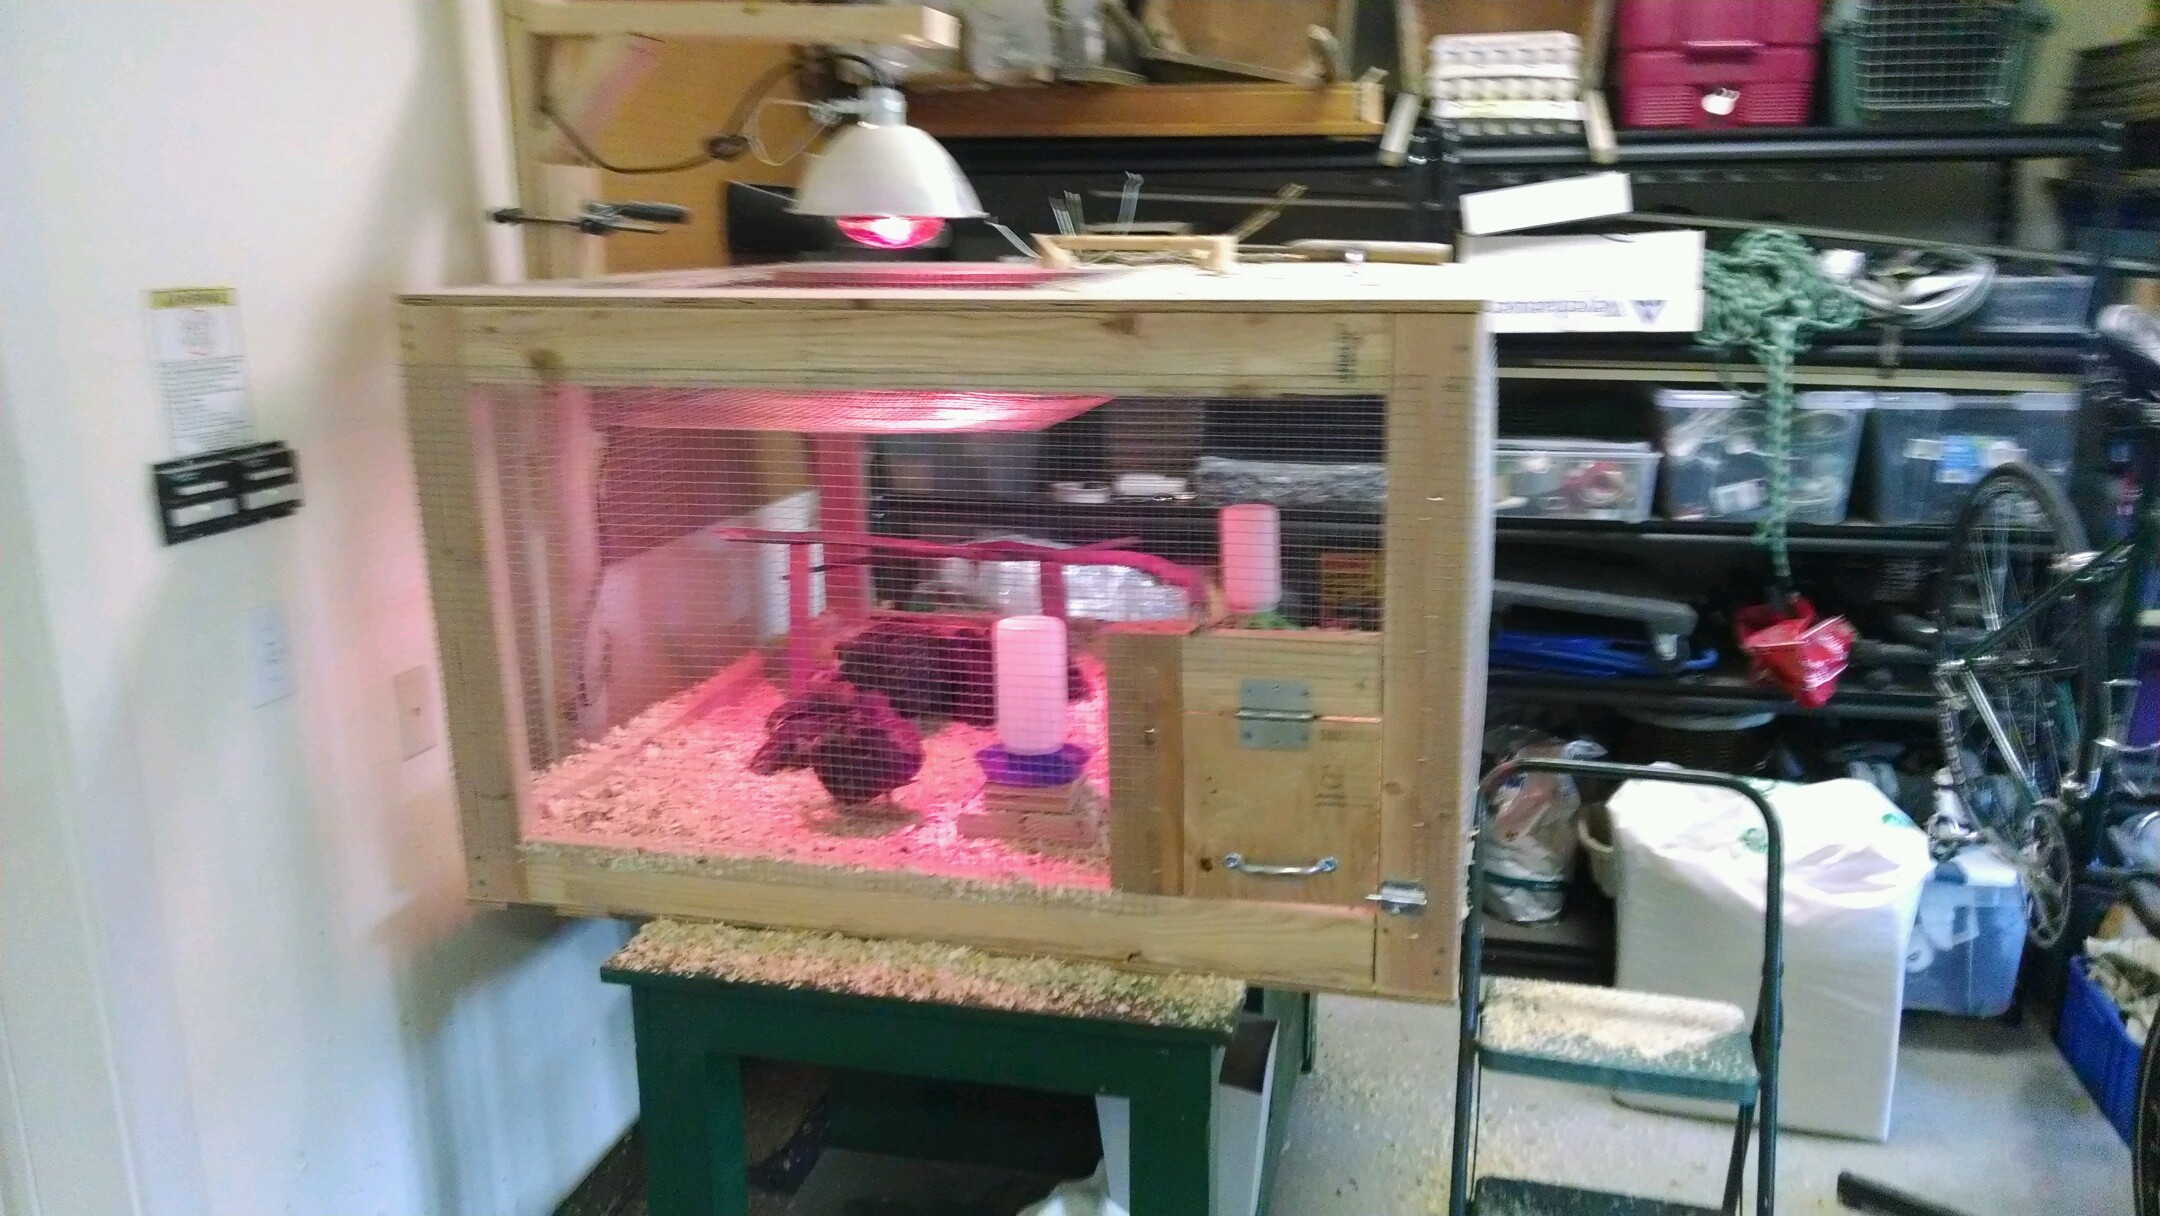
 Their next home – a temporary pen in the garage.
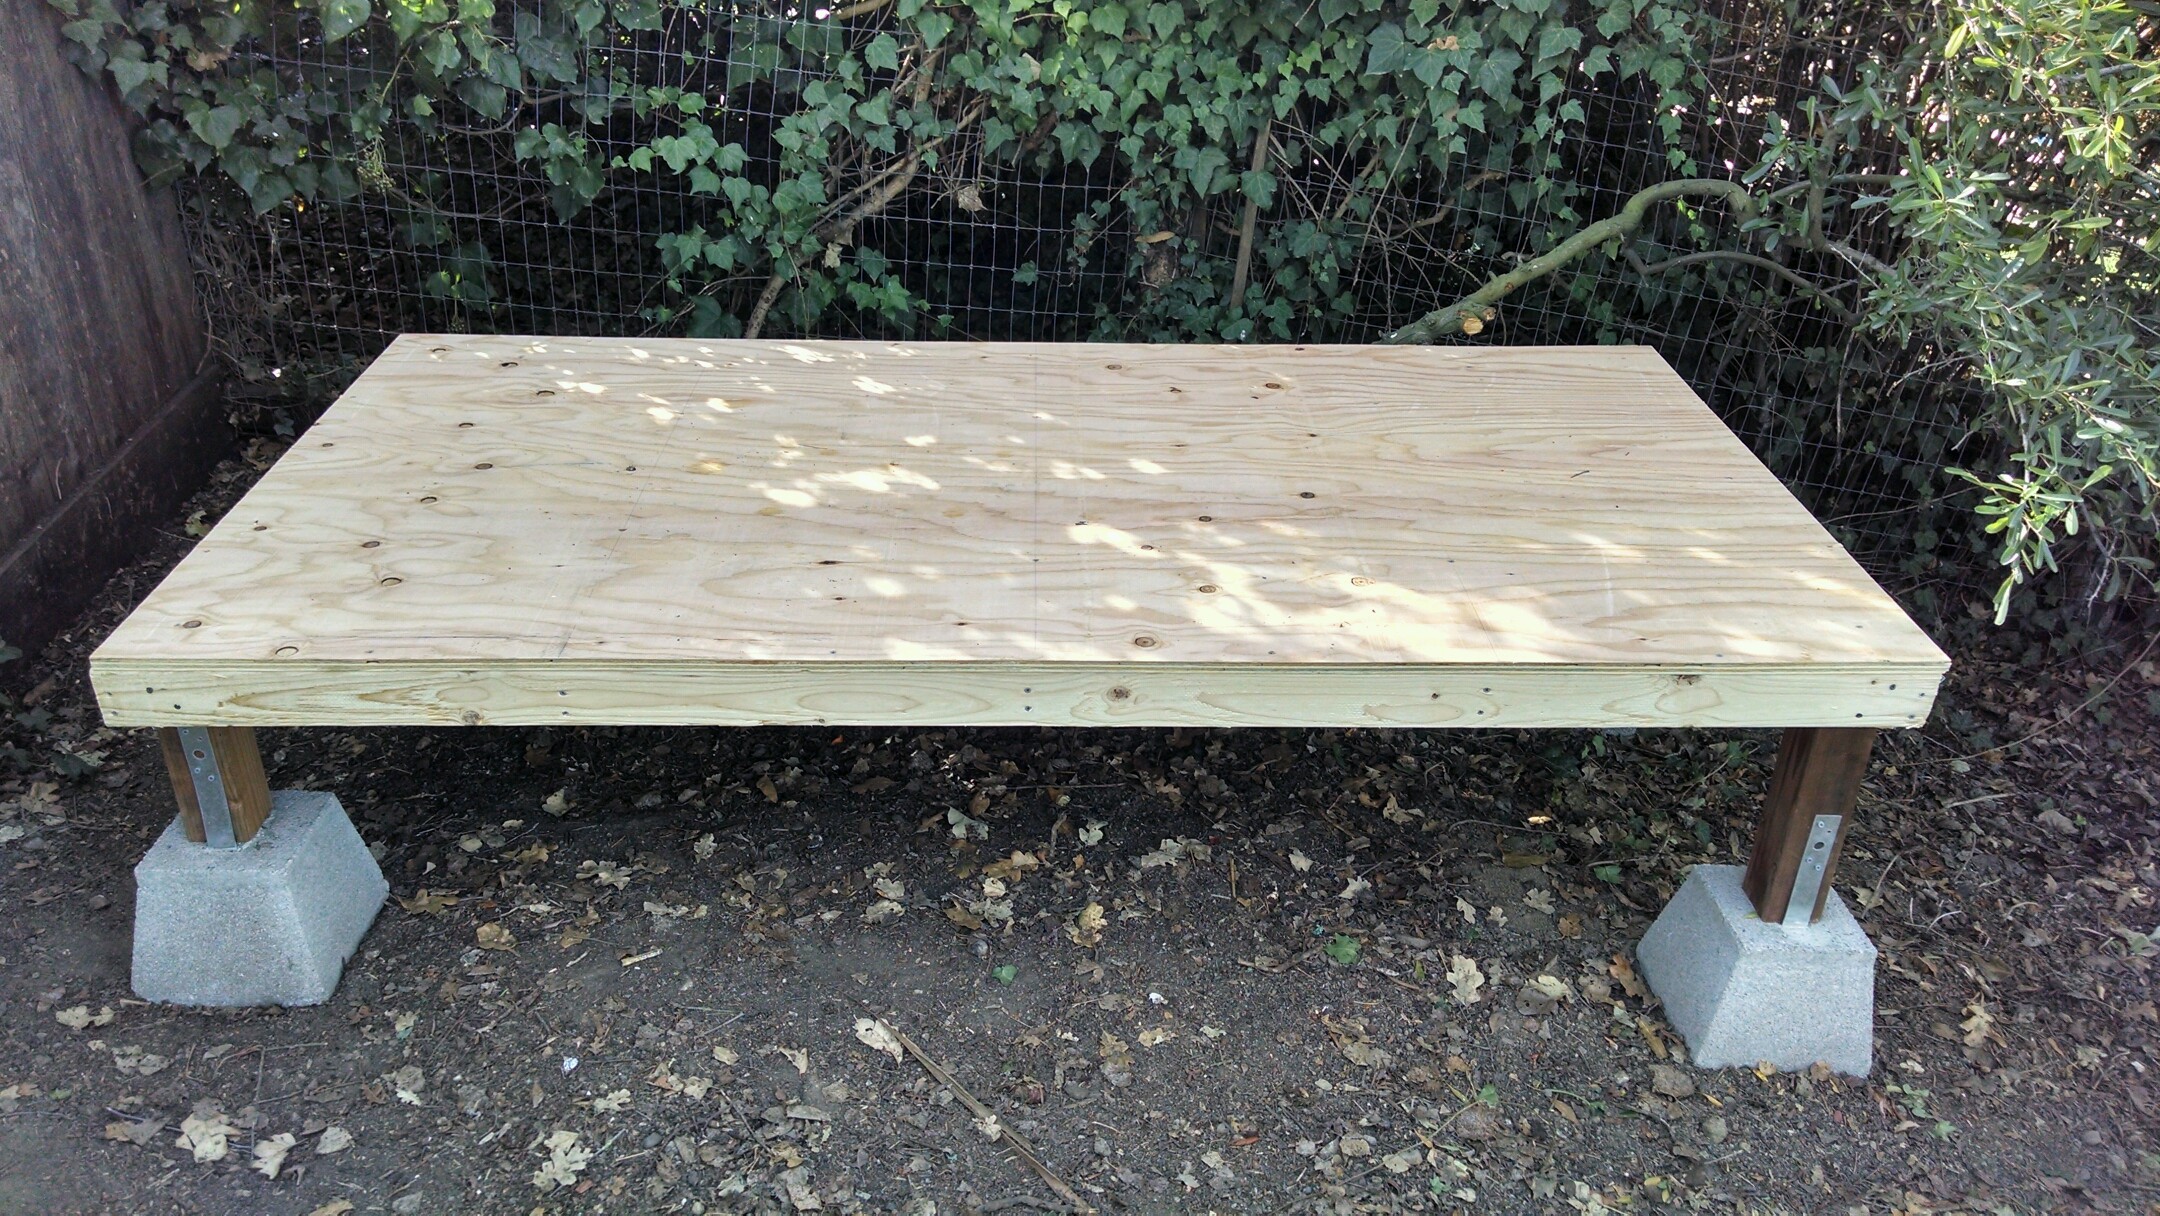
 While the chicks were in the pen, their permanent home was being built. Here, the site has been cleared of vegetation and our compost bin has been moved, and the foundation/floor is in place.
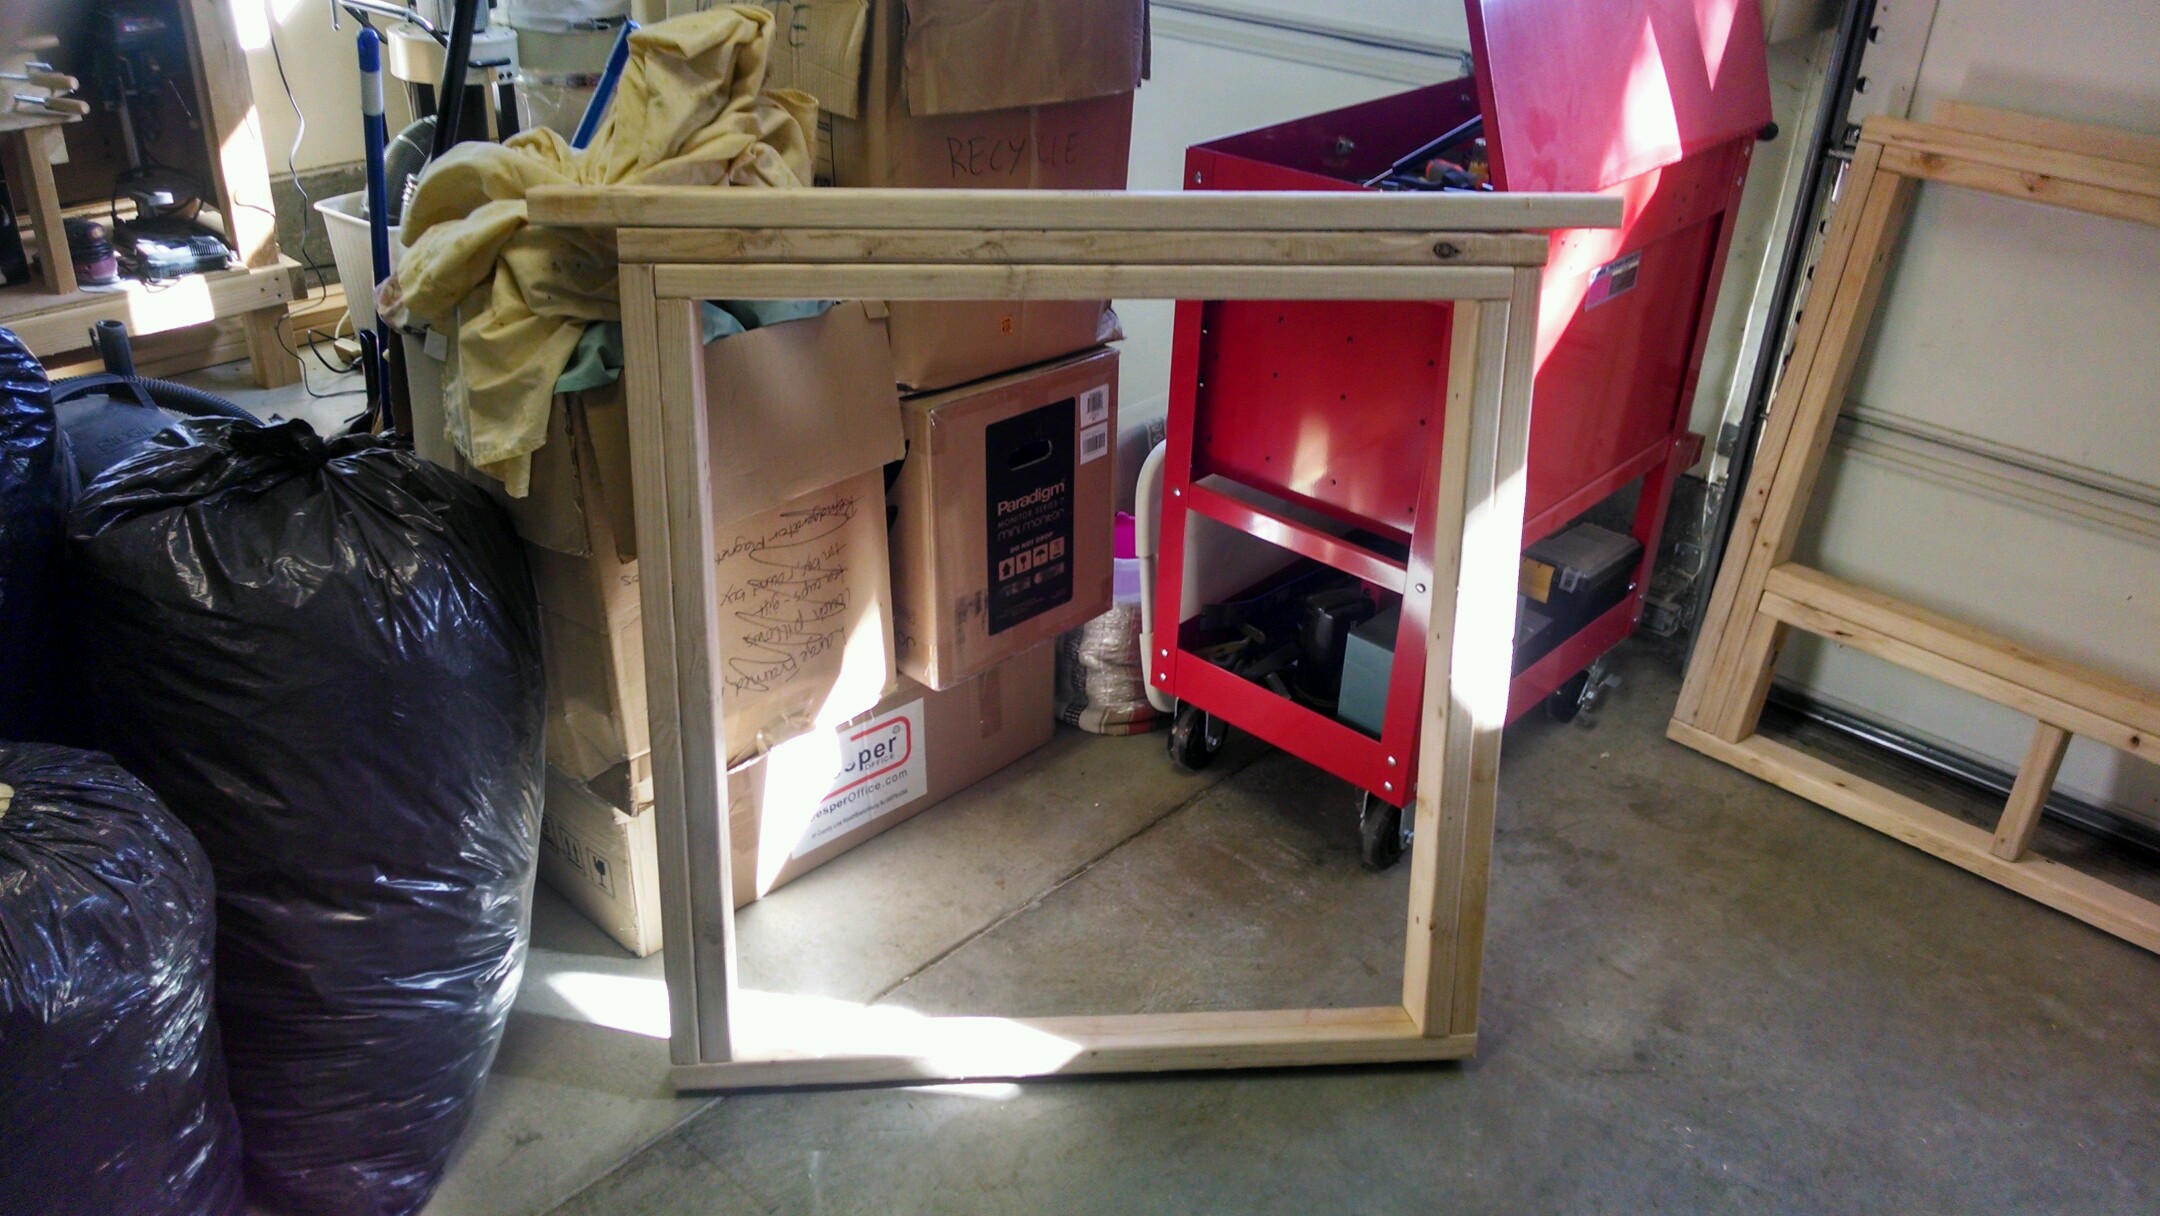
 All walls were built independently in the garage. Here, the left panel, with a framed opening for access doors.
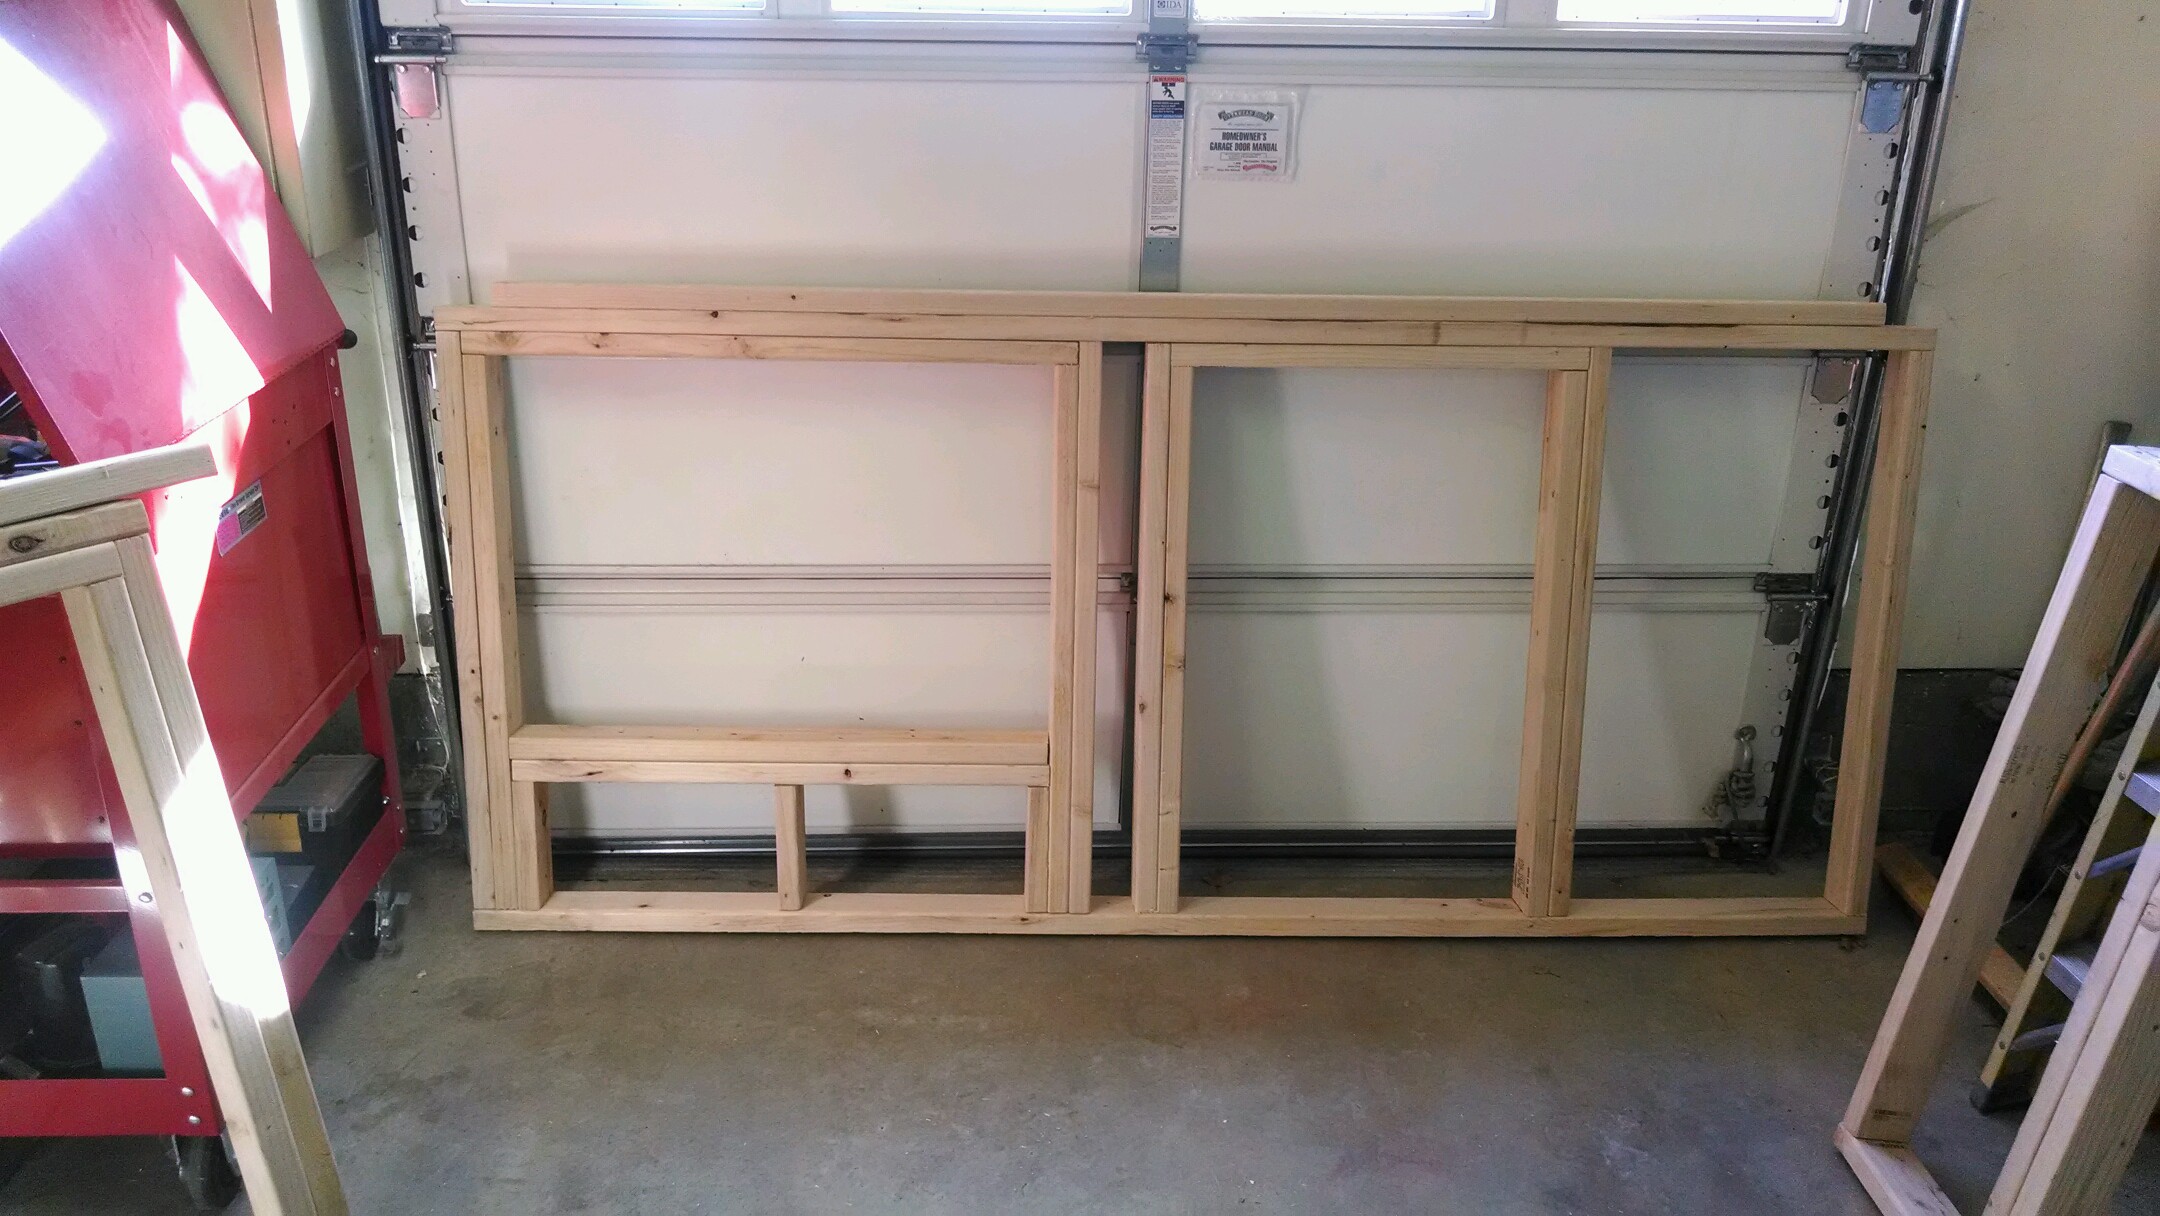
 The front panel, with a framed opening where the nesting boxes will go and also an opening for the chicken/front door.
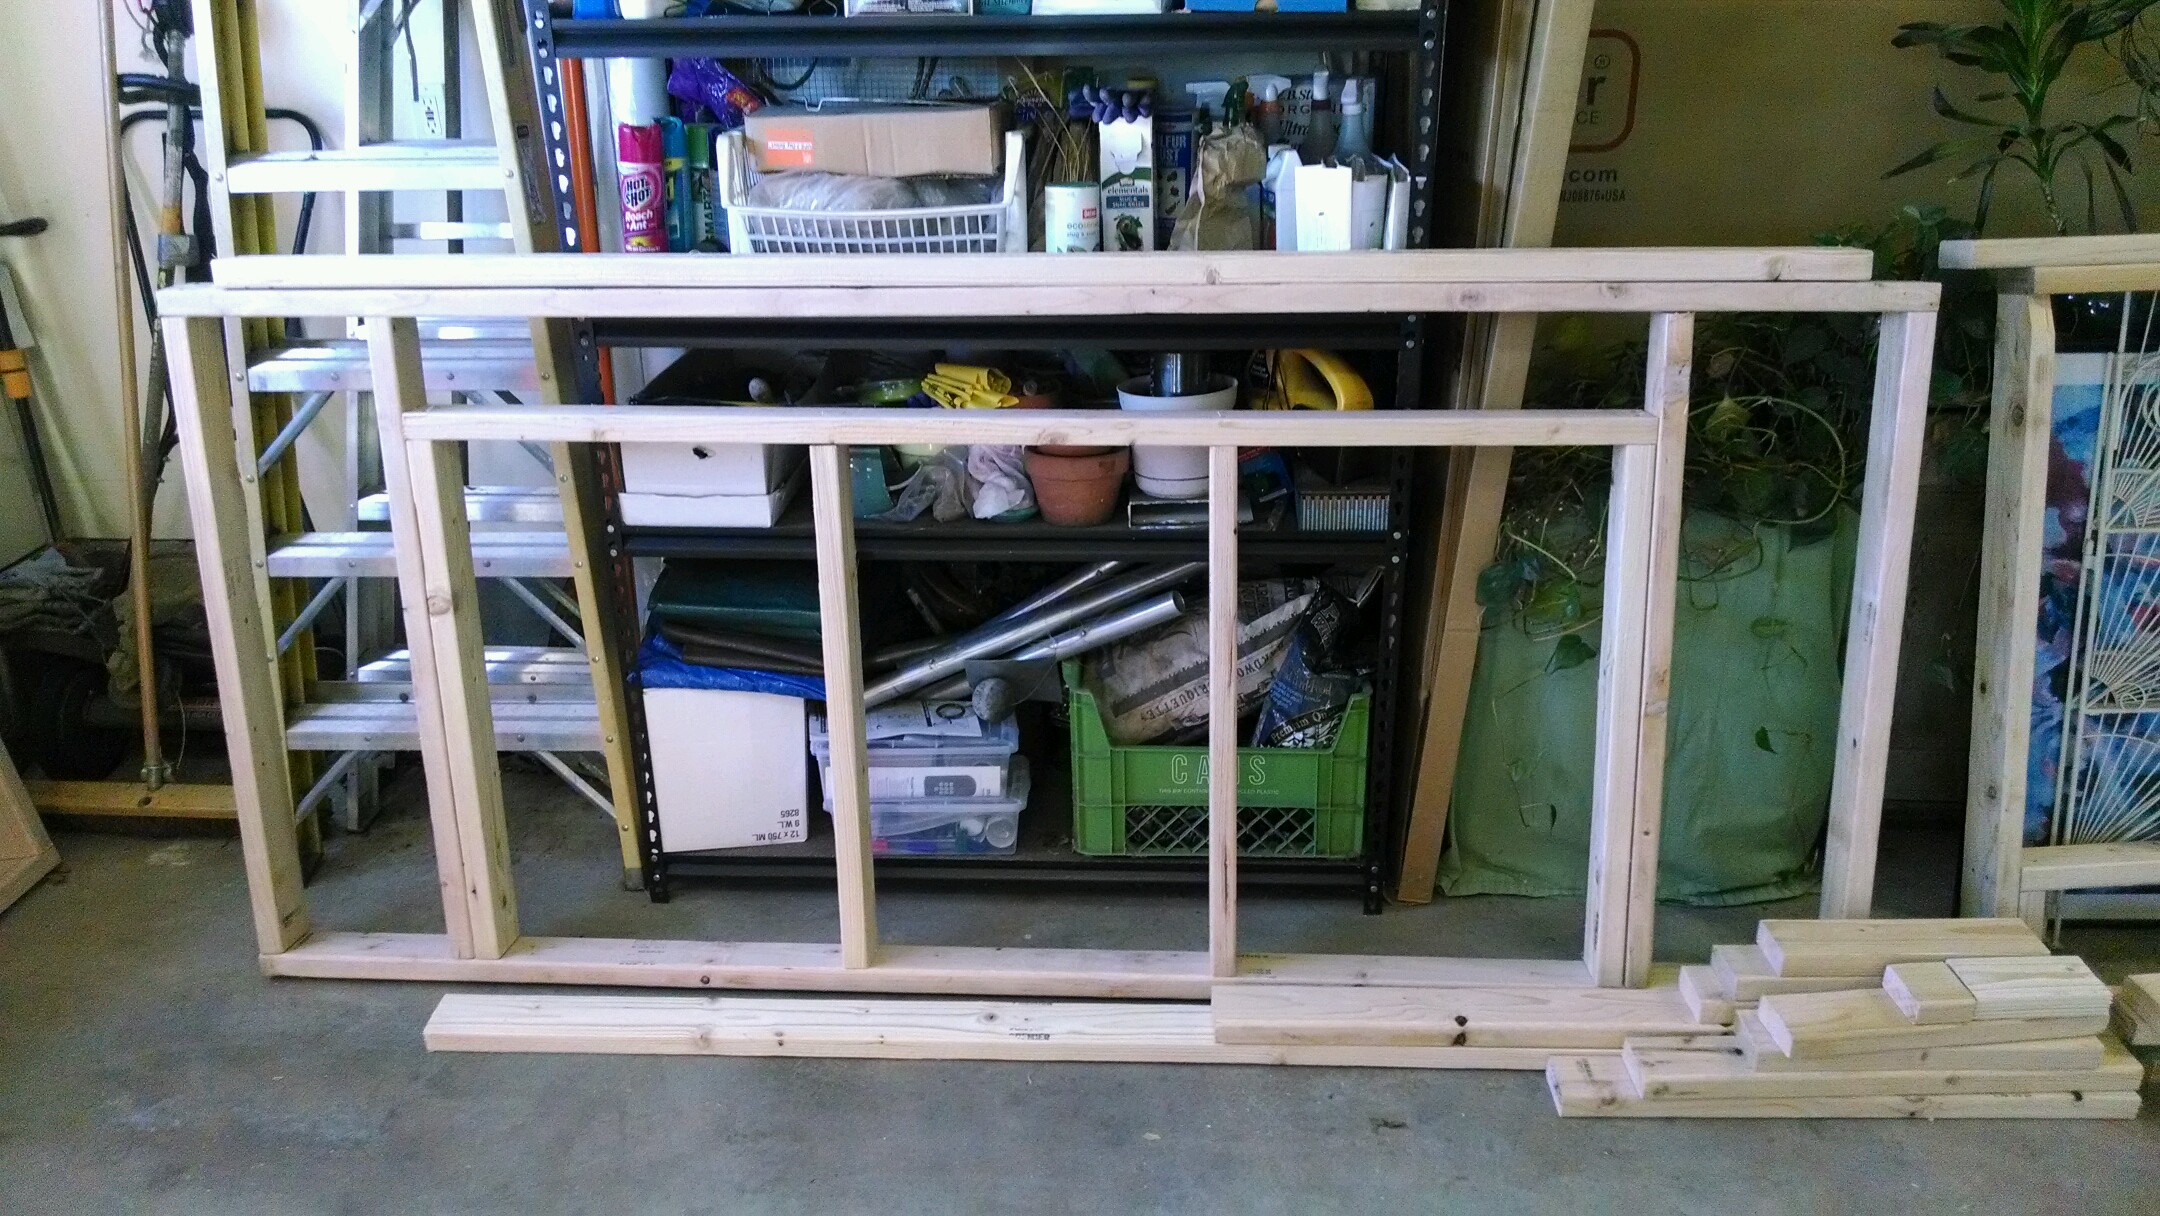
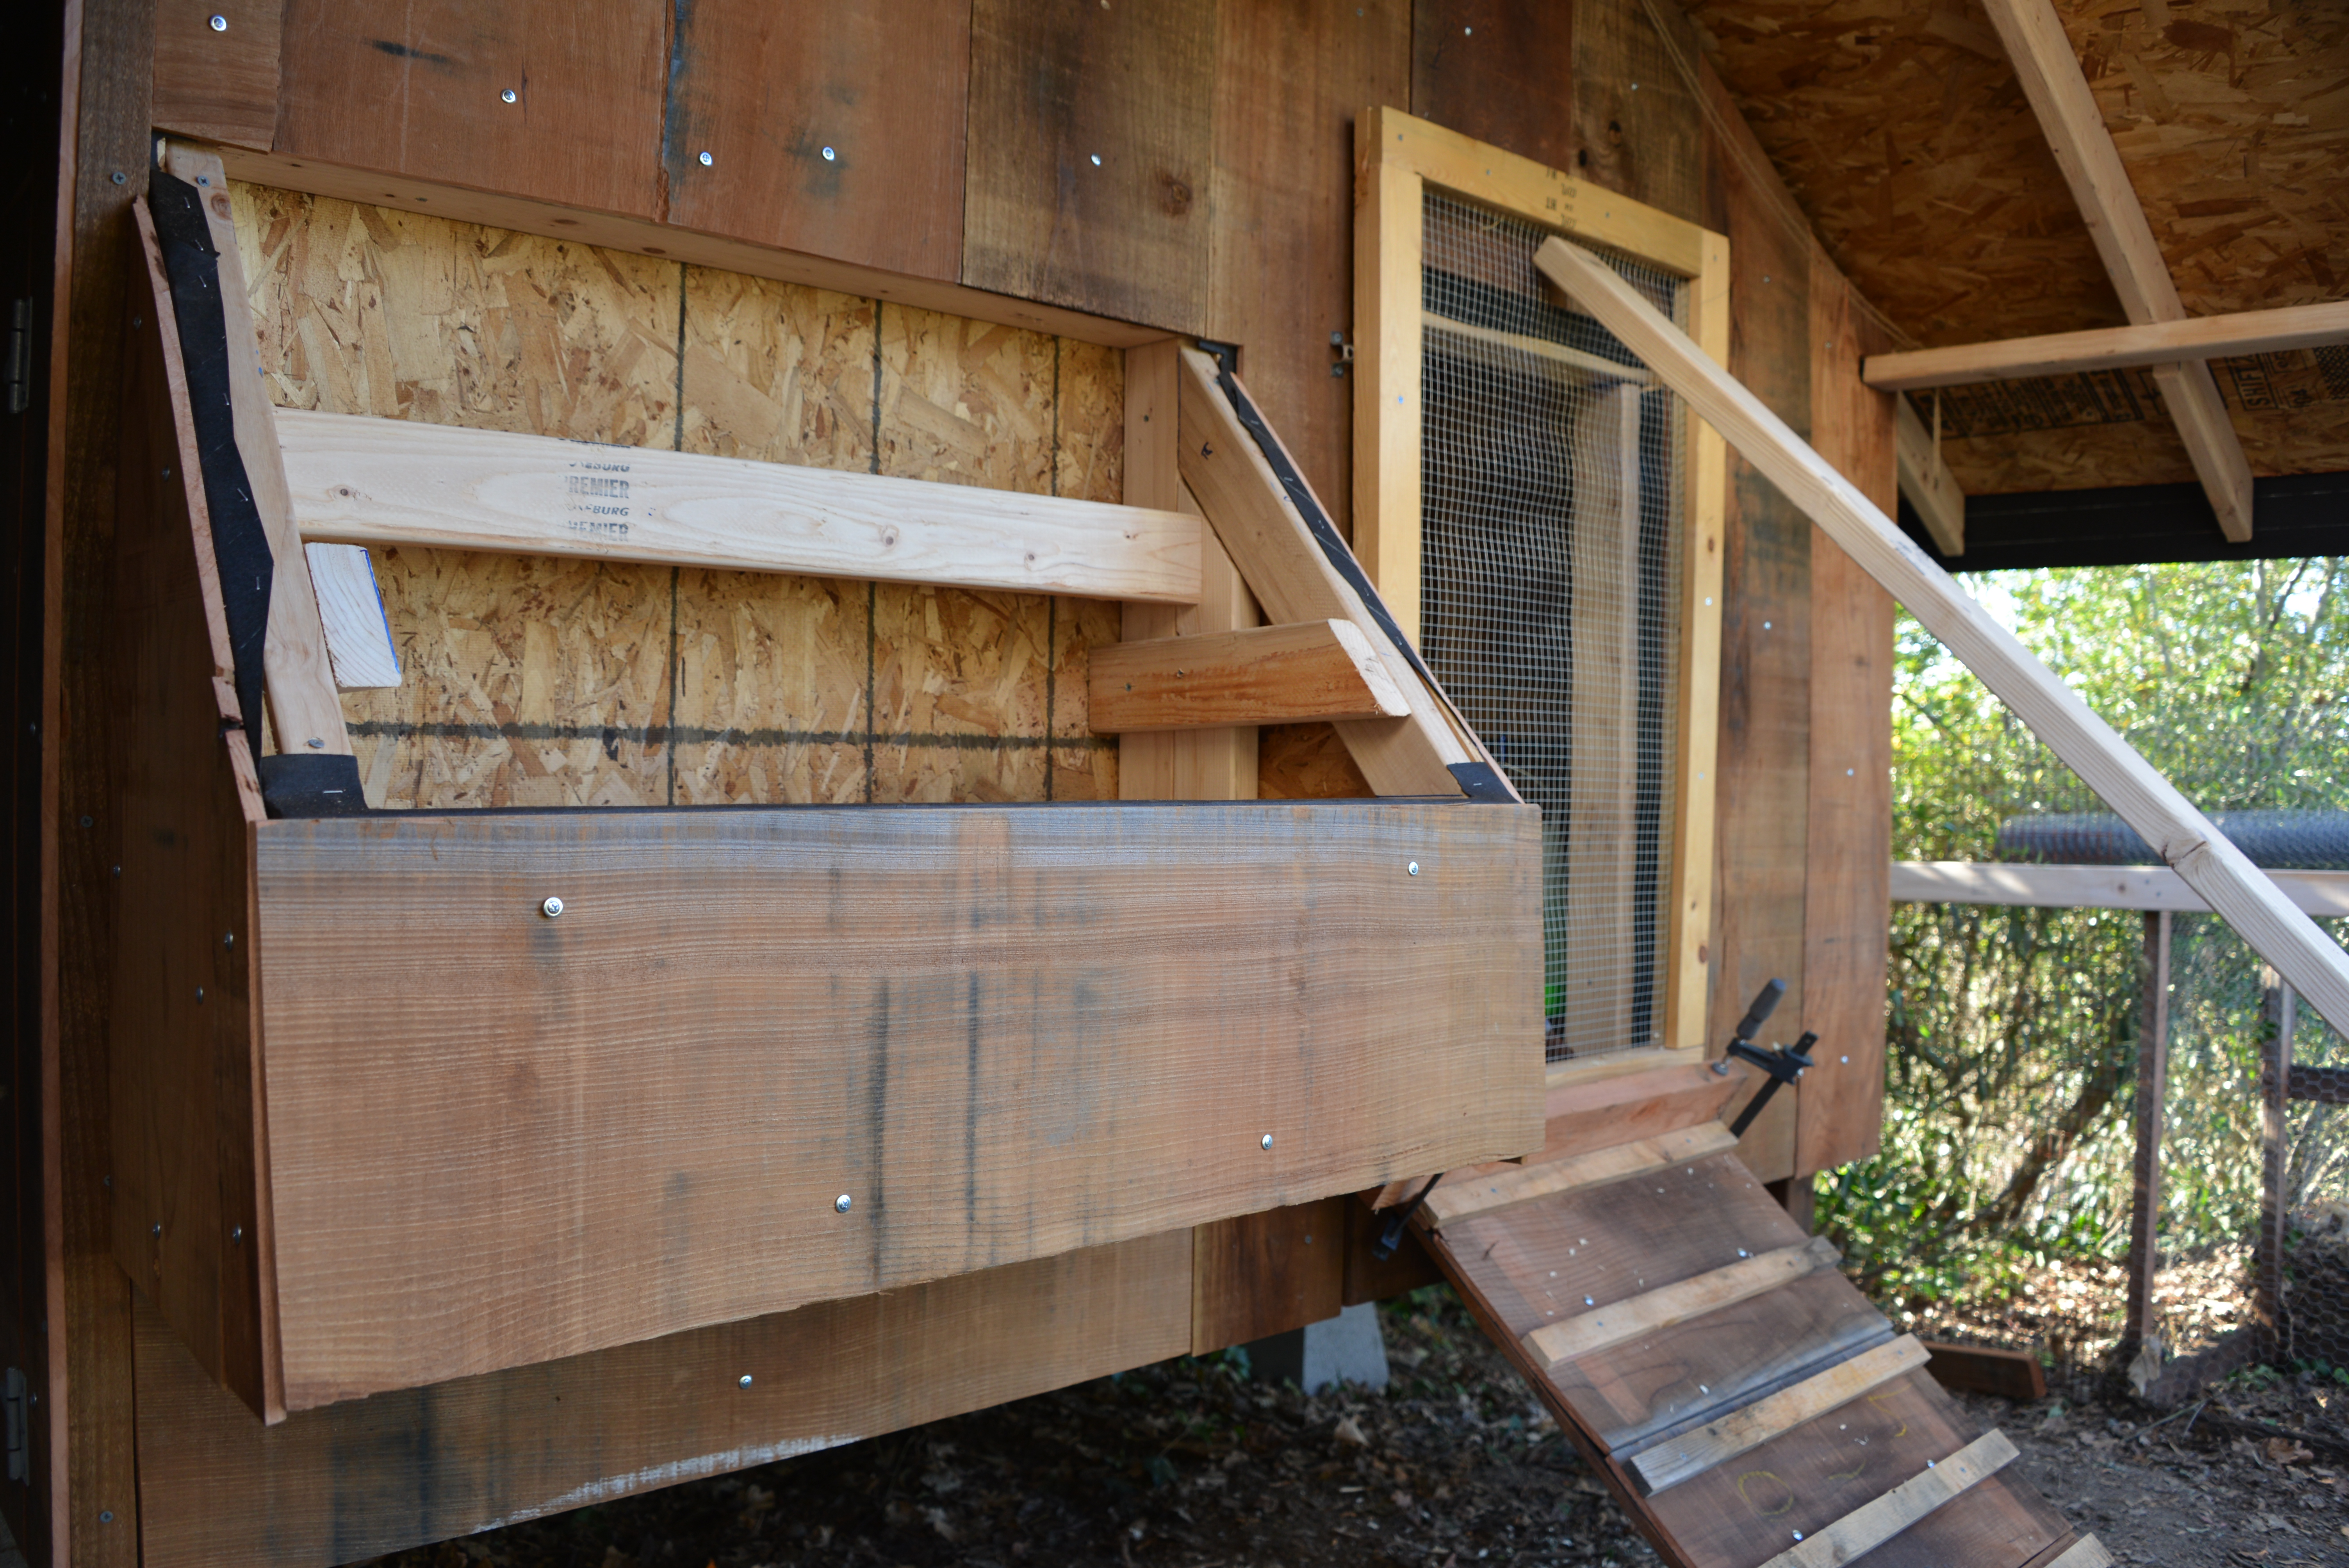
The right panel, with a framed opening for a clean-out door at the bottom. No 2×4 at the bottom here – we want to be able to sweep “stuff” directly out of the coop.
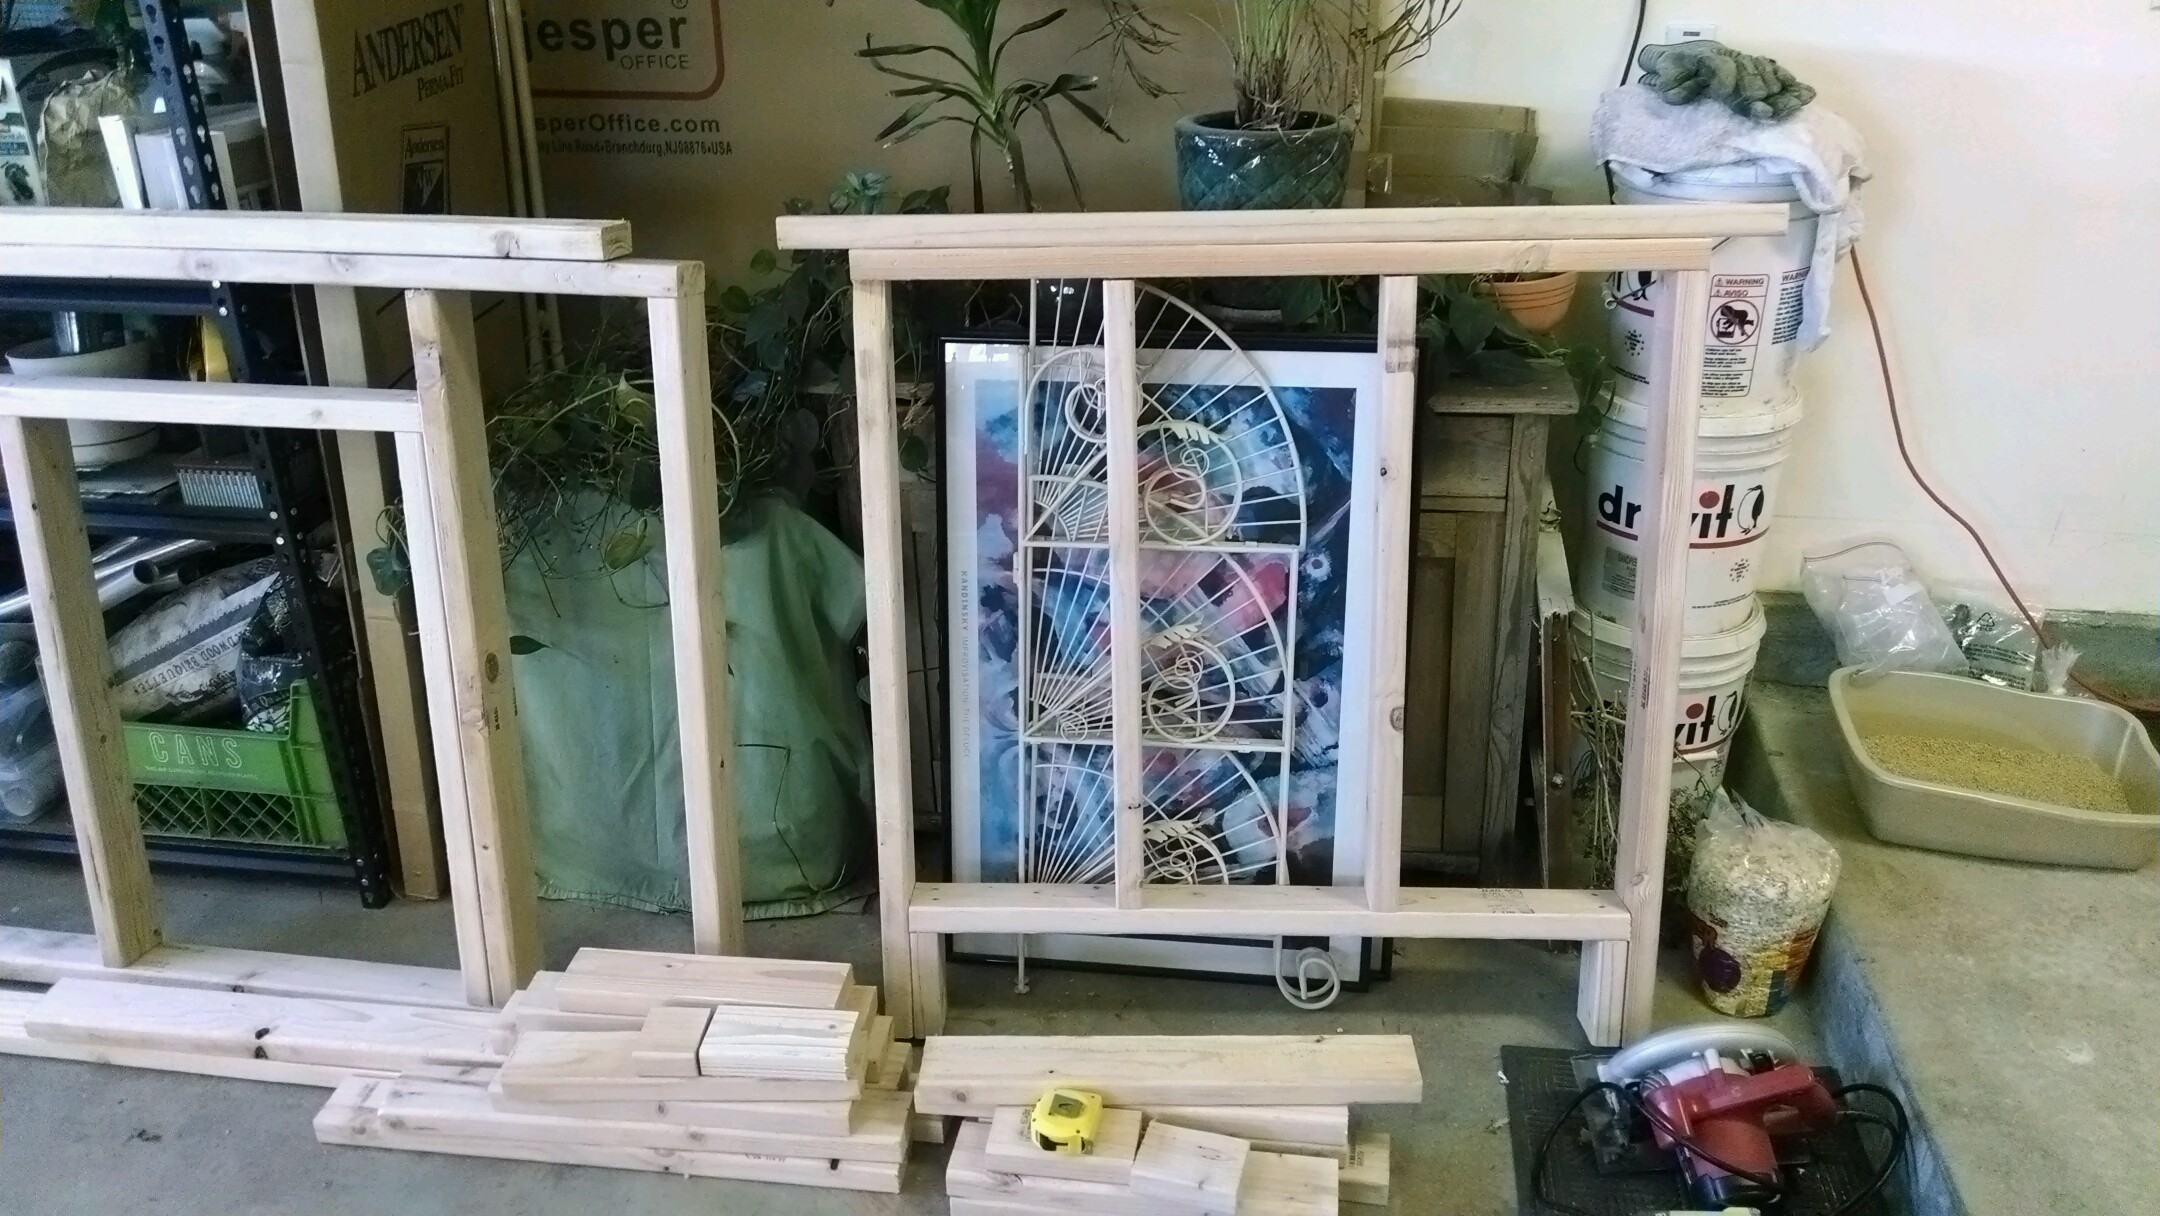 The back panel, with a framed ridge vent.
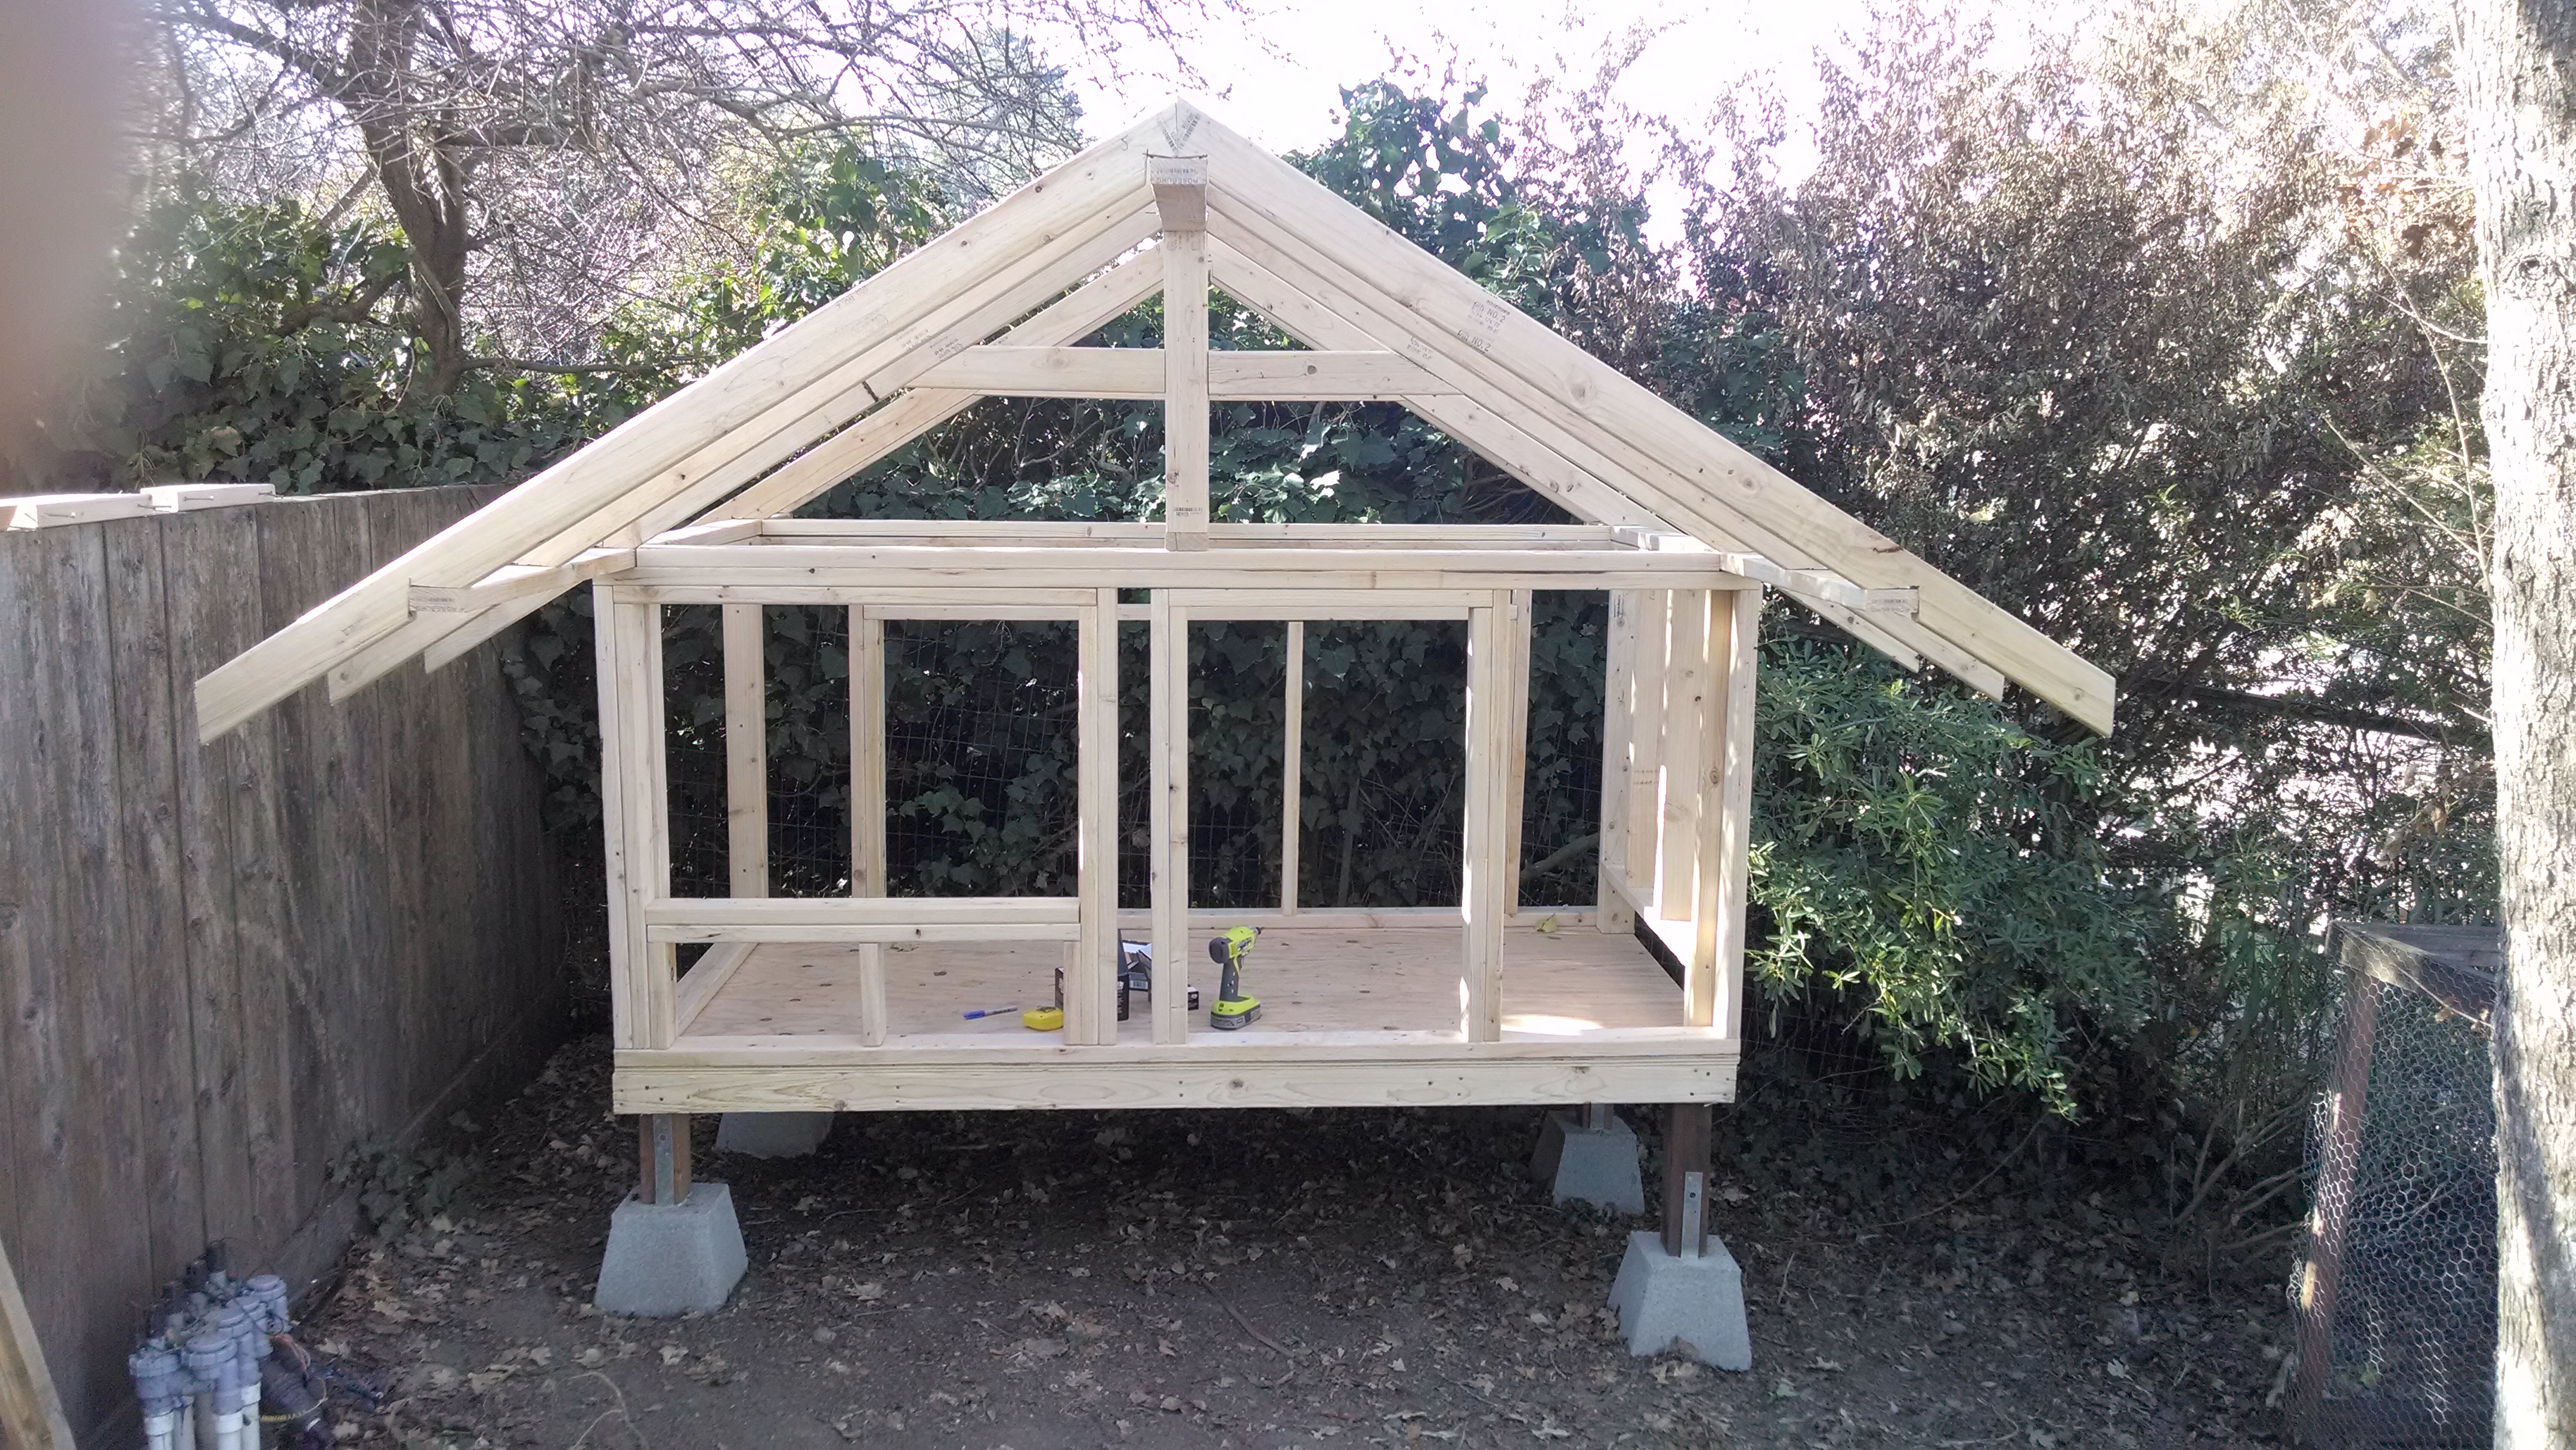
All walls are now in place.
 With support for the roof in place, the framing is now complete – you can start to see the coop take shape.
OSB siding is now in place all around the coop, and I’m working on weatherizing the coop using some extra roofing/tar/felt paper from a big roll I bought – the smallest you can buy covers 400 sq ft, and my roof isn’t nearly that big.
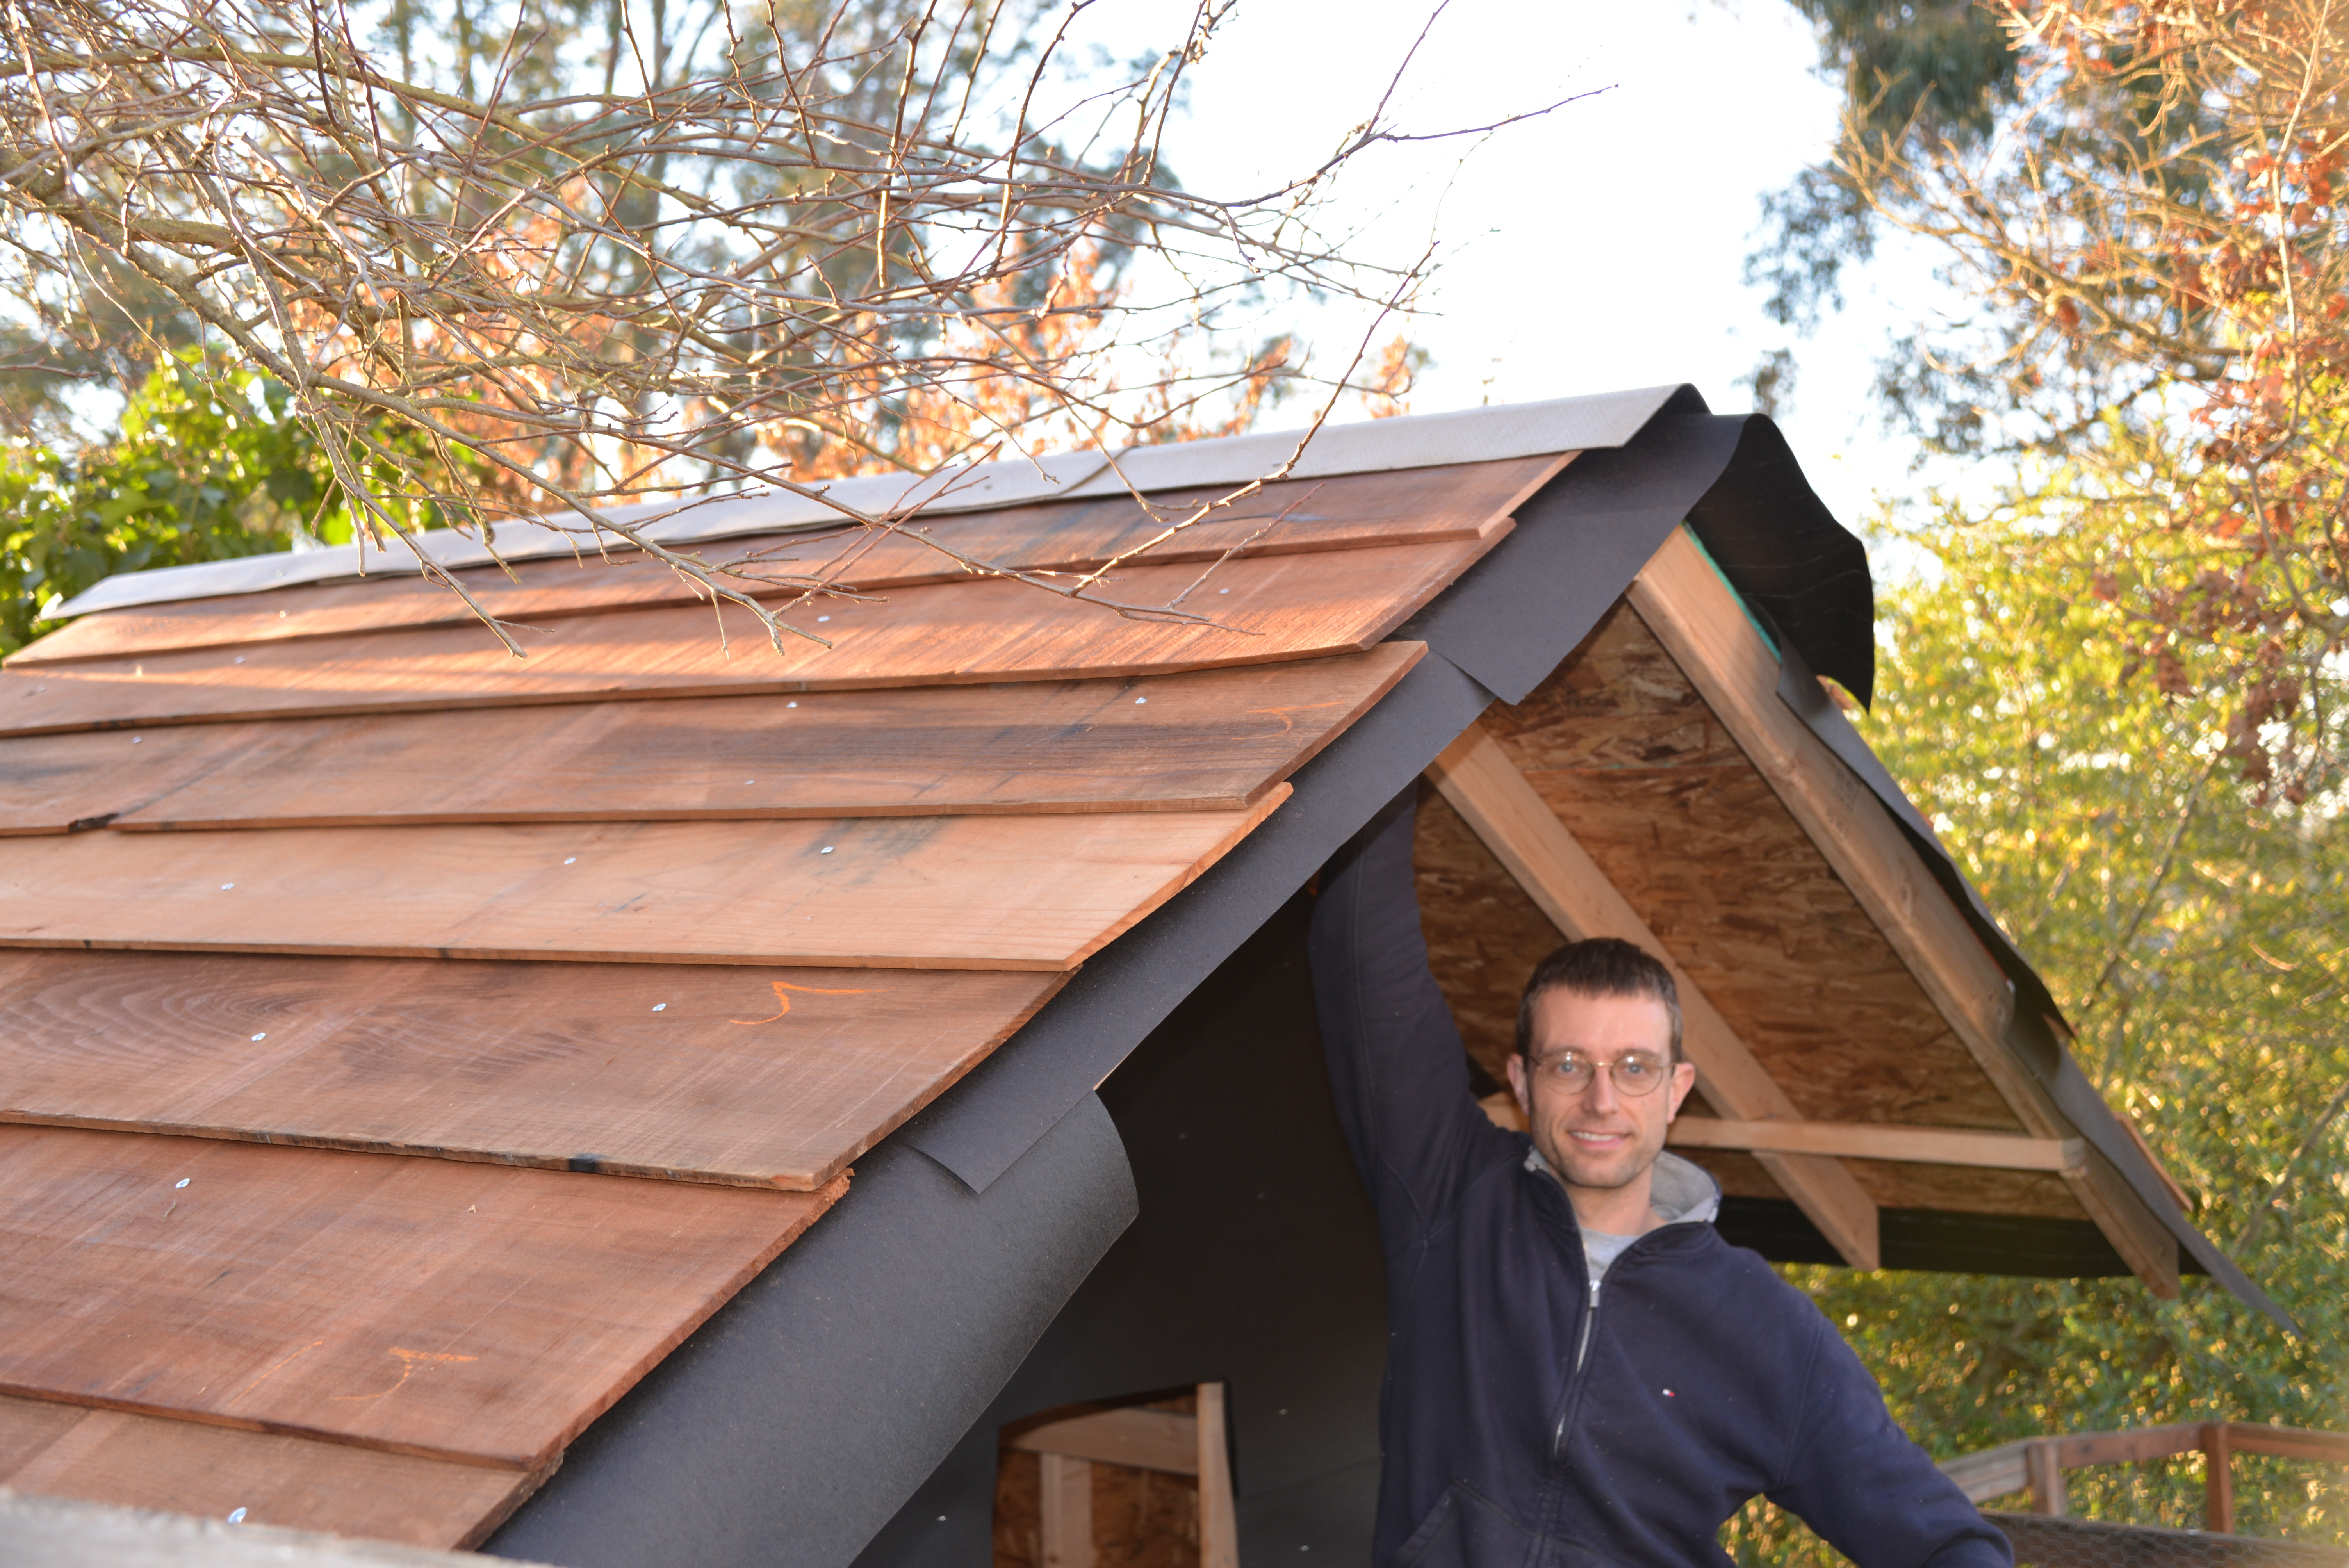
 The roof OSB is in place, it has been weatherized, old redwood boards are used in place of shingles to give it an old look, and a solid roof cap was added.
Another look – progress is being made.

The front now has redwood siding, the chicken door (which hinges at the bottom and has steps to for a little ladder for the birds) is in place and open to allow some air to flow in (and a very temporary screen is being held in place with a 2×4 to keep the birds from going out) and you can see the nesting box is being worked on.
Another look at the front. The fencing you see is temporary, to section off a small area of our back yard for the chickens to eventually explore when we let them go out of the coop, so they can get used to being outside during the day and going into the coop at night. Once they “get it” we’ll take down the temporary fencing and let them roam throughout the entire back yard.

Lars is on the roof putting a few more screws in the roof cap. We have opened the door to the pen, and our birds are free to roam in the entire backyard.
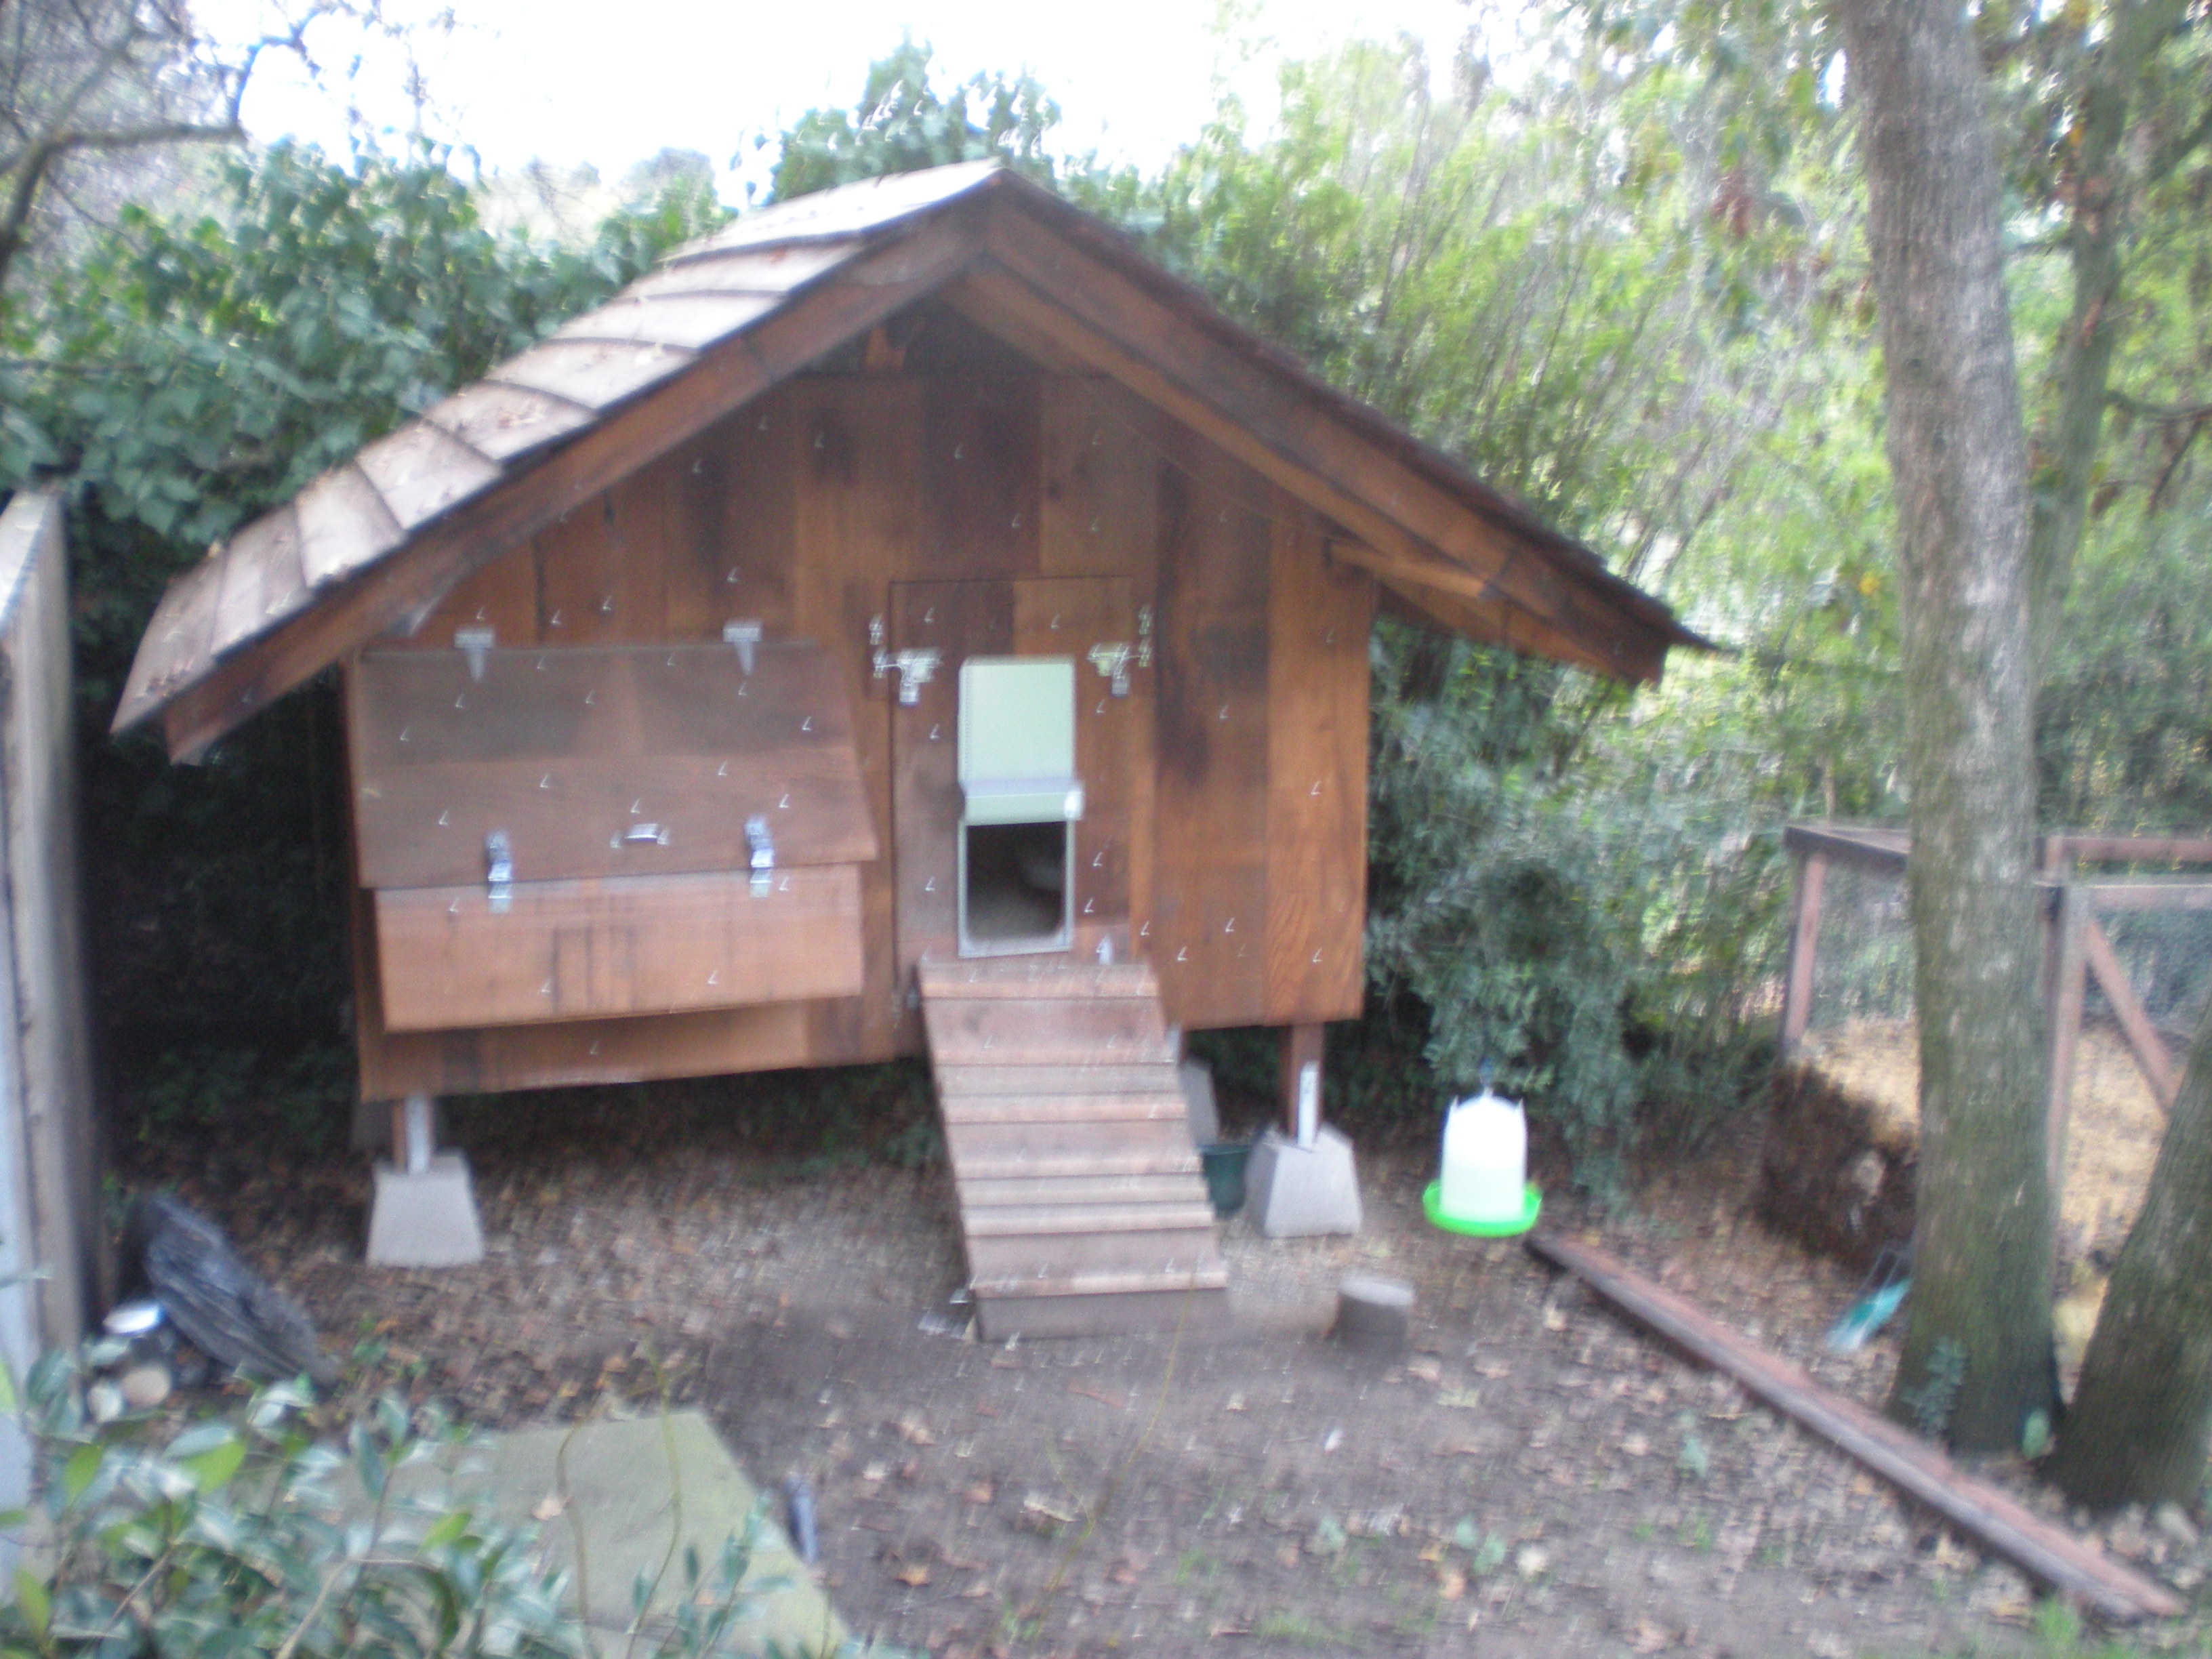
 The finished chicken house. The temporary fencing has been removed. An extra layer of roof boards have been added. The nesting boxes are in place. The door is open. You can see the top vents. Not shown is the vent in the back, the access doors on the left side, and the clean-out door on the right side.
 Later, I added an automatic chicken door to let the birds out in the morning and close them up at night.